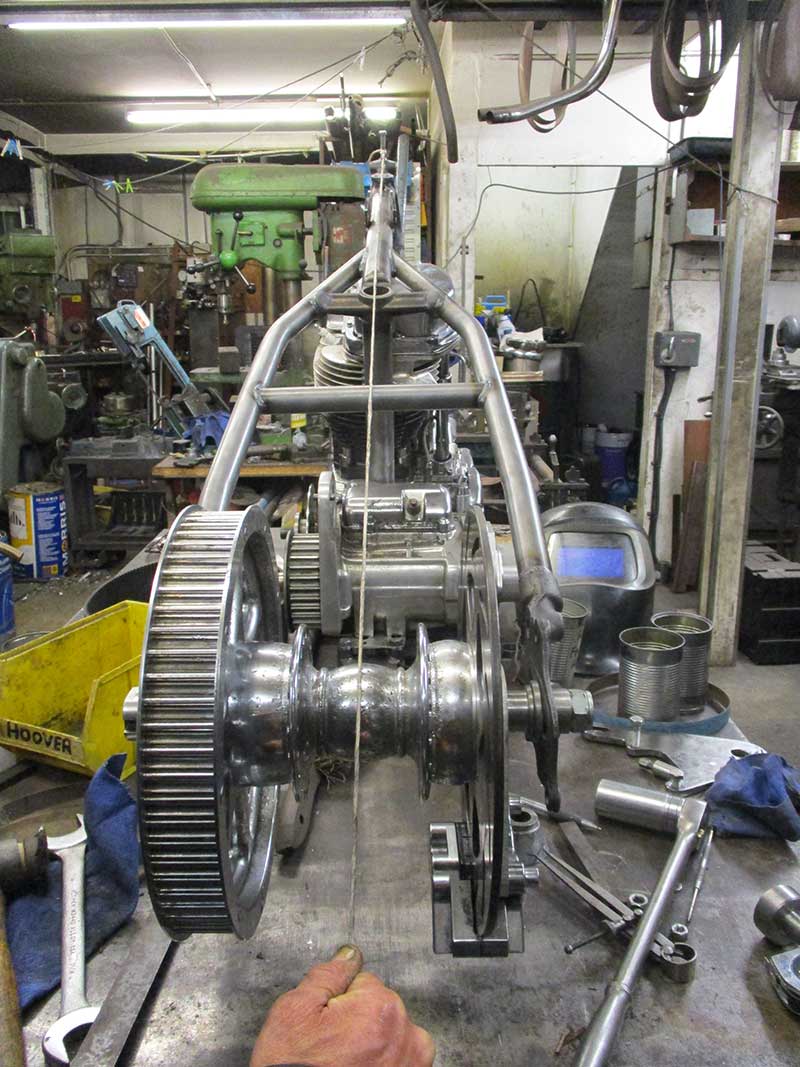
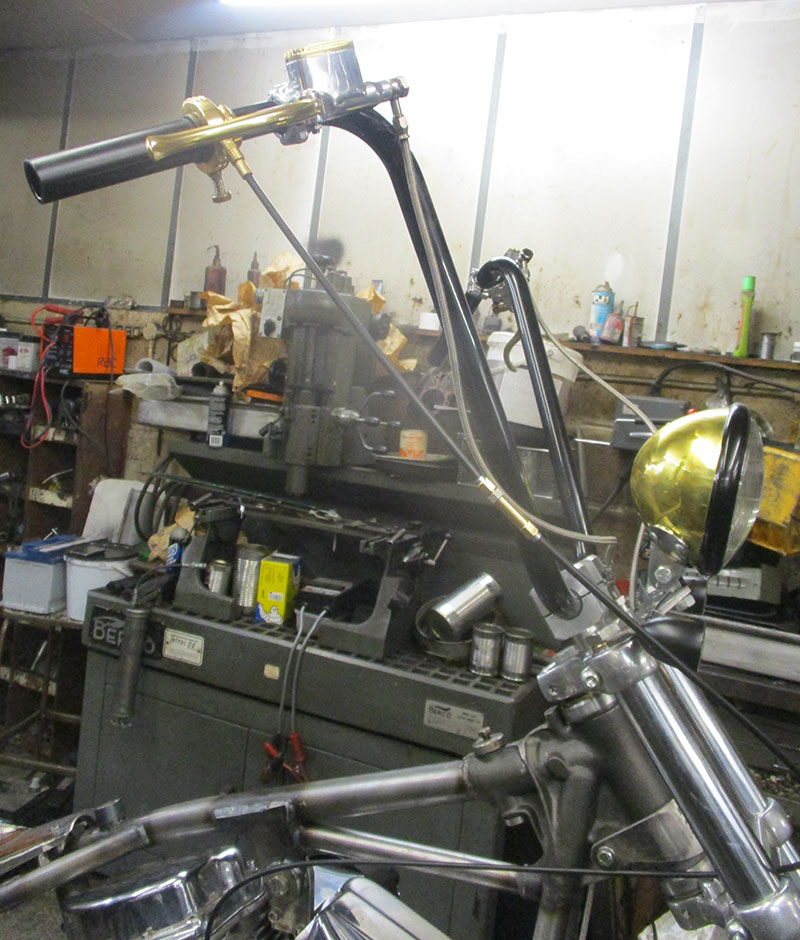
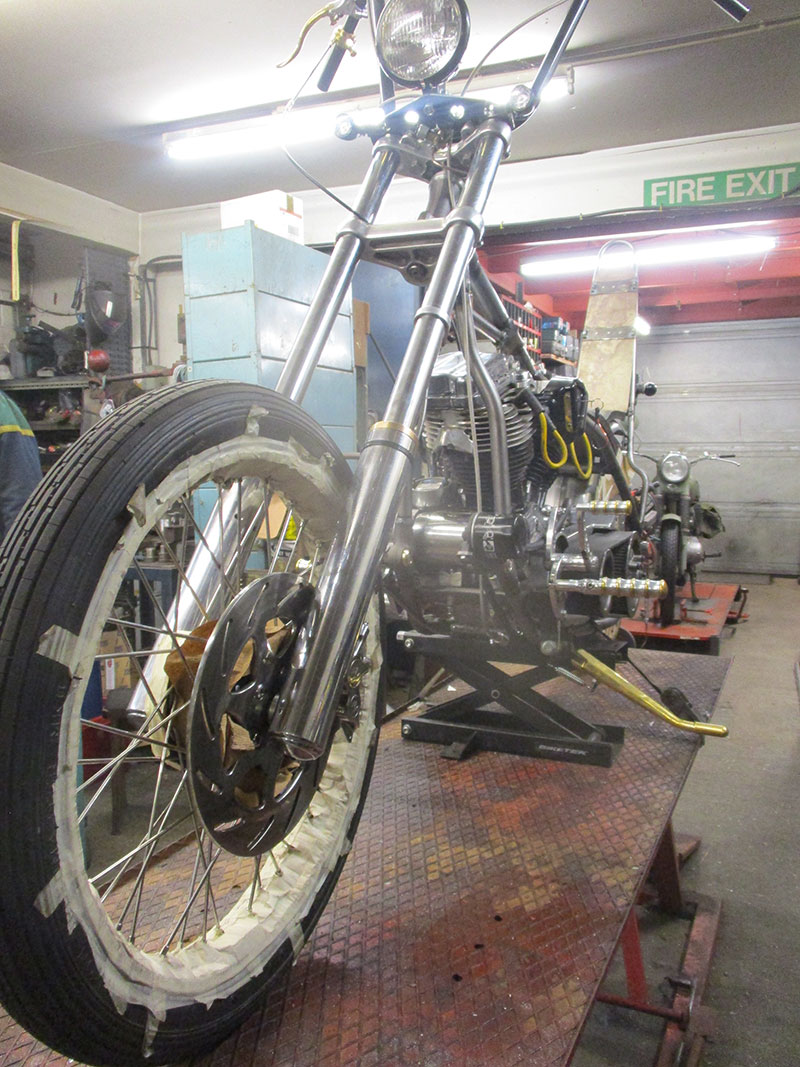
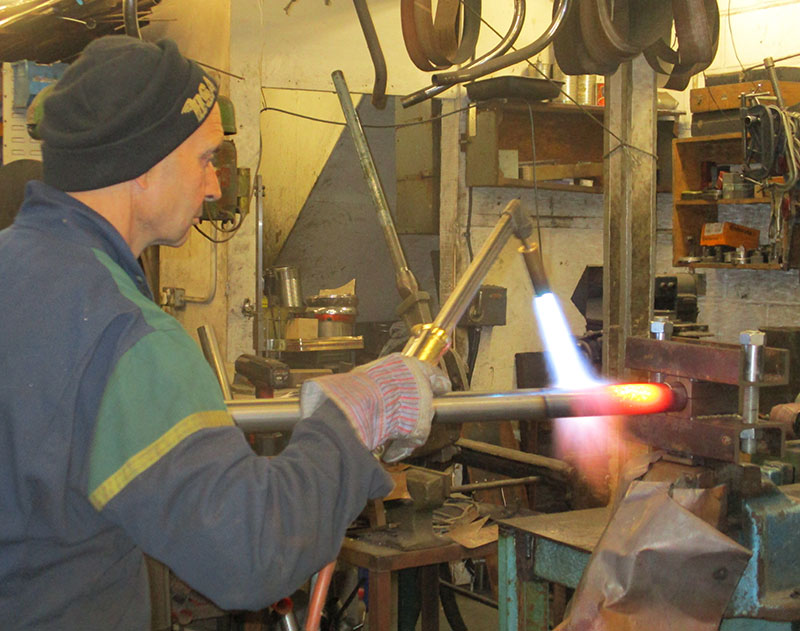
Harley Davidson Panhead Chopper Rebuild. The frame will be adapted for the bespoke build.
Focus on the rear end.
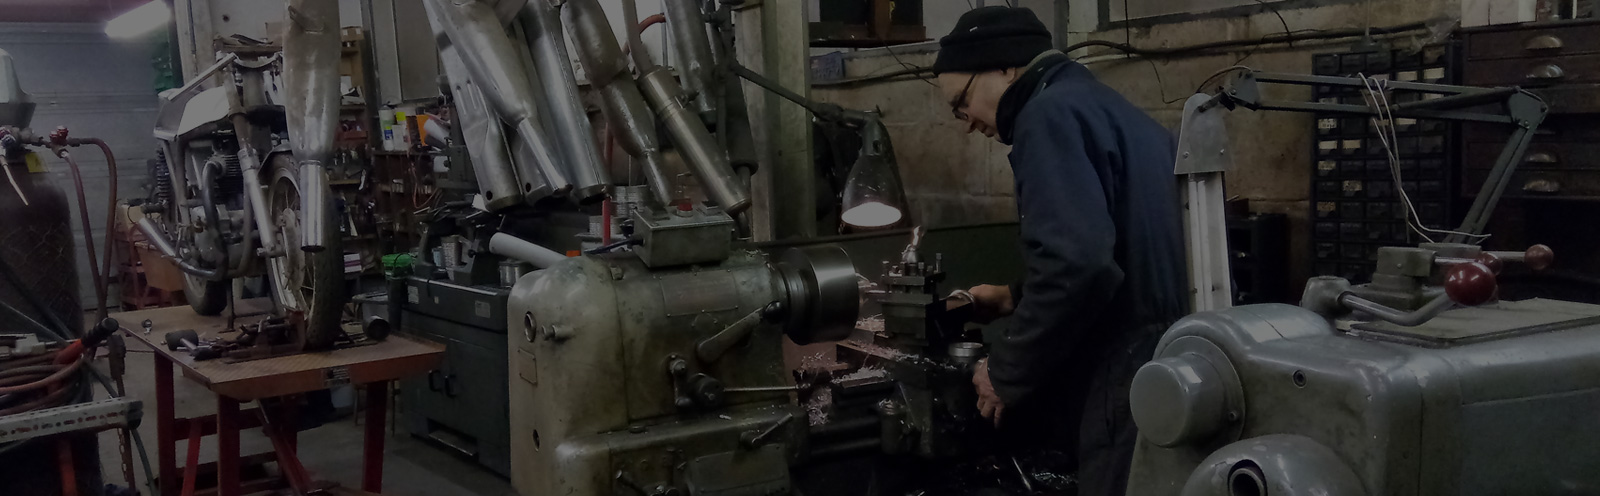
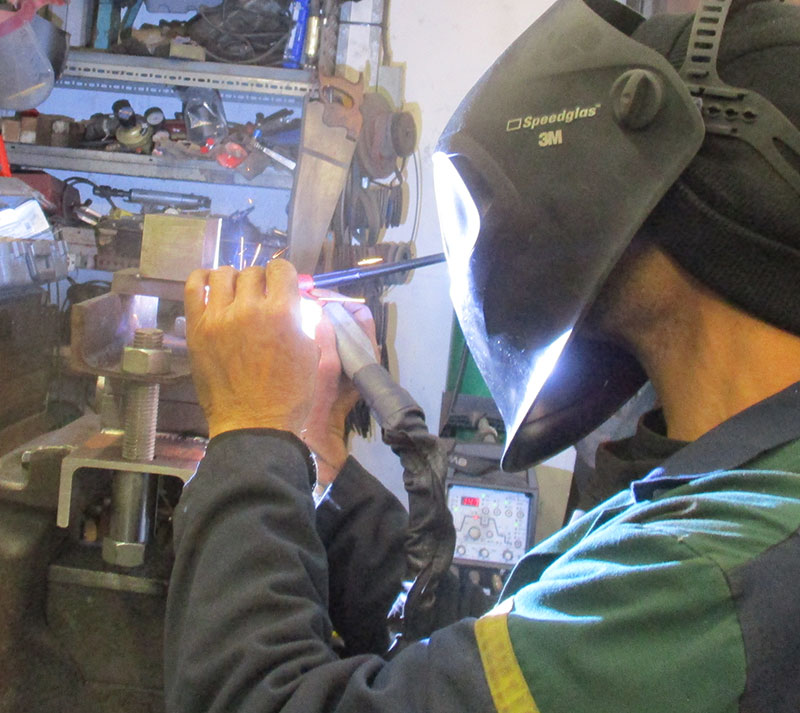
A lot of precise machine work to be done designing and producing bespoke hand made parts.
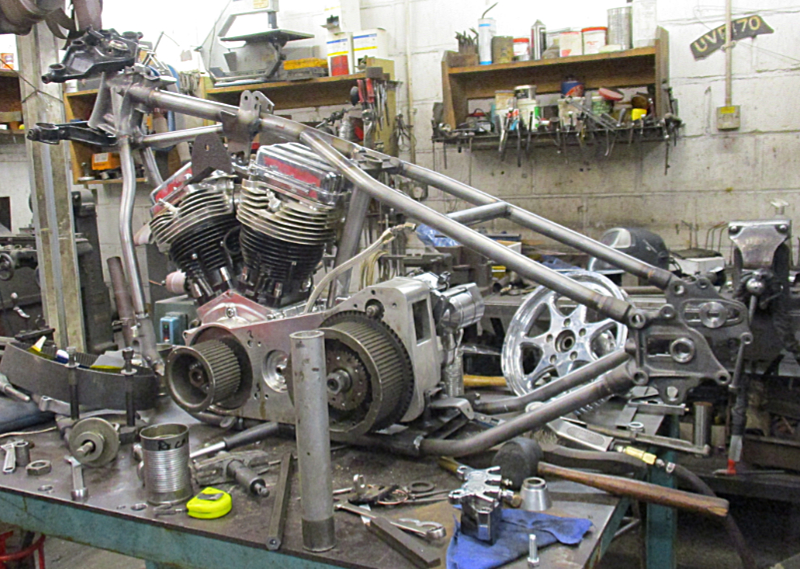
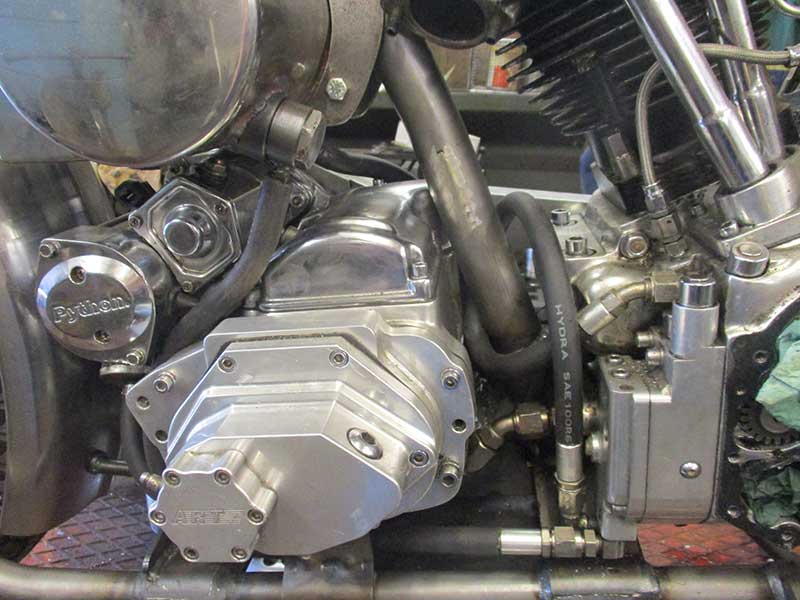
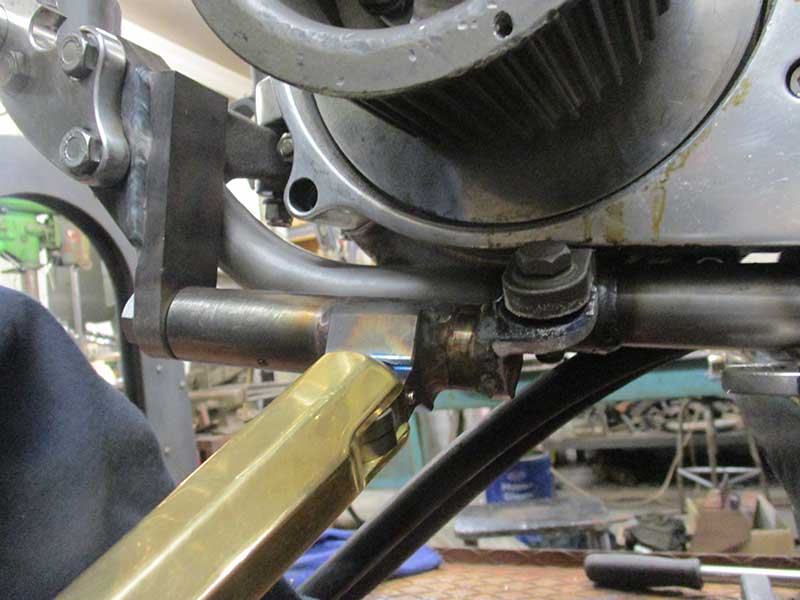
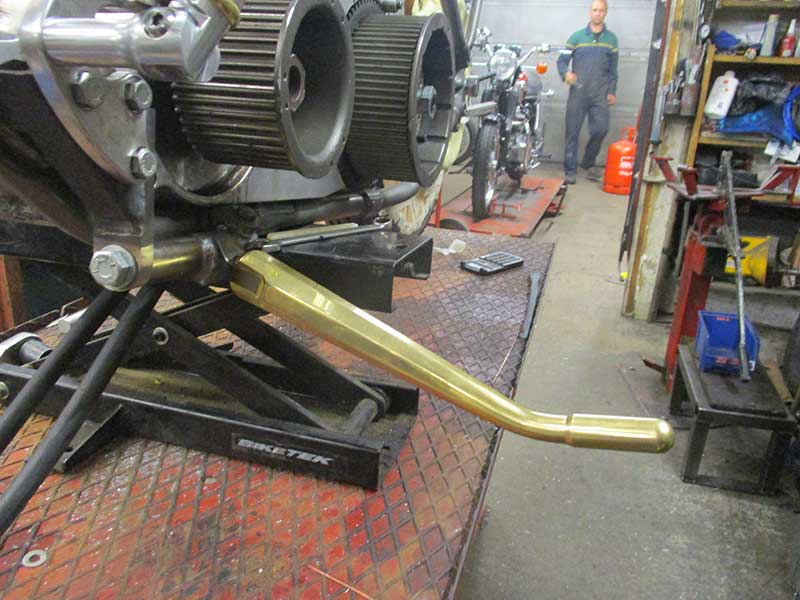
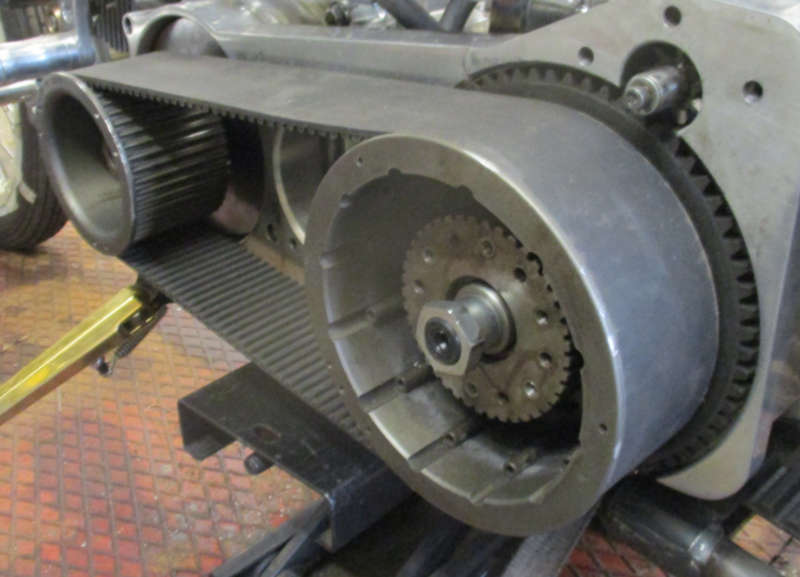
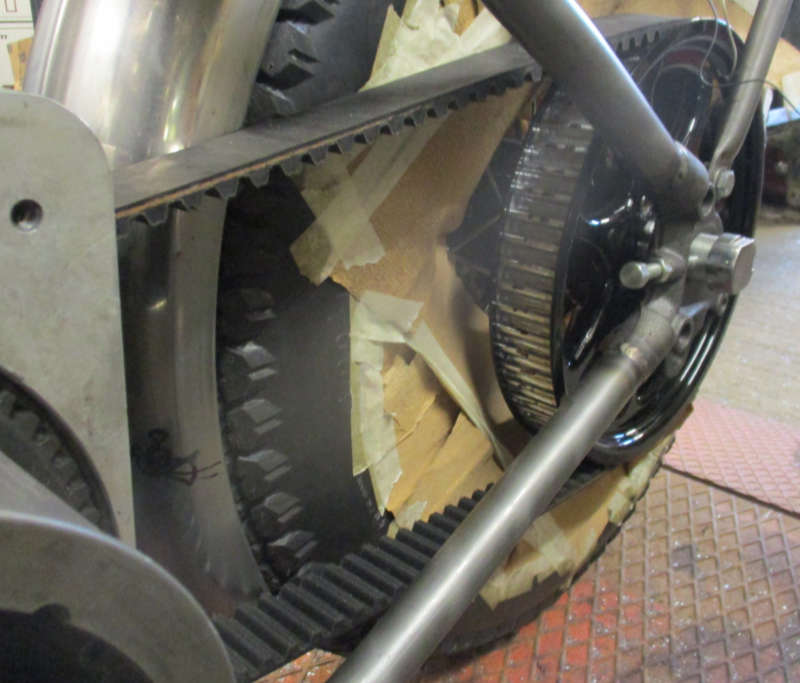
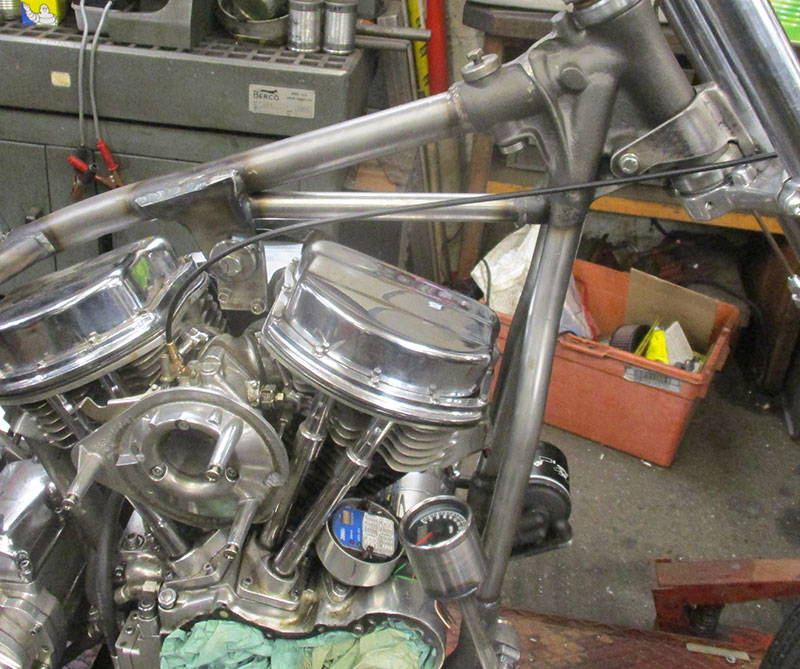
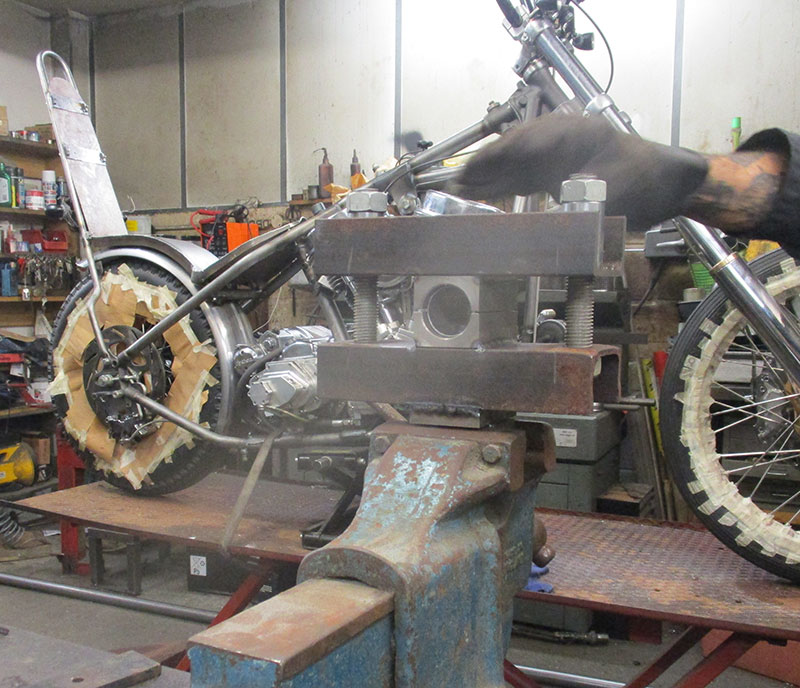
Work has been undertaken to ensure that the primary drive aligns correctly.
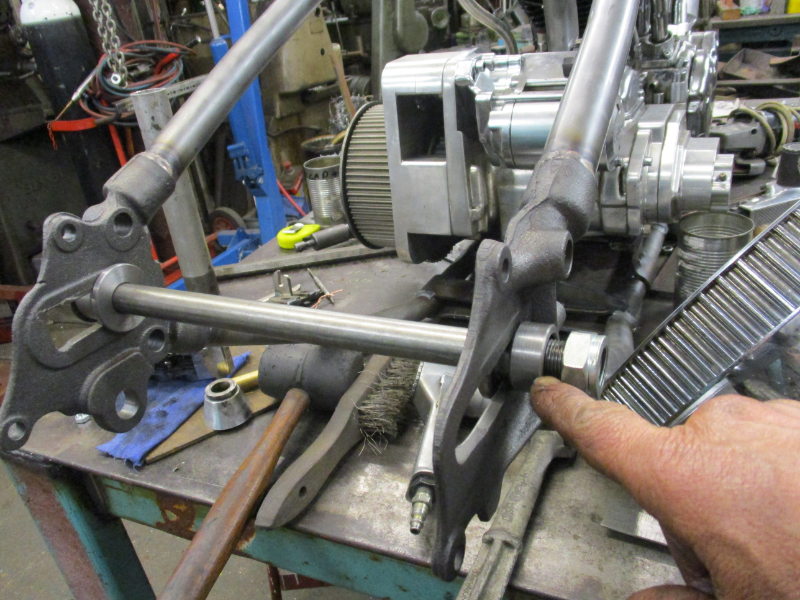
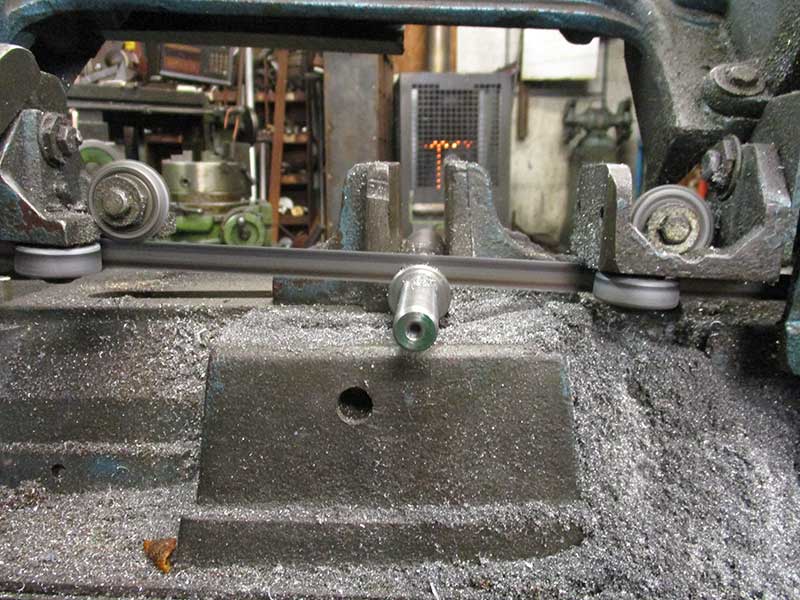
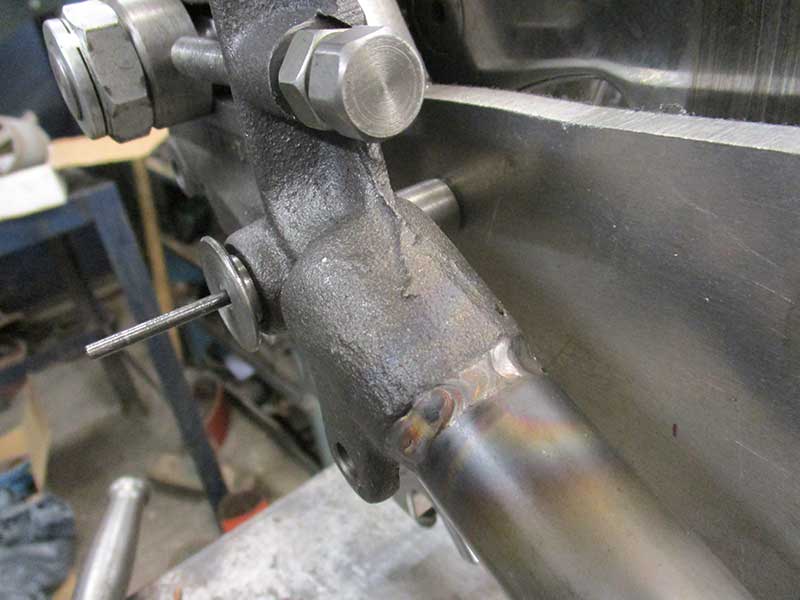
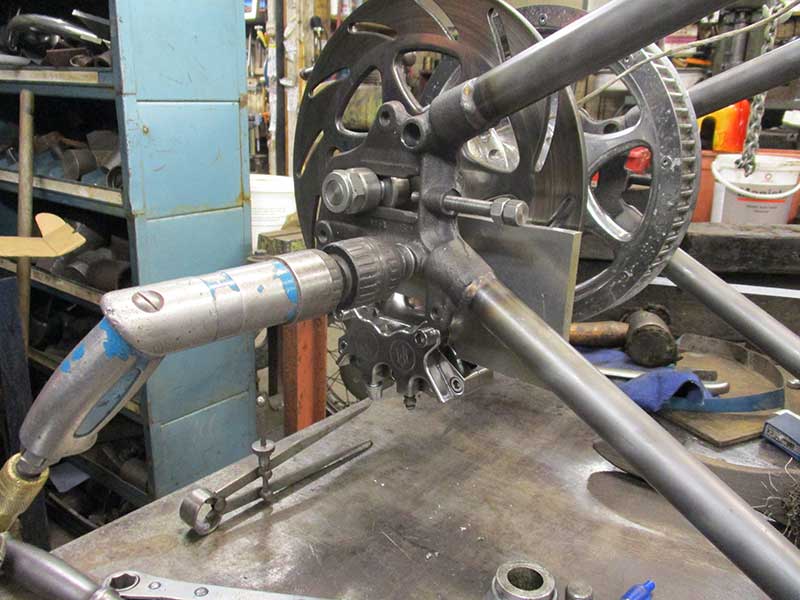
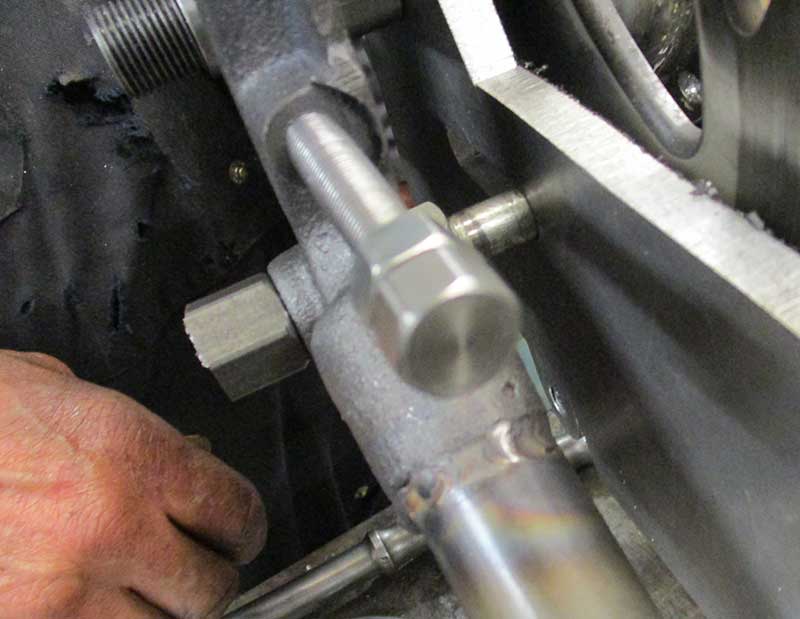
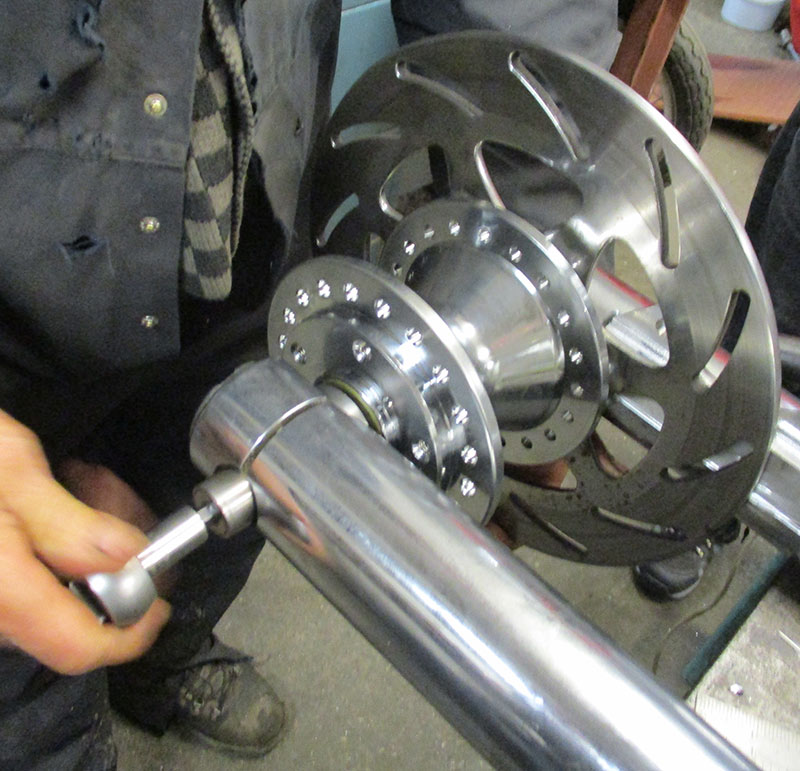
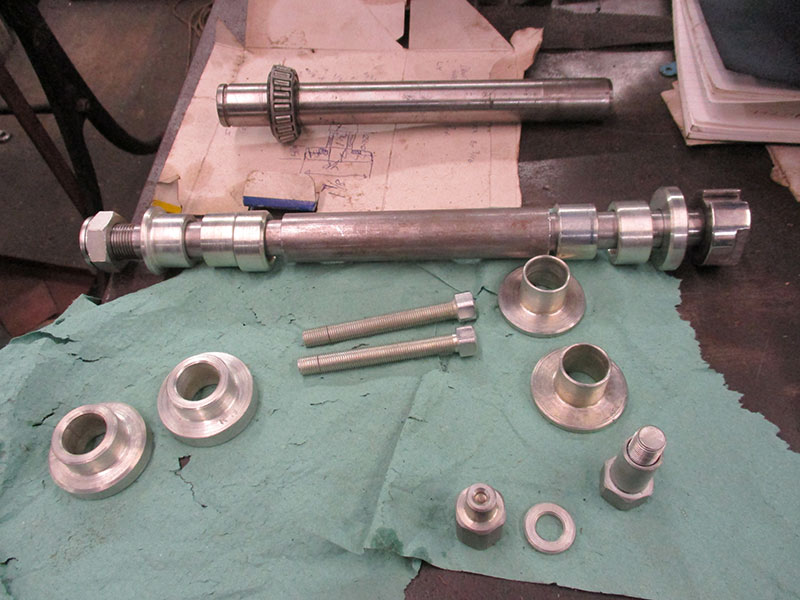
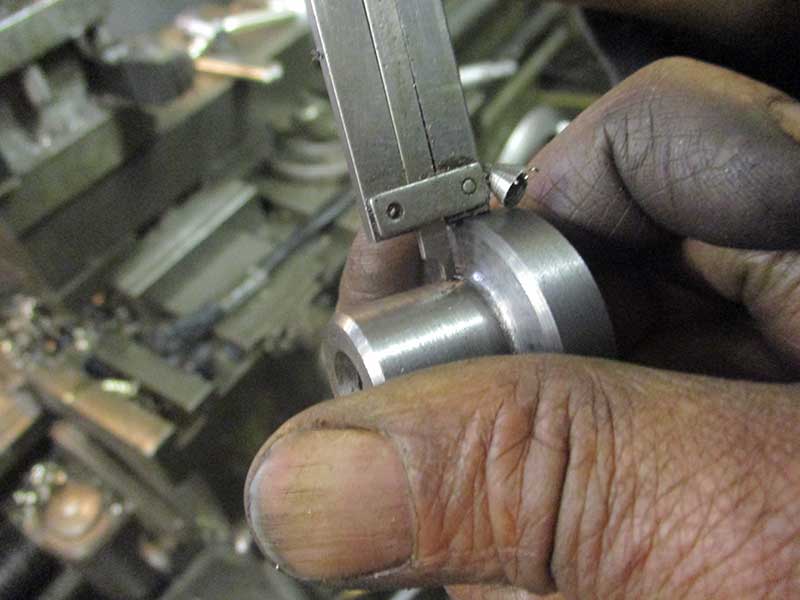
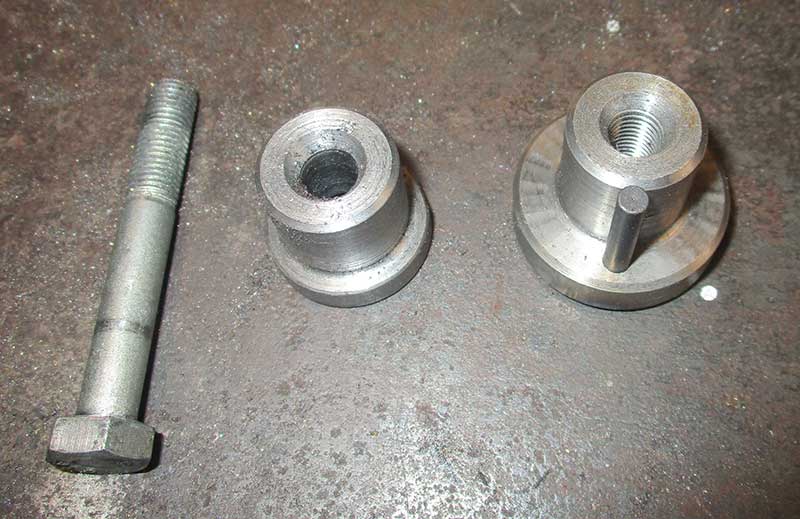
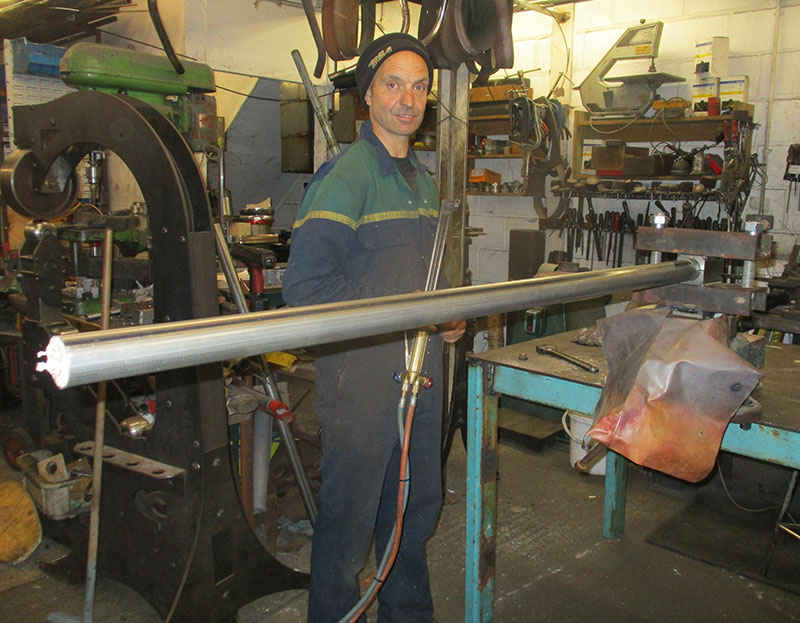
Rear wheel spindle has been made.
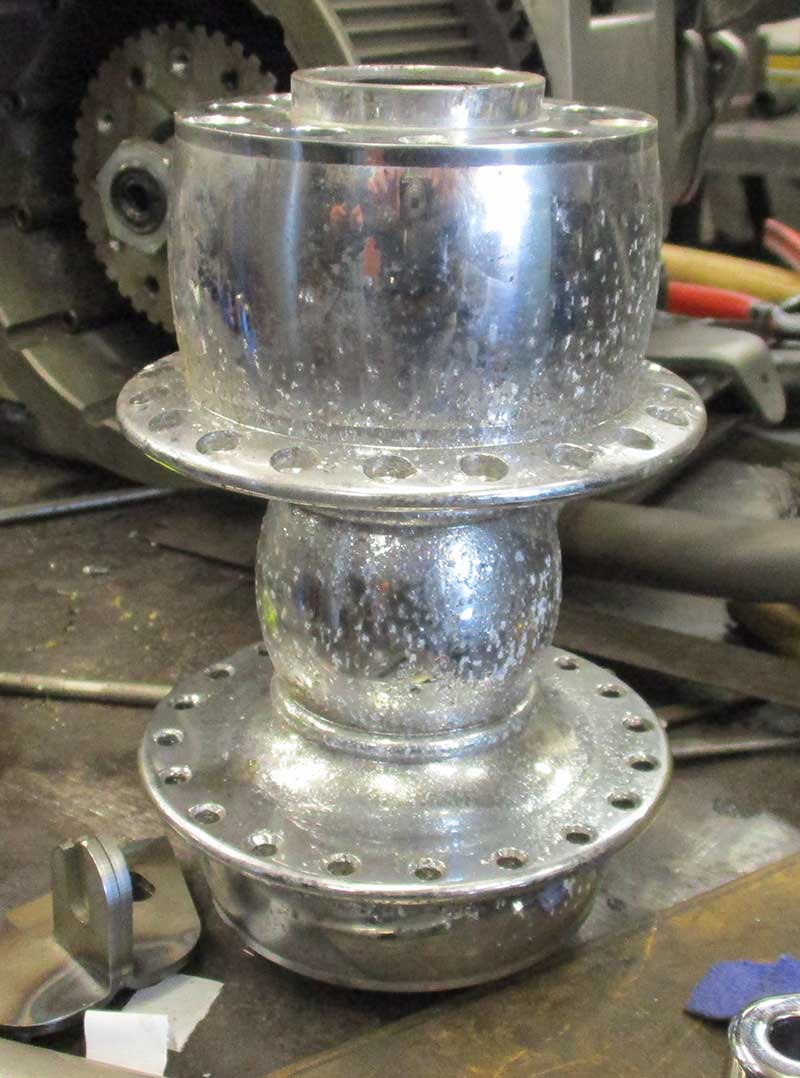
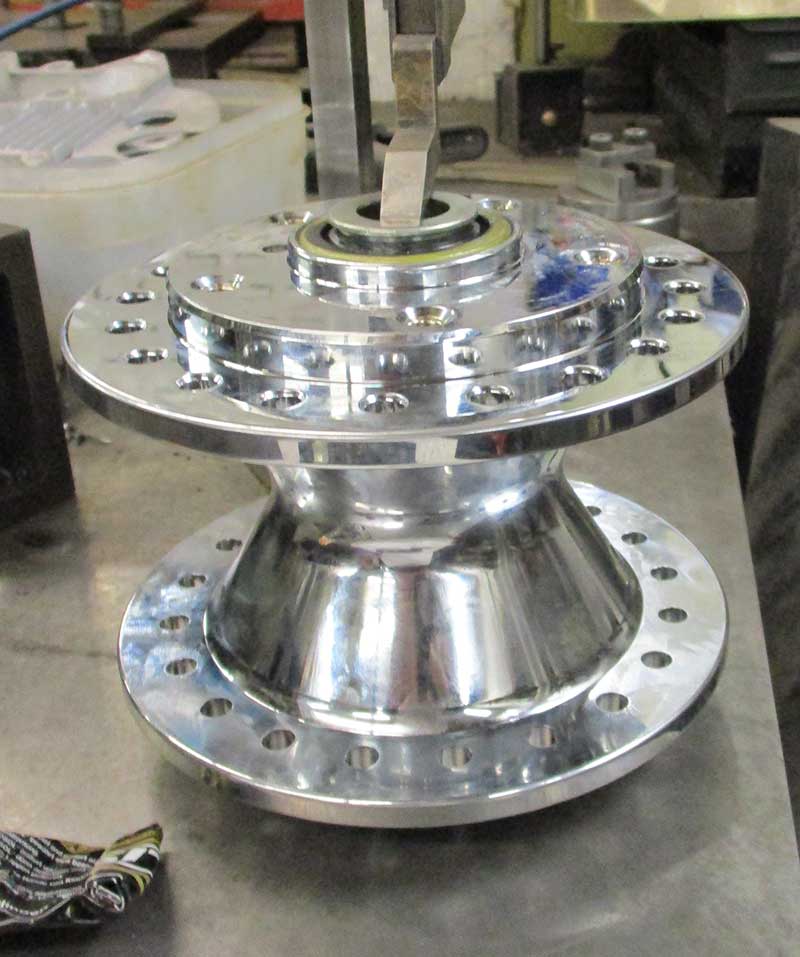
The rear hub will be modified to fit.
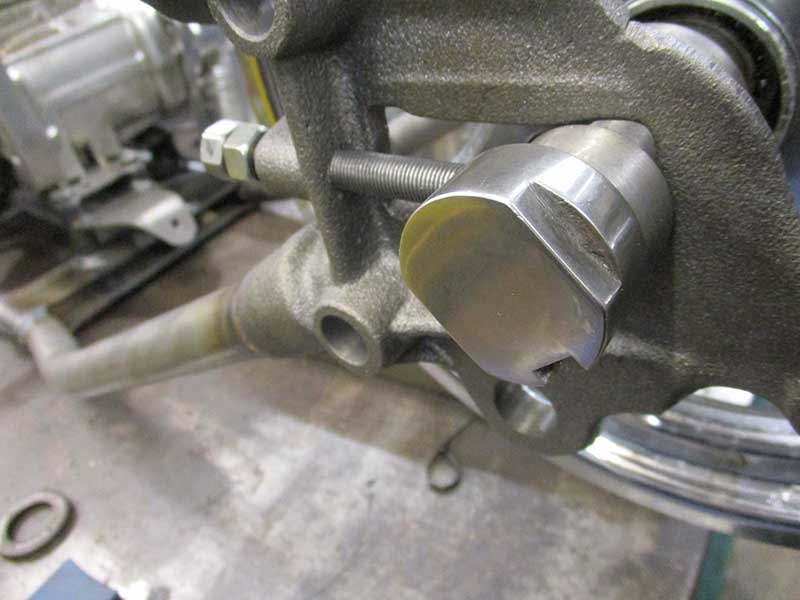
Wheel adjusters cut to exact length to centralise wheel.
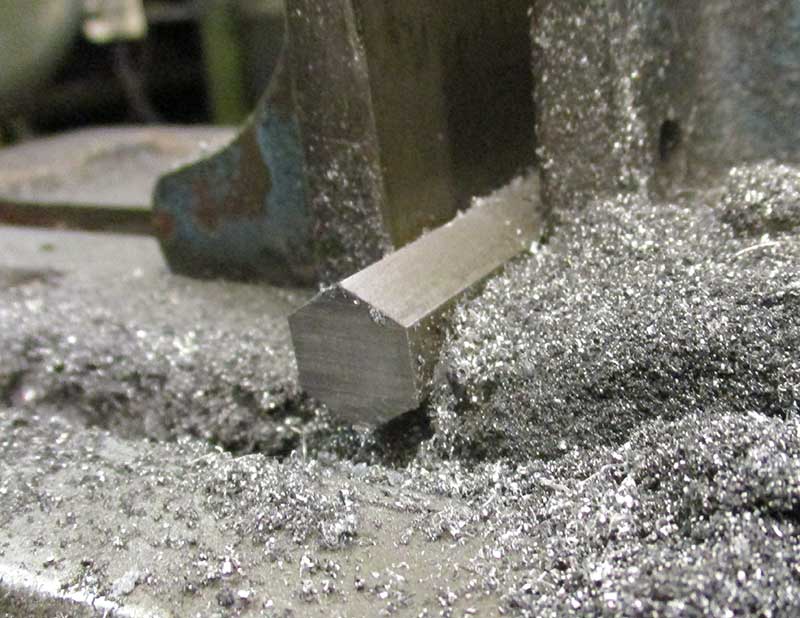
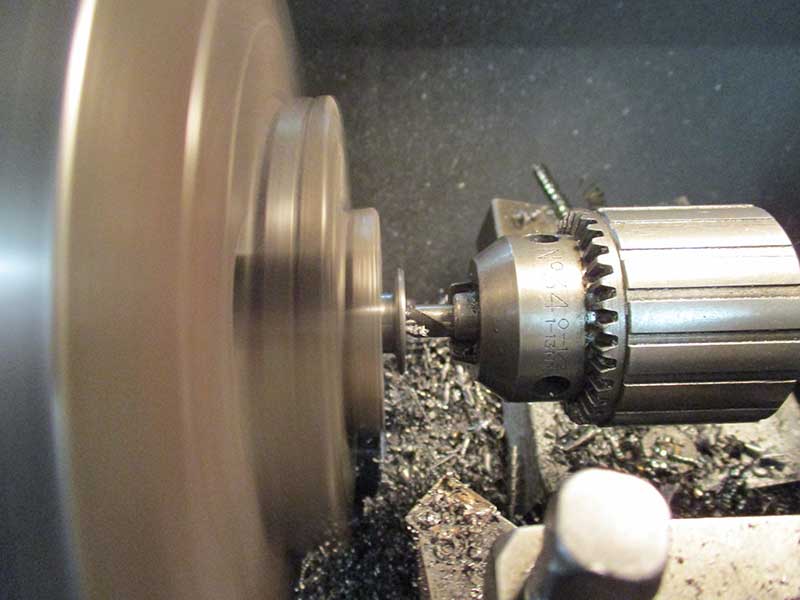
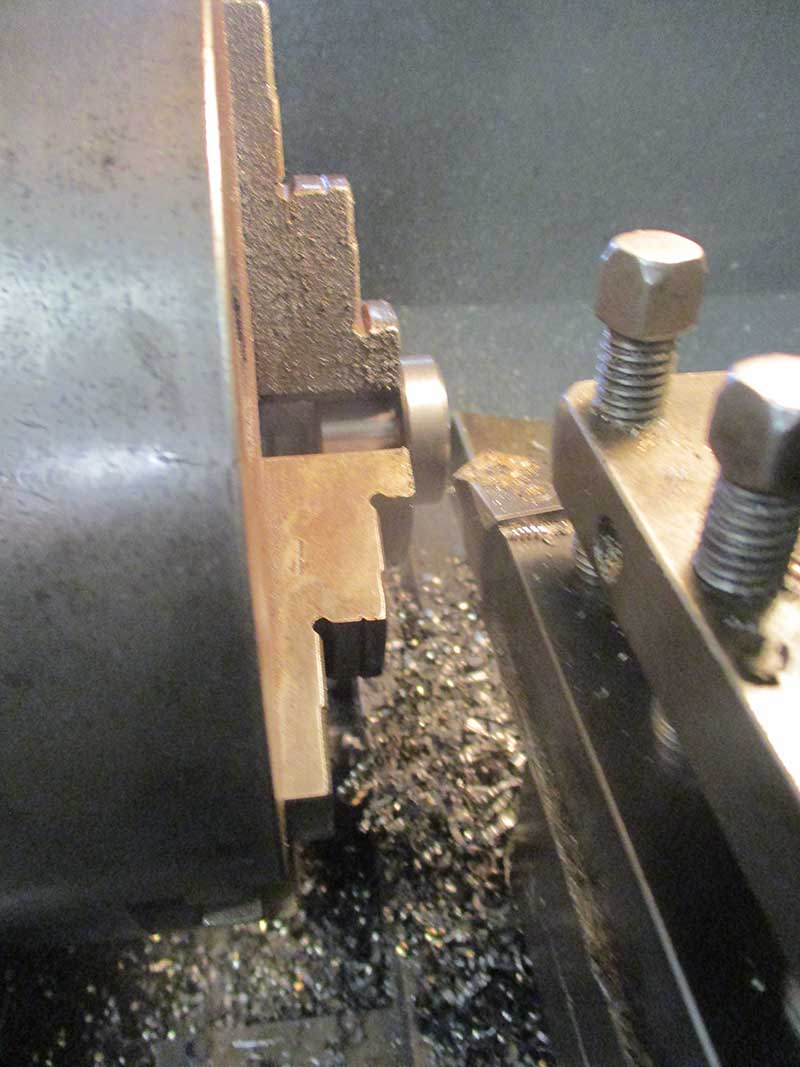
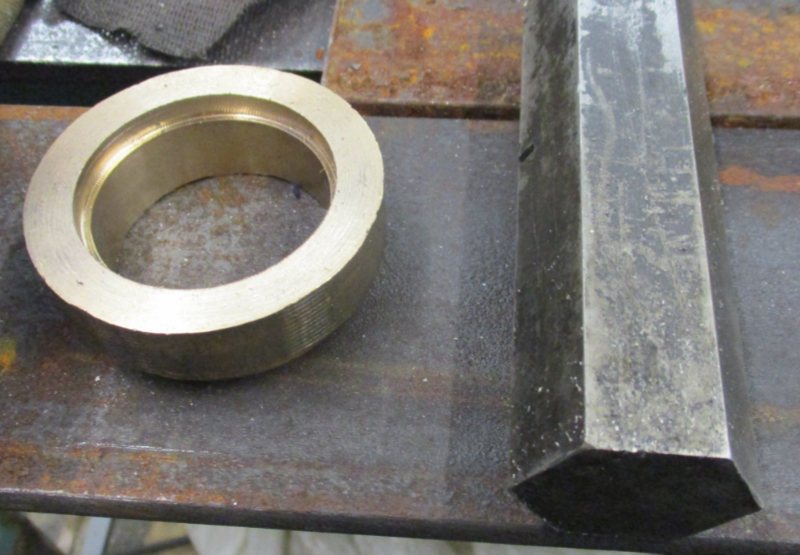
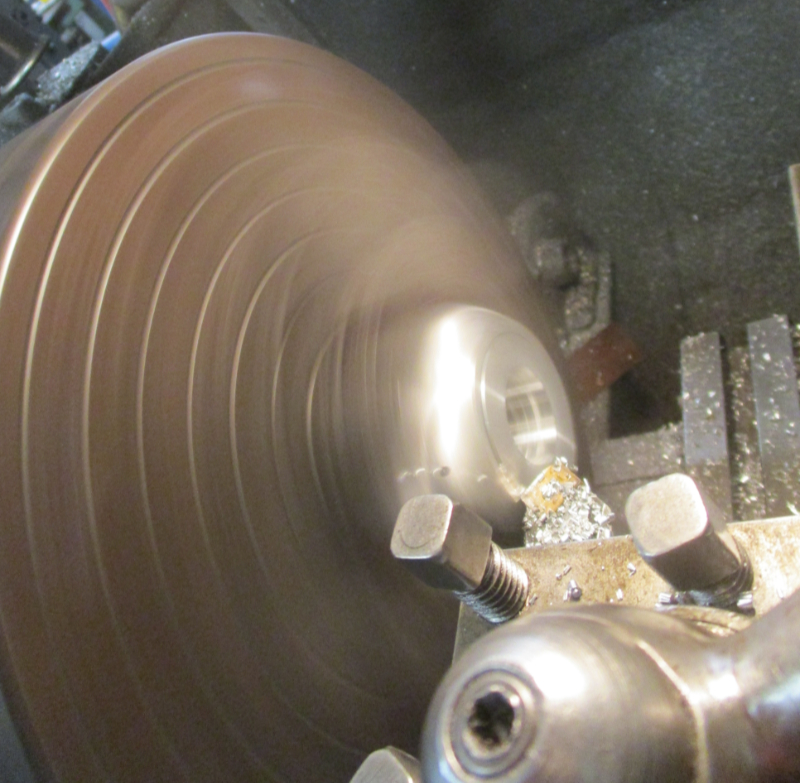
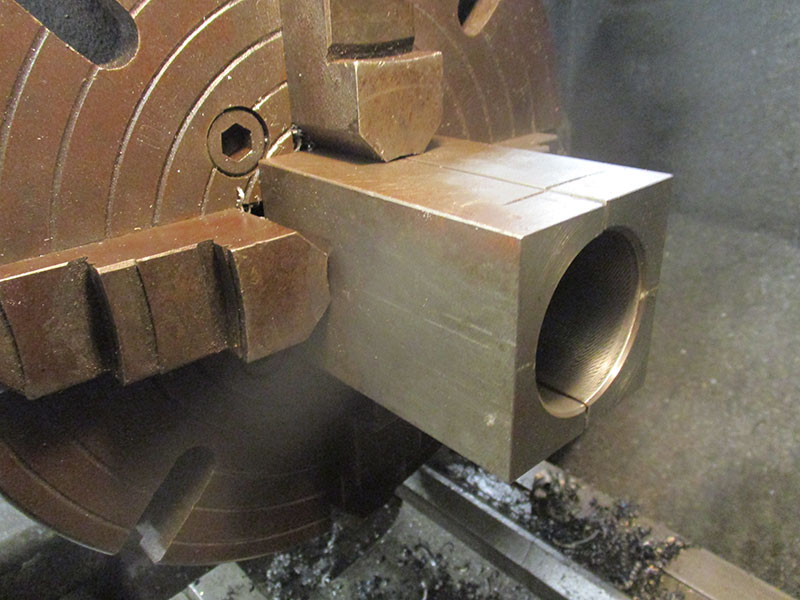
The hex metal bar that the wheel adjusters are made from.
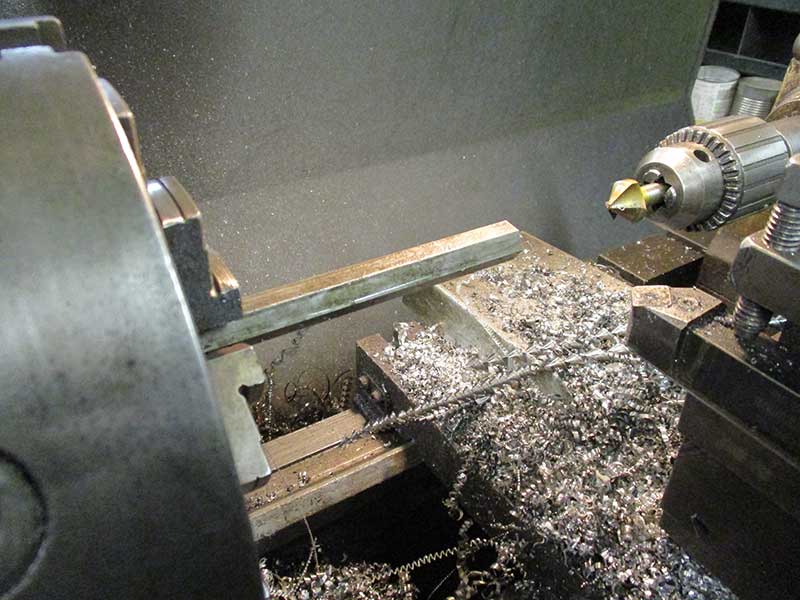
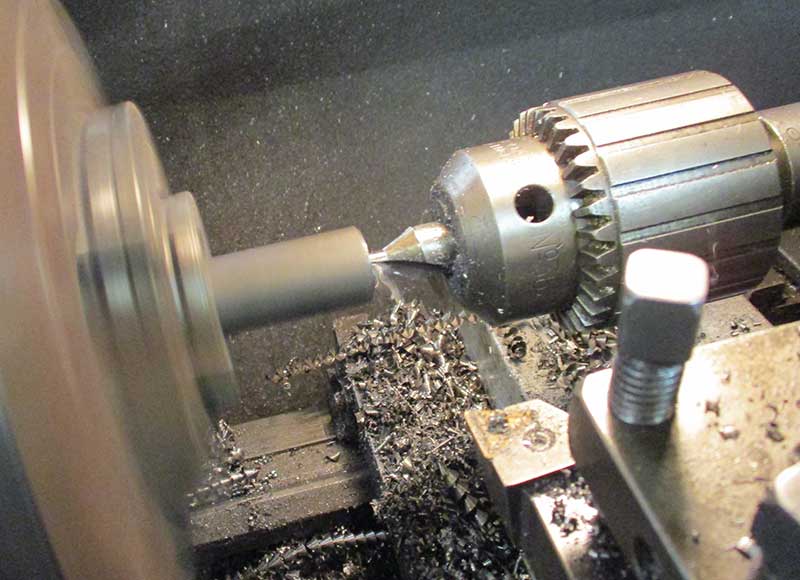
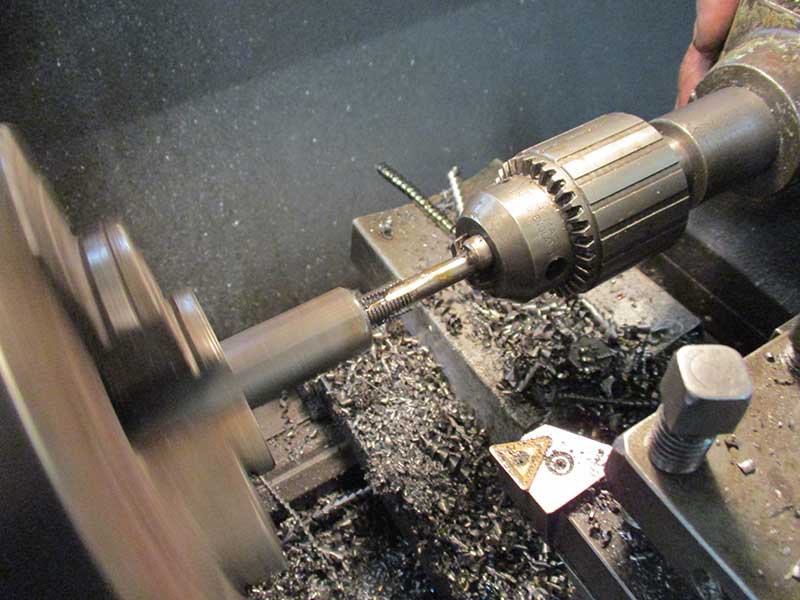
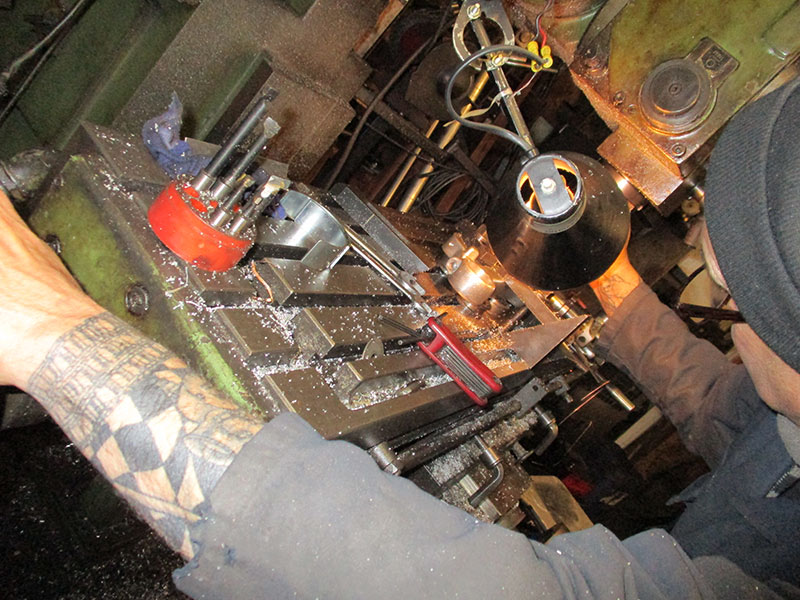
The hex metal bar in the lathe prior to screw cutting to make the wheel adjusters.
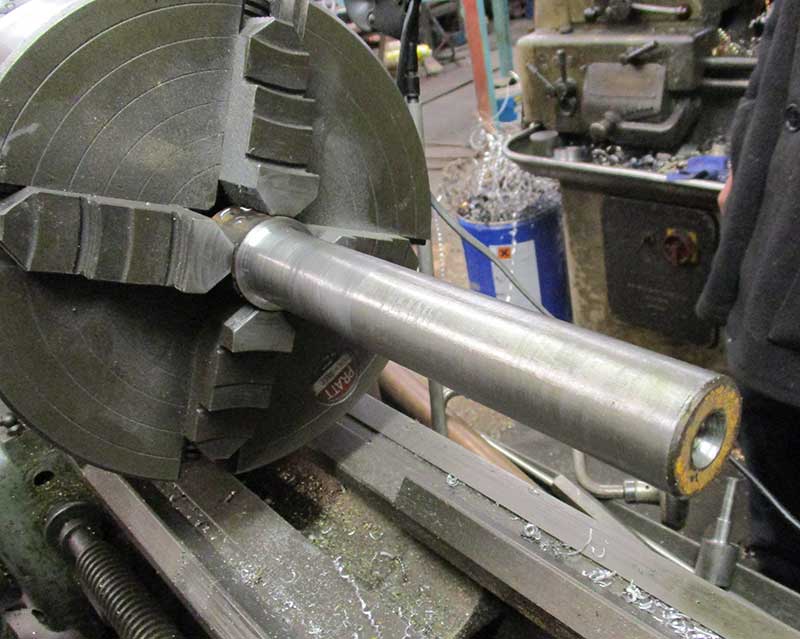
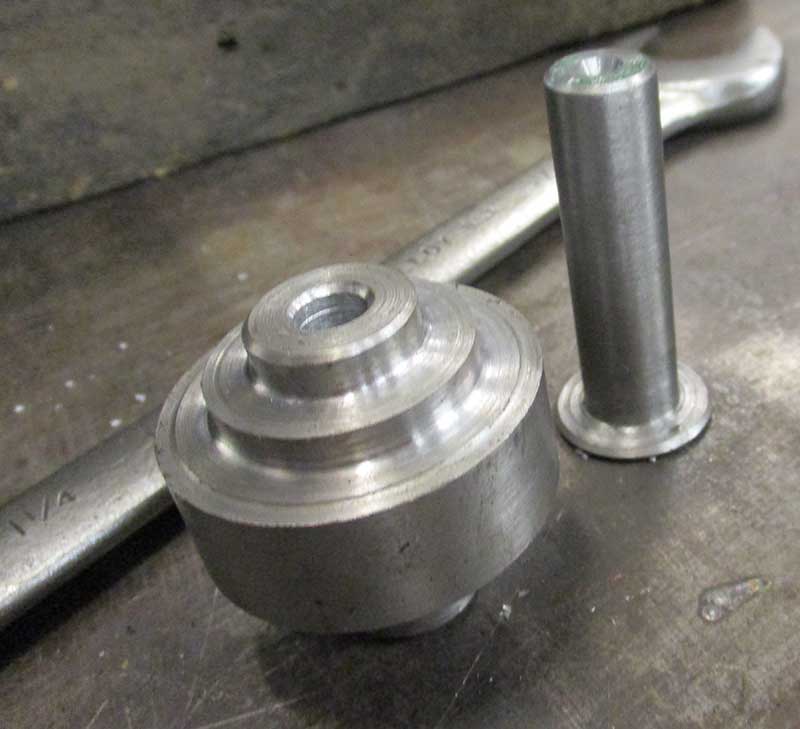
Mandrel in four jaw chuck. This will go inside the rear hub.
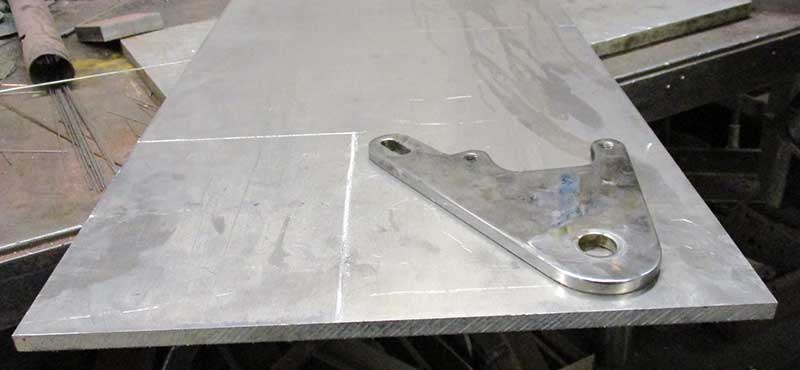
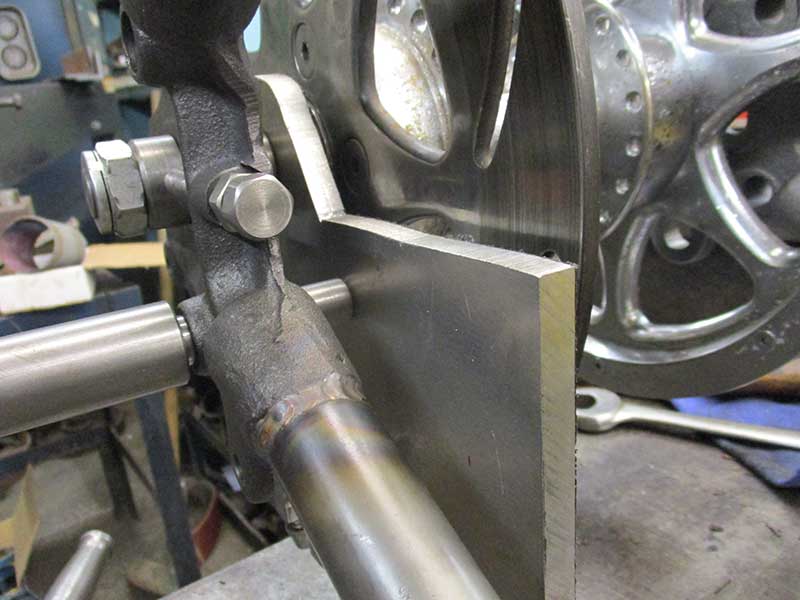
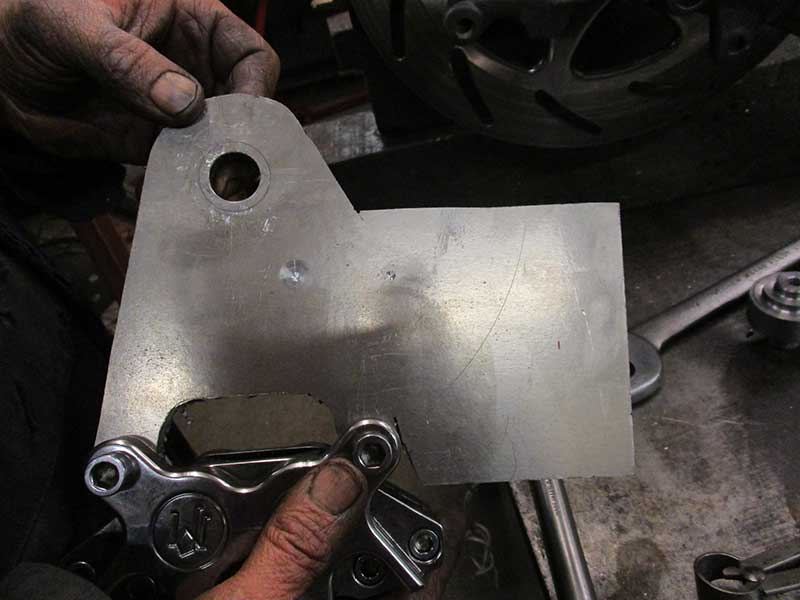
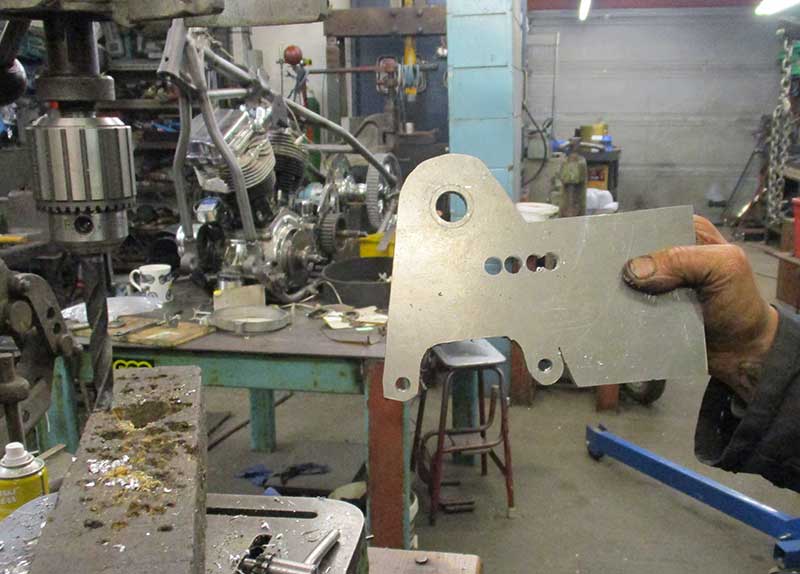
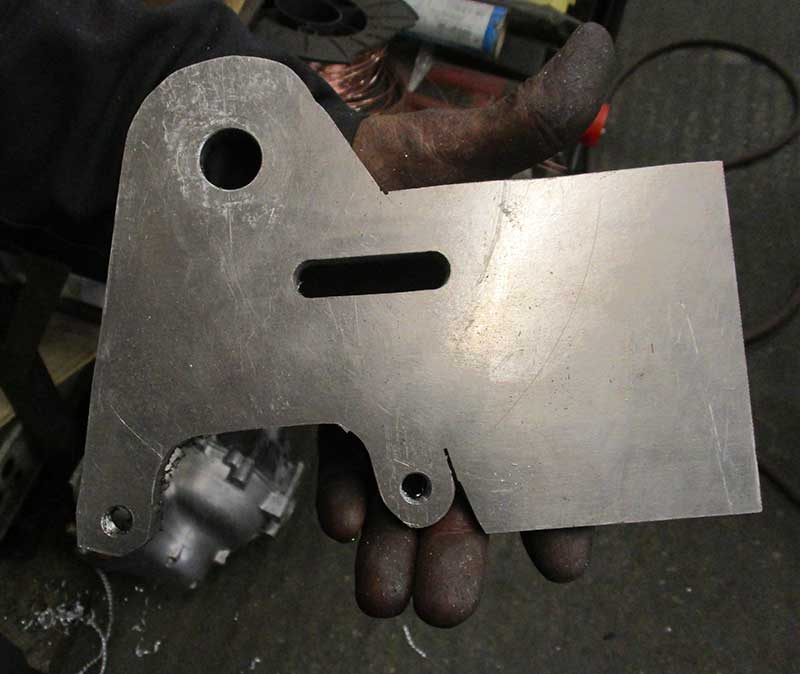
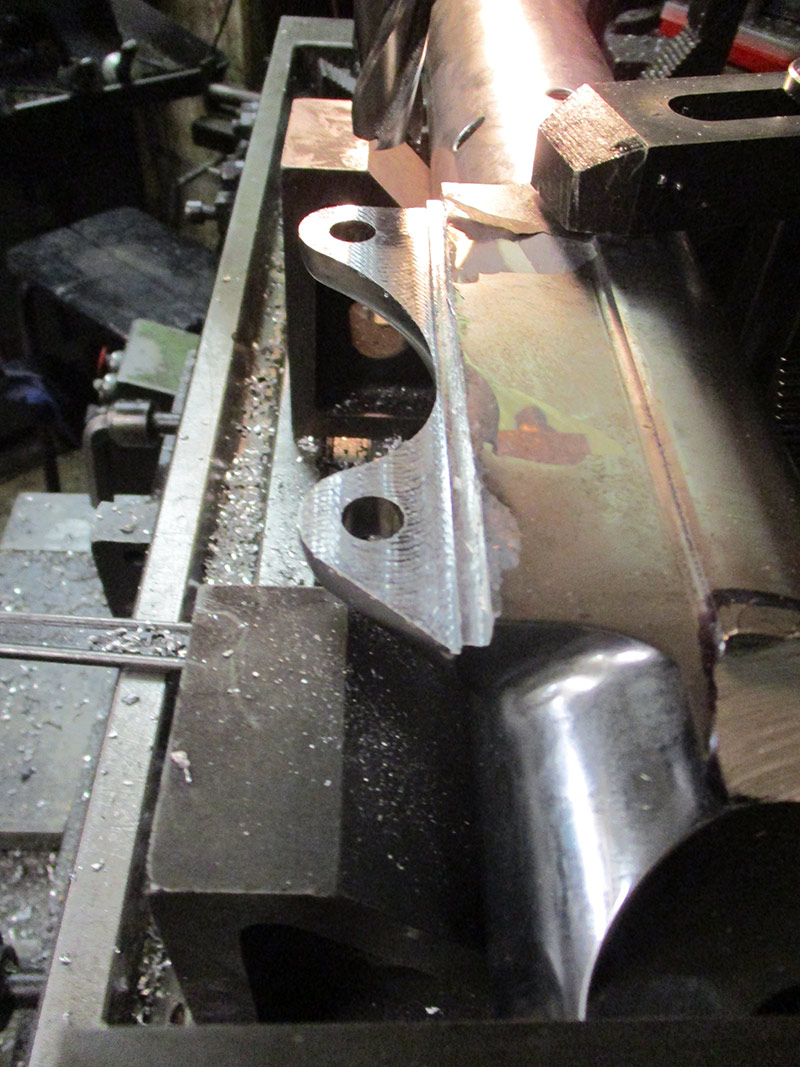
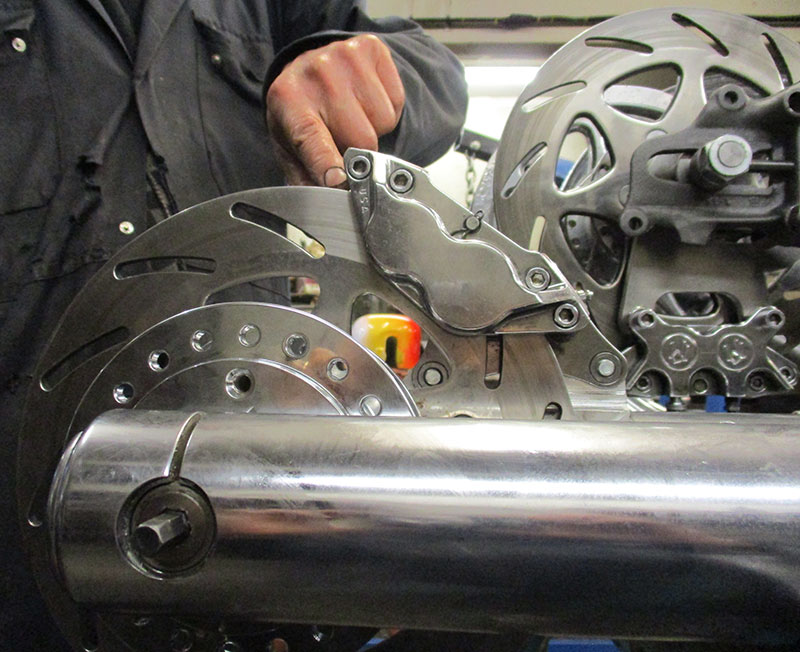
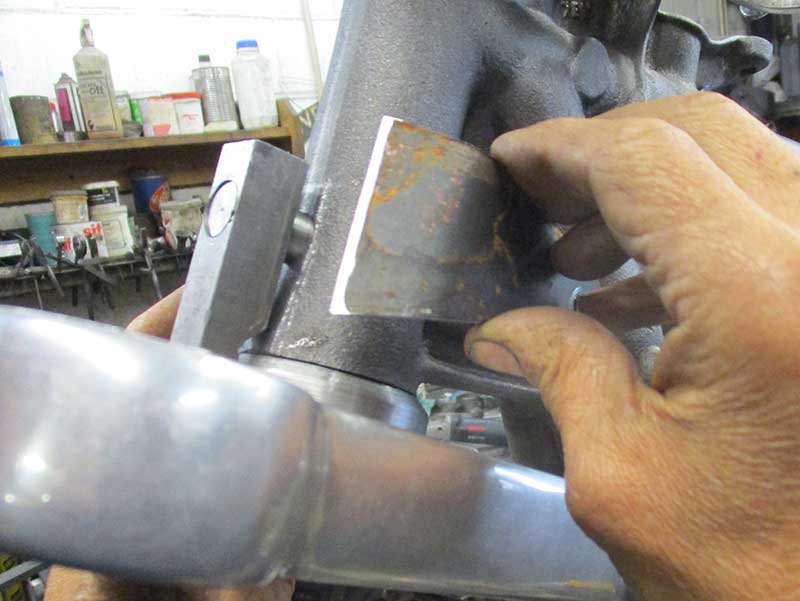
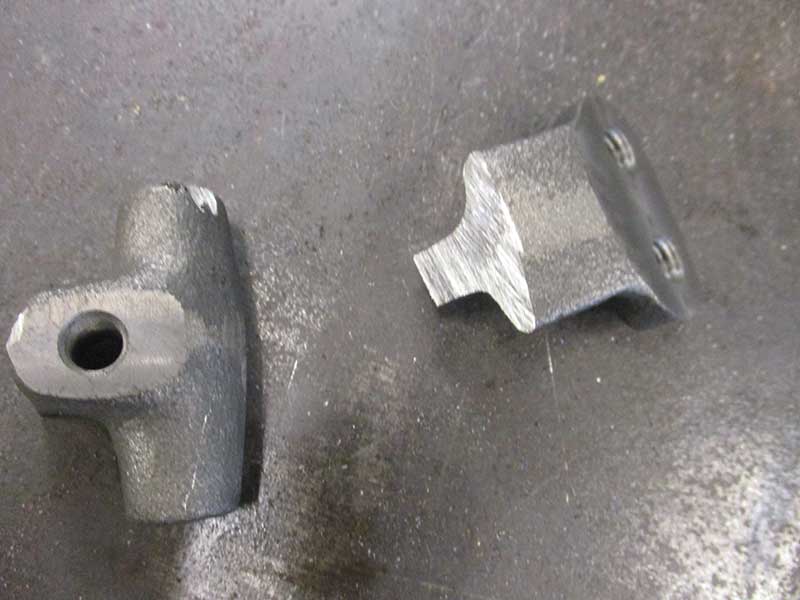
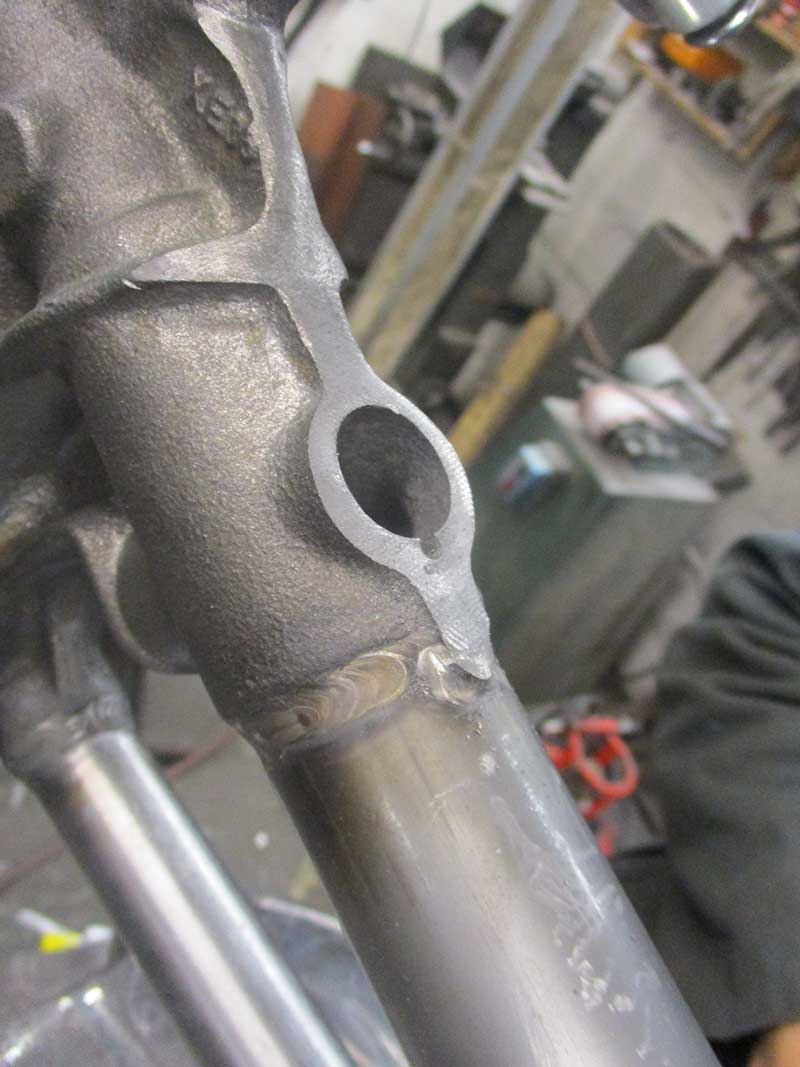
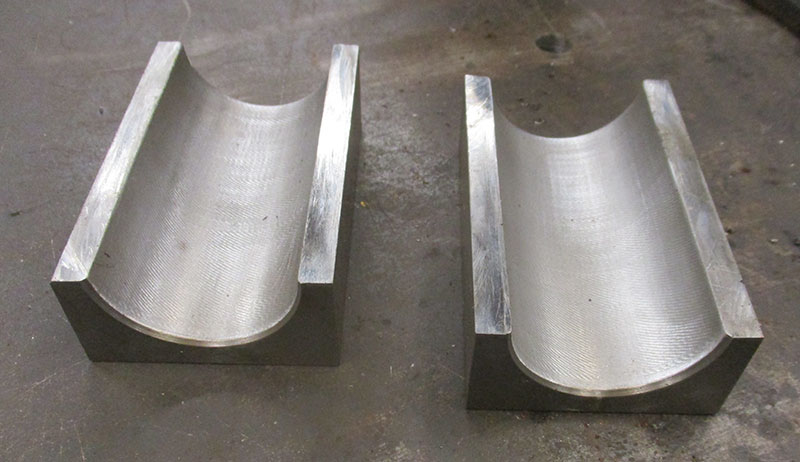
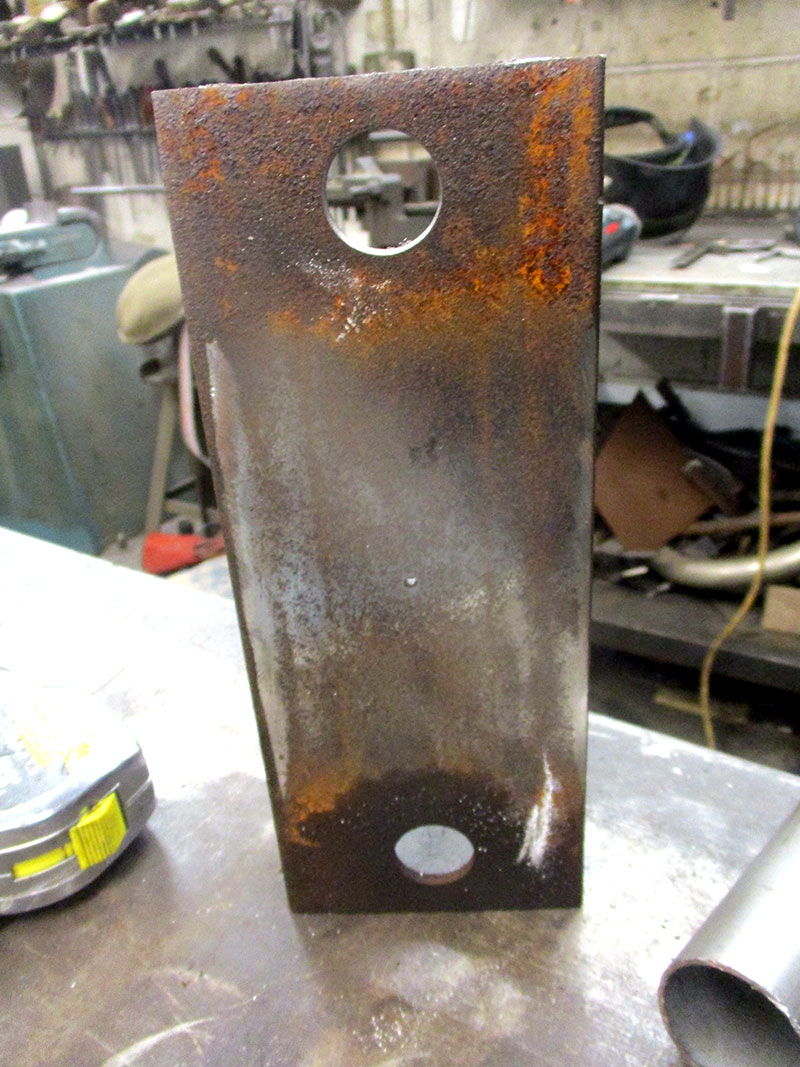
Marking out plate to be made into the caliper - existing caliper on the right.
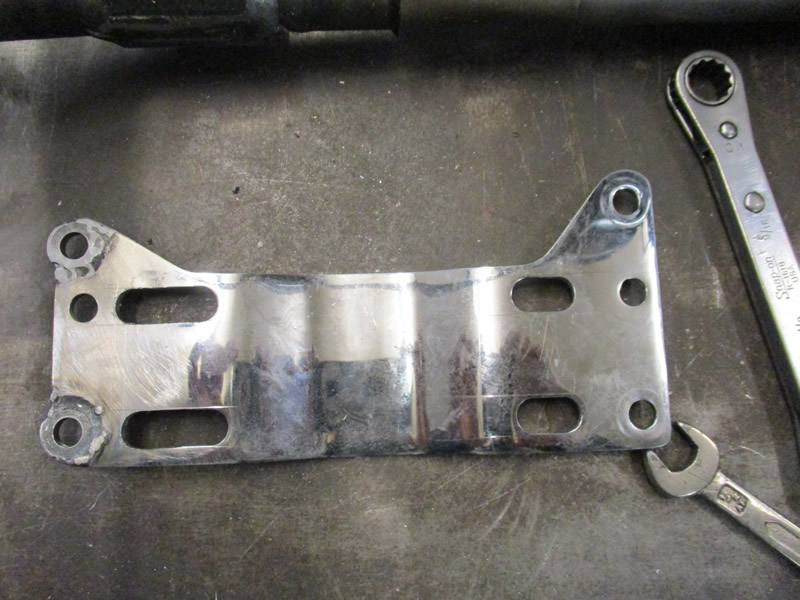
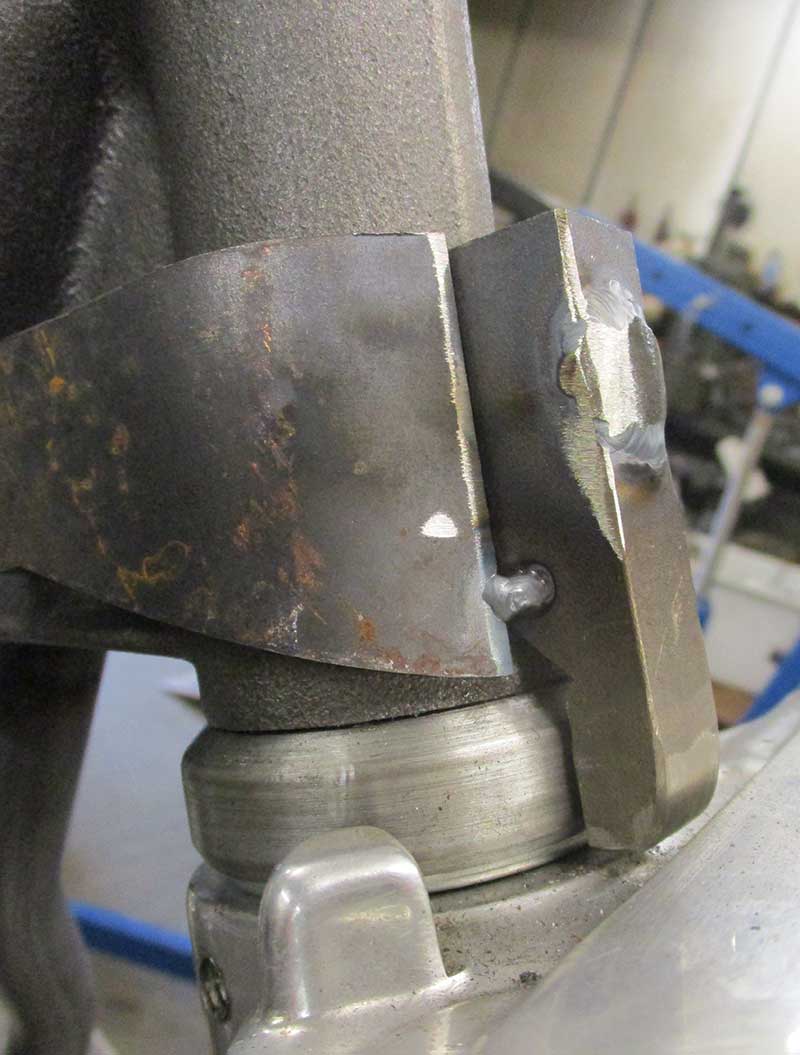
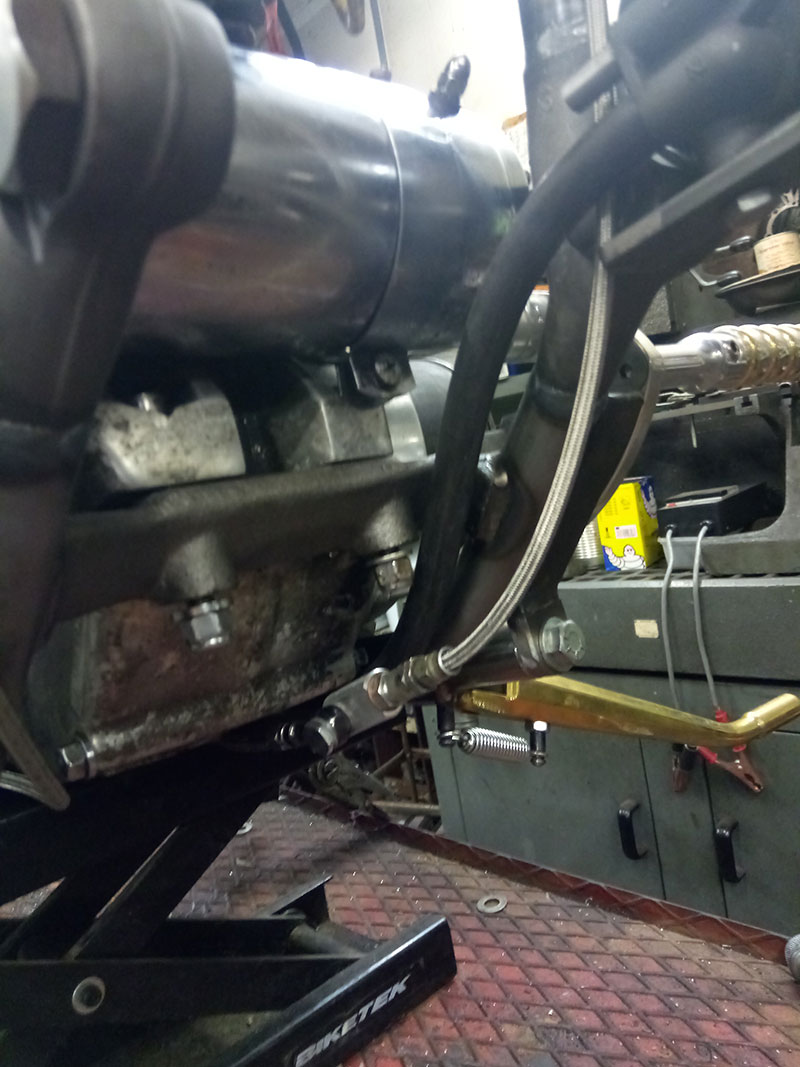
Gearbox adapter plate modified to put engine and clutch inline.
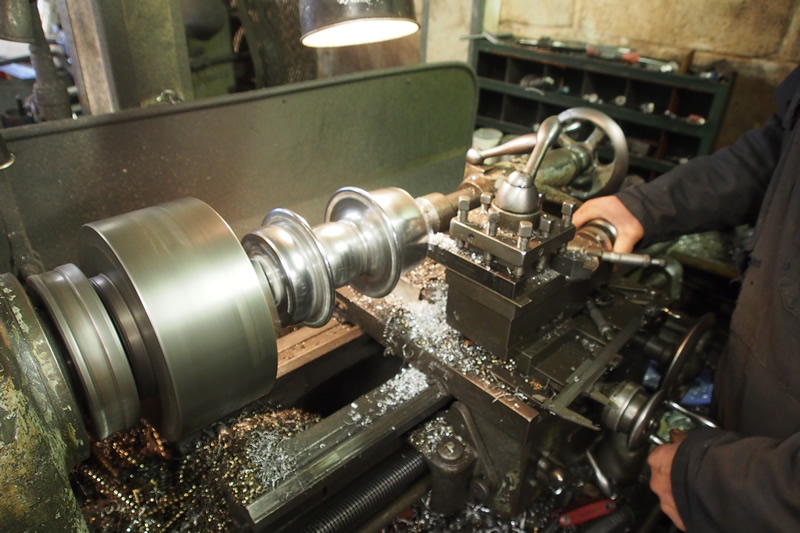
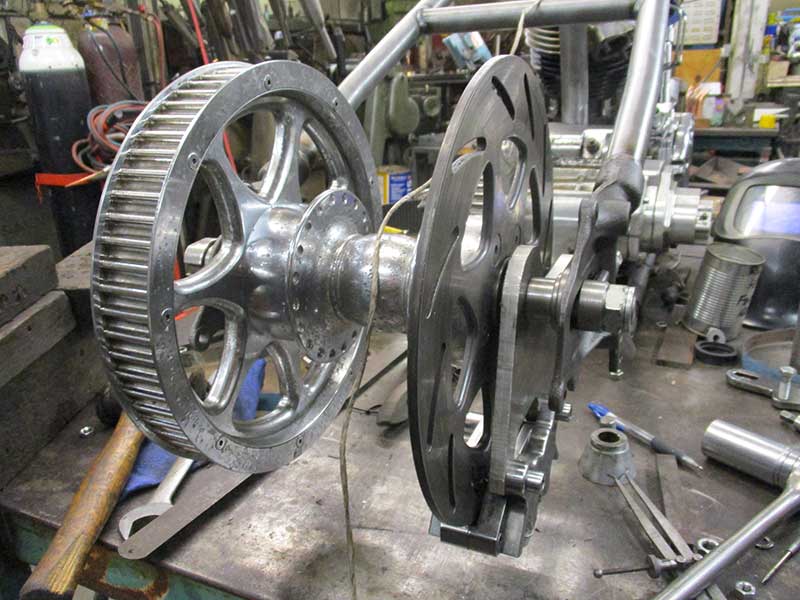
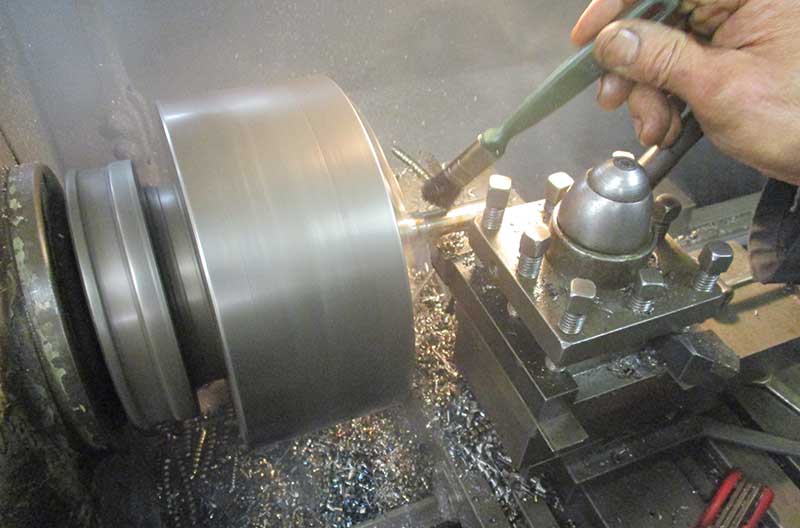
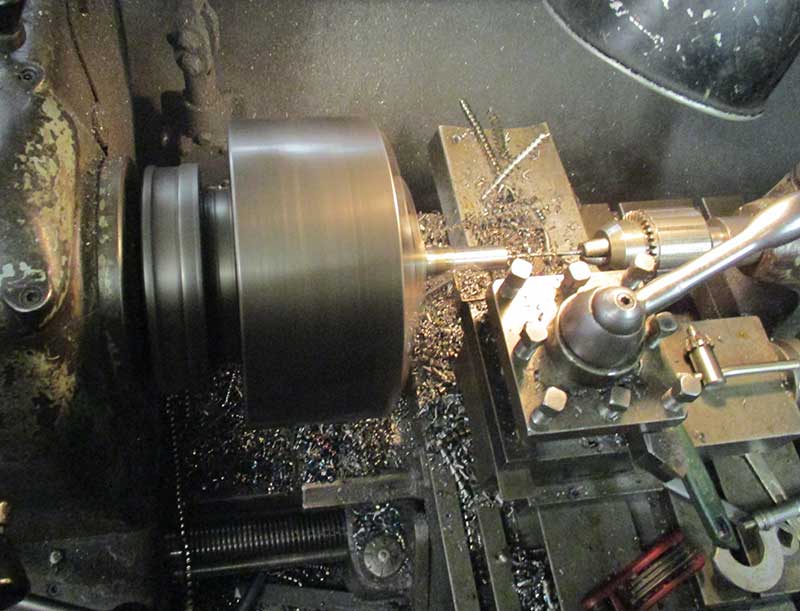
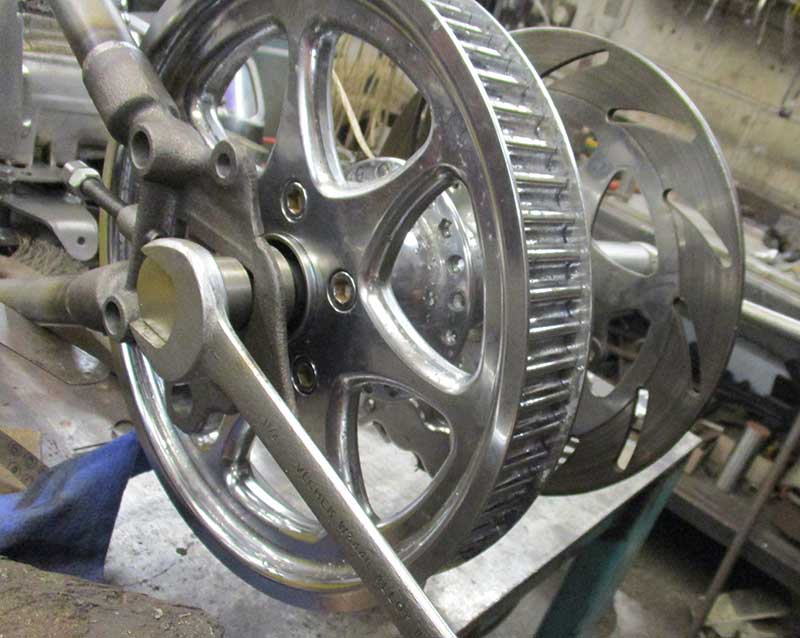
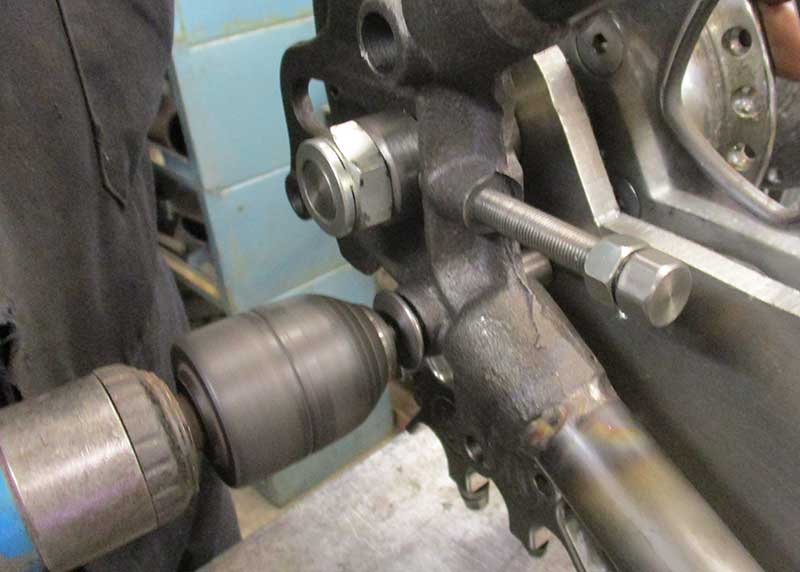
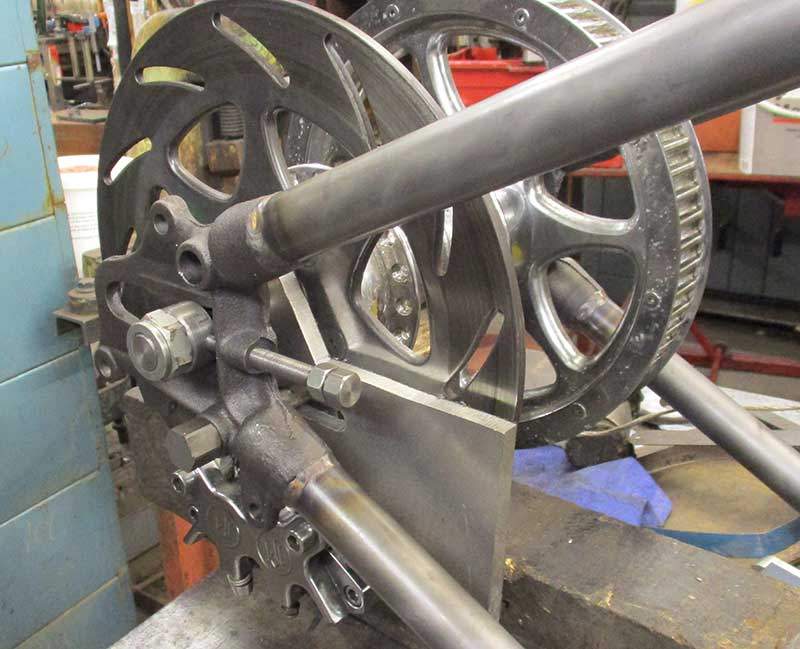
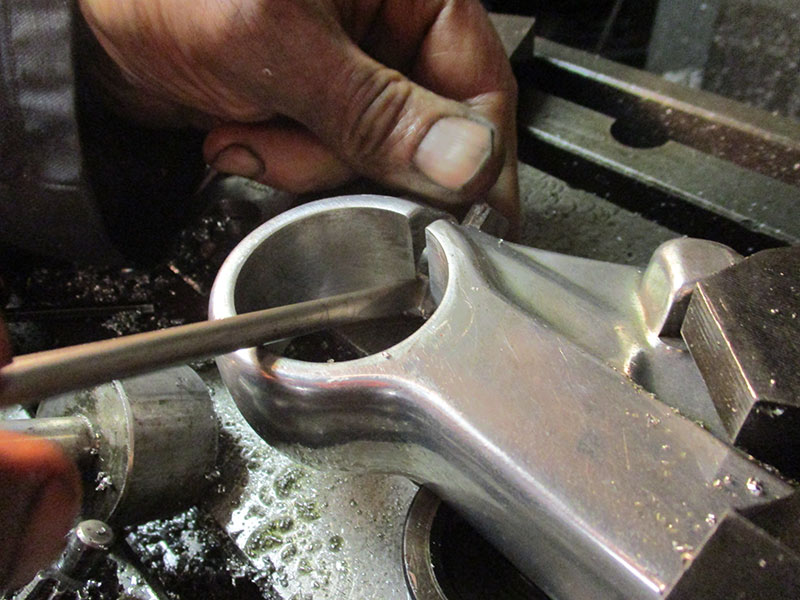
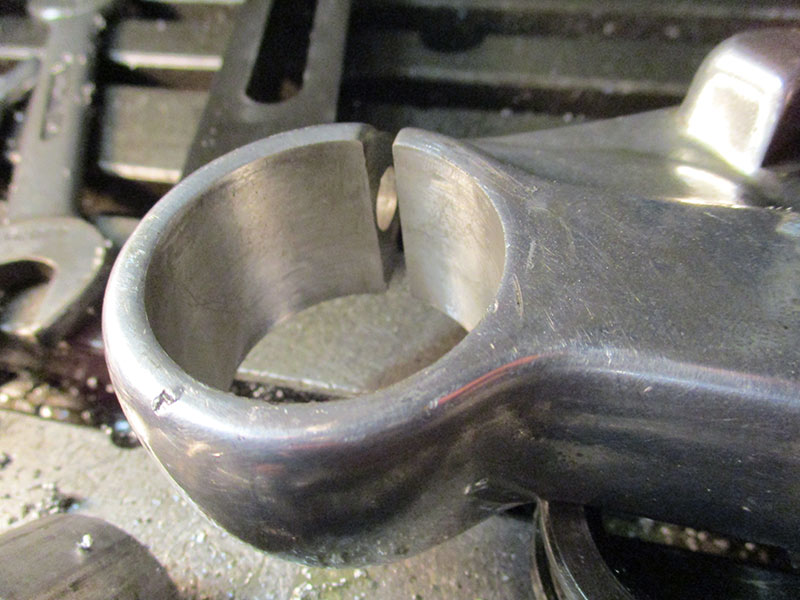
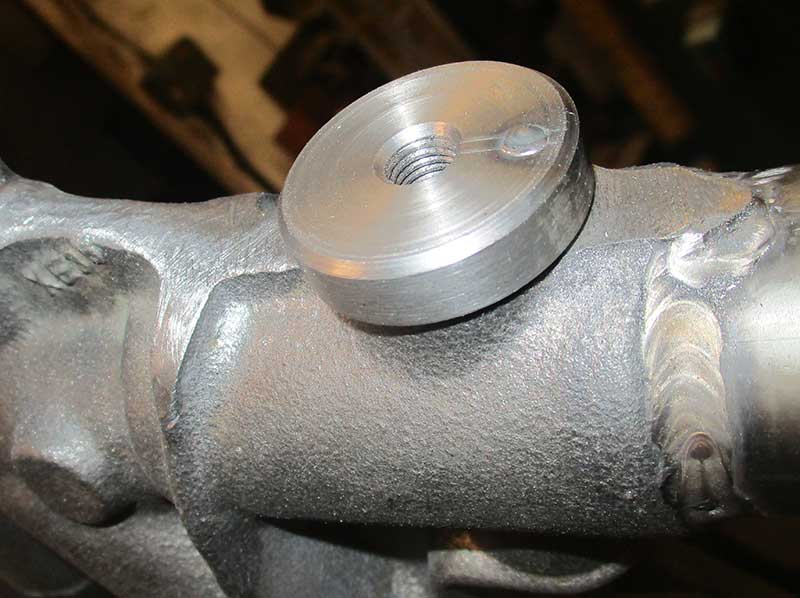
The rear hub is being mofified - shortened on the drive end before the bolt holes are lengthened to hold the rear pulley on.
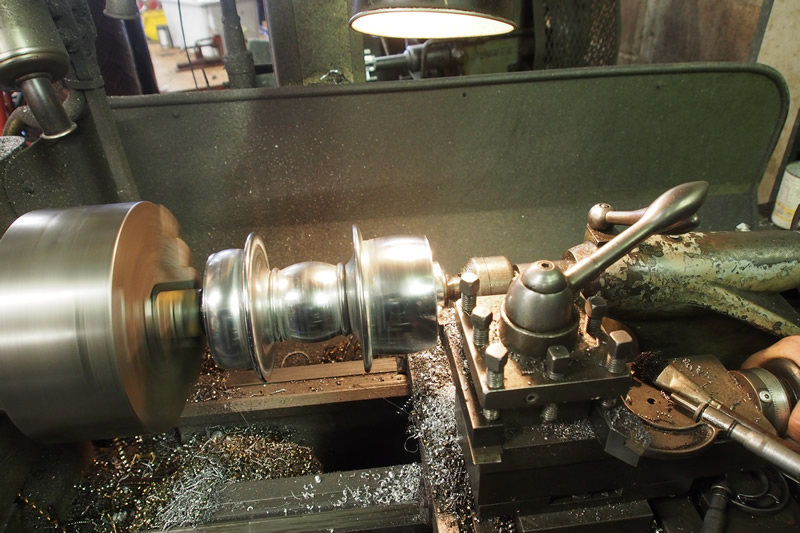
Rear hub modified.
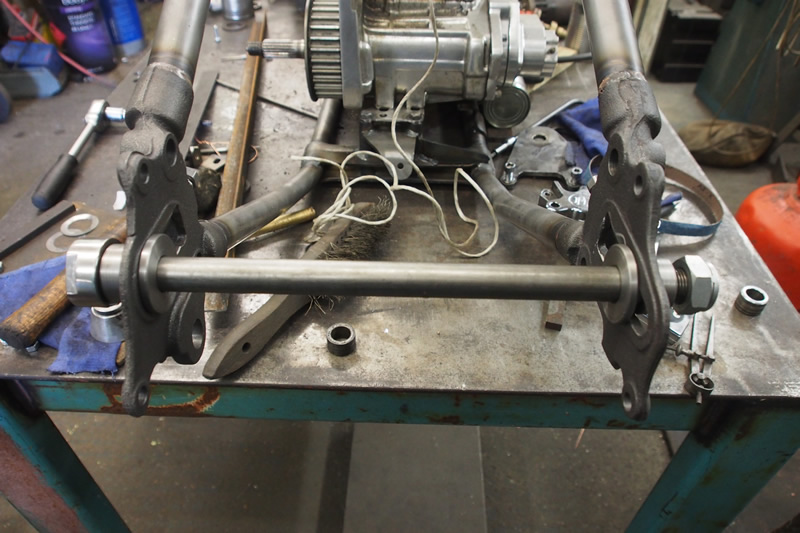
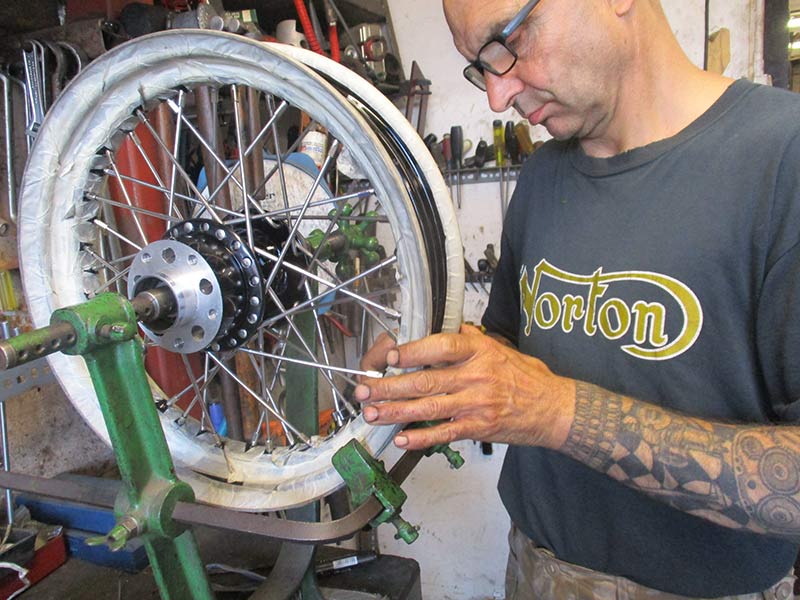
Rear wheel spindle has been made and in position along with hand made spacers and reducers to 7/8 slots.
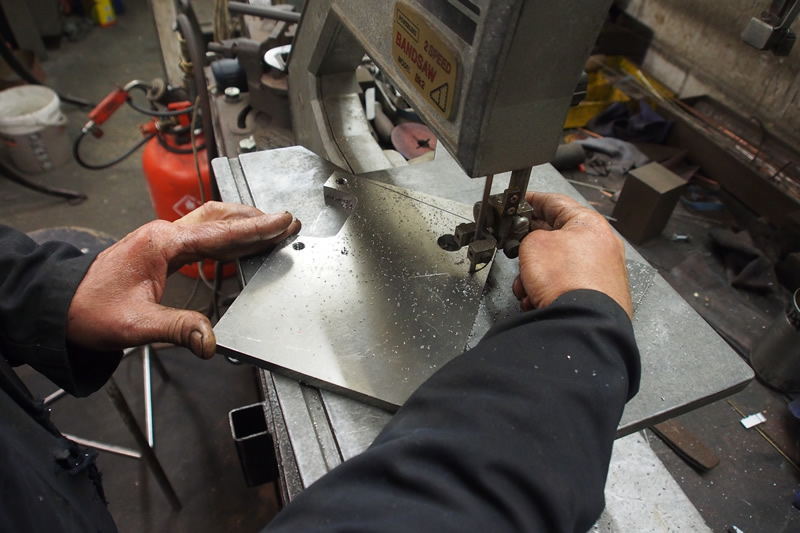
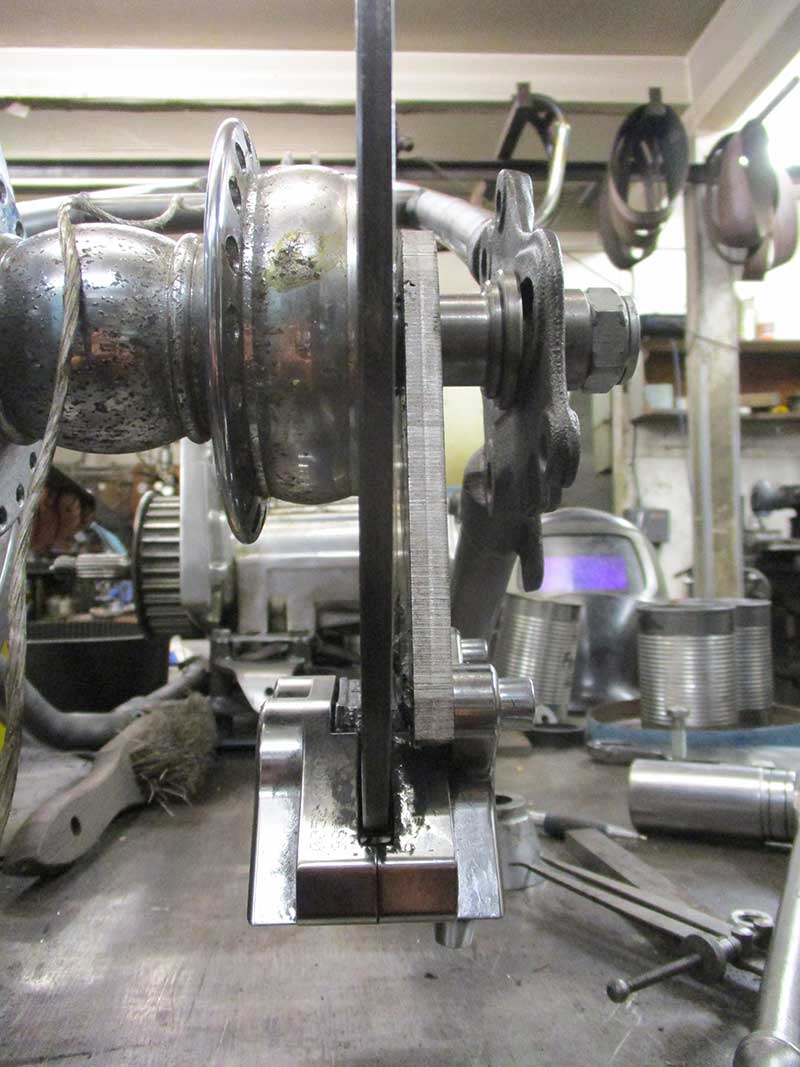
Bandsaw cutting rear caliper plate.

The bandsaw.
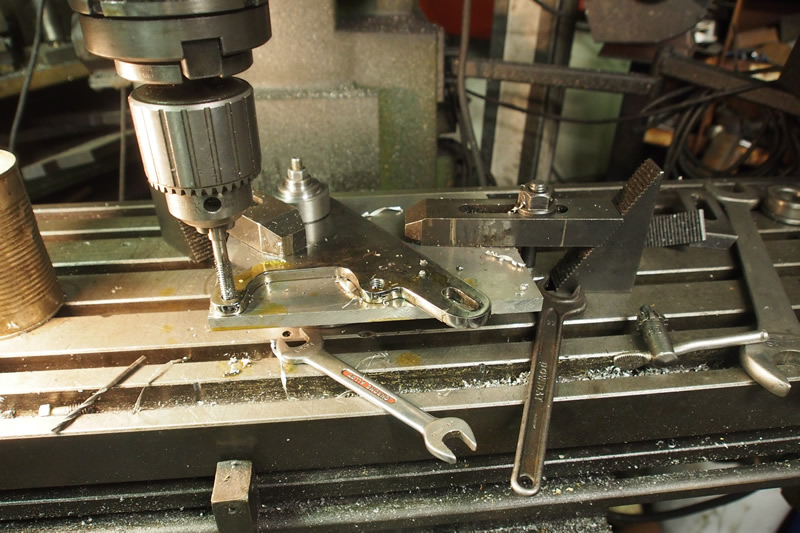
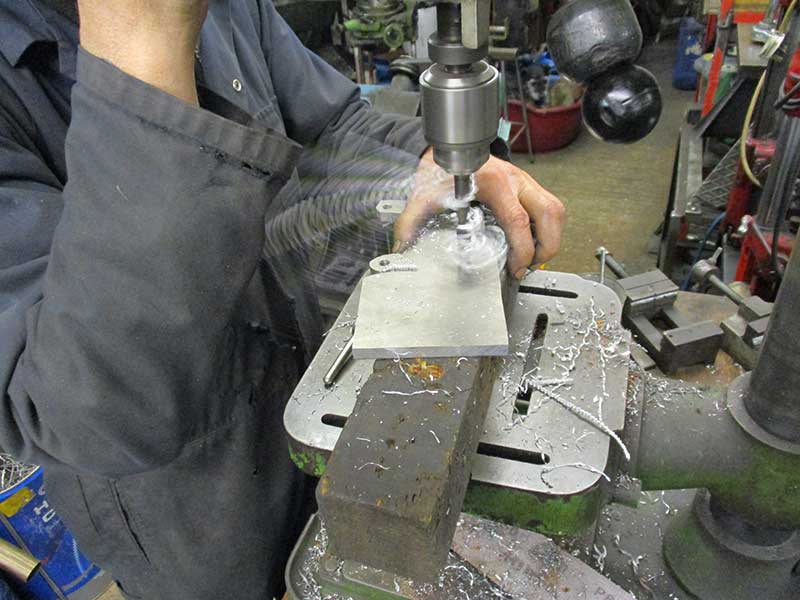
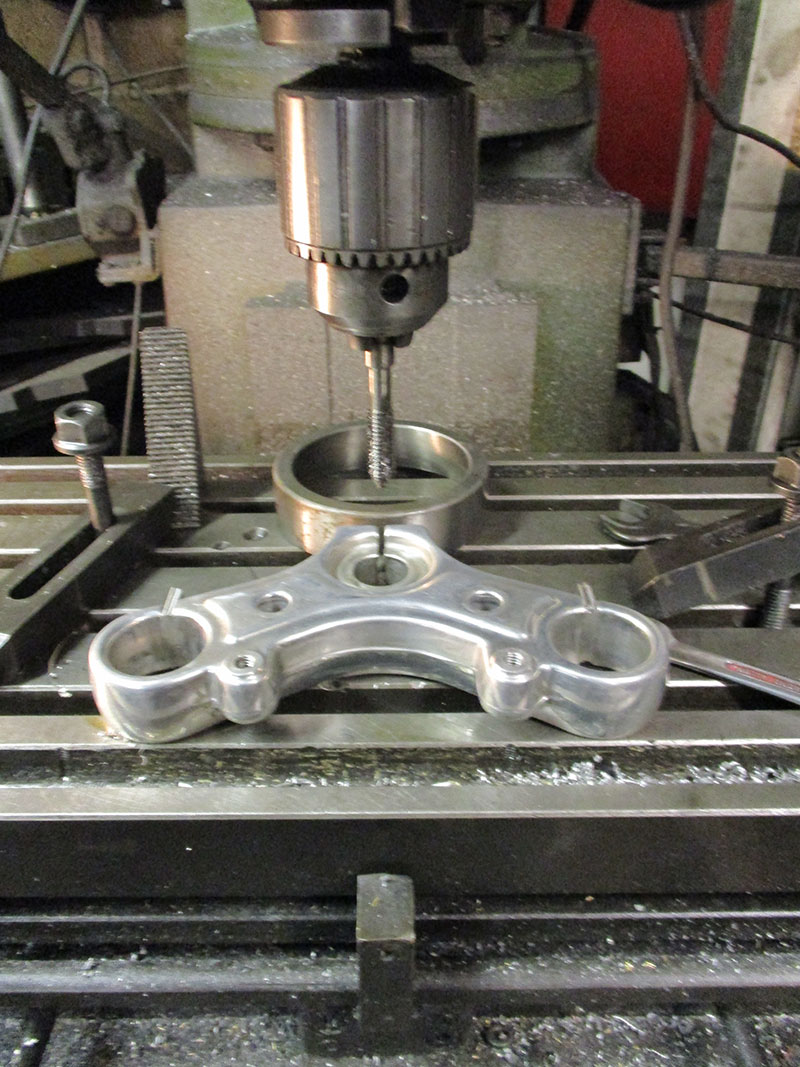
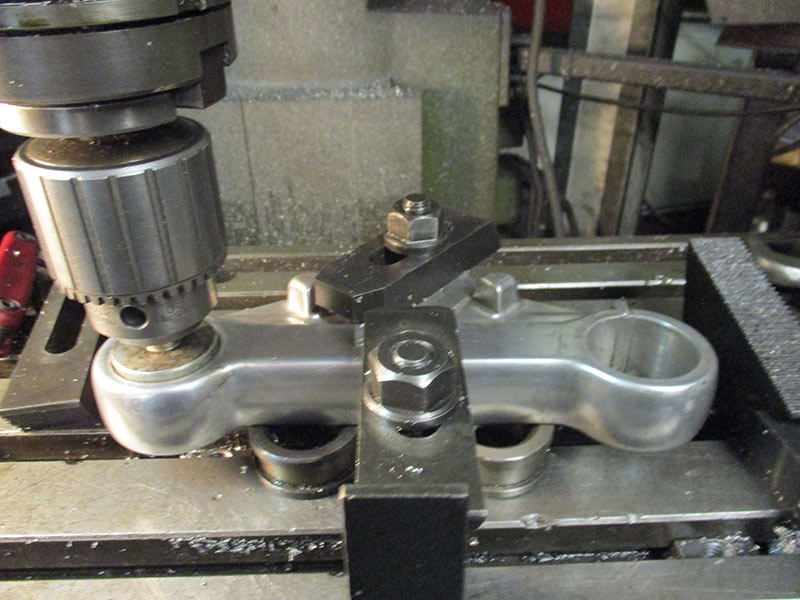
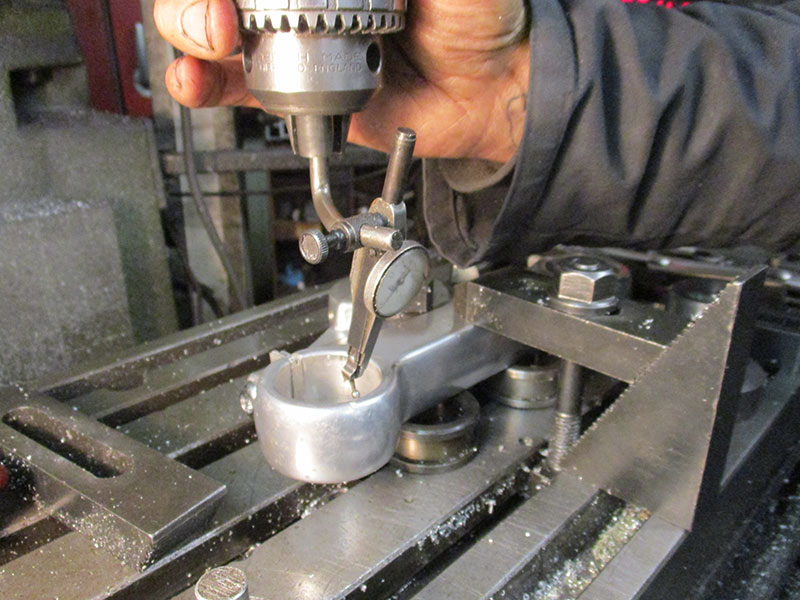
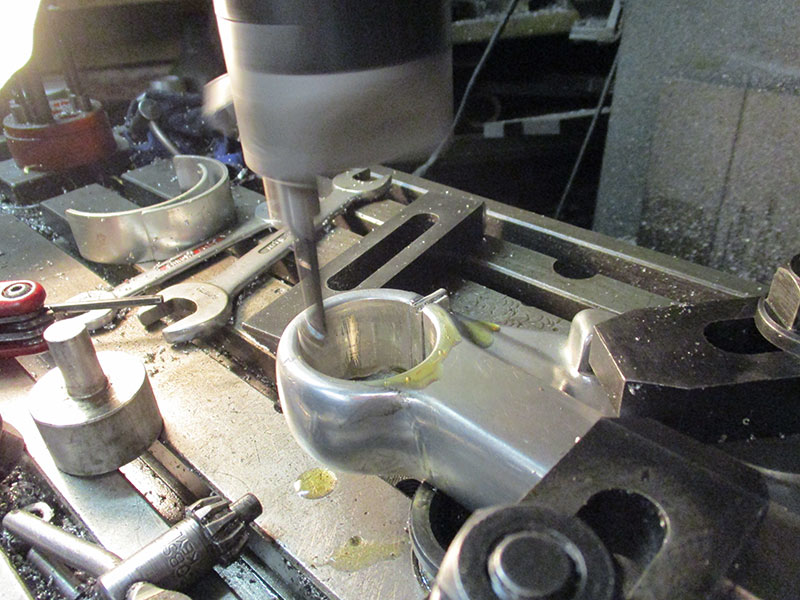
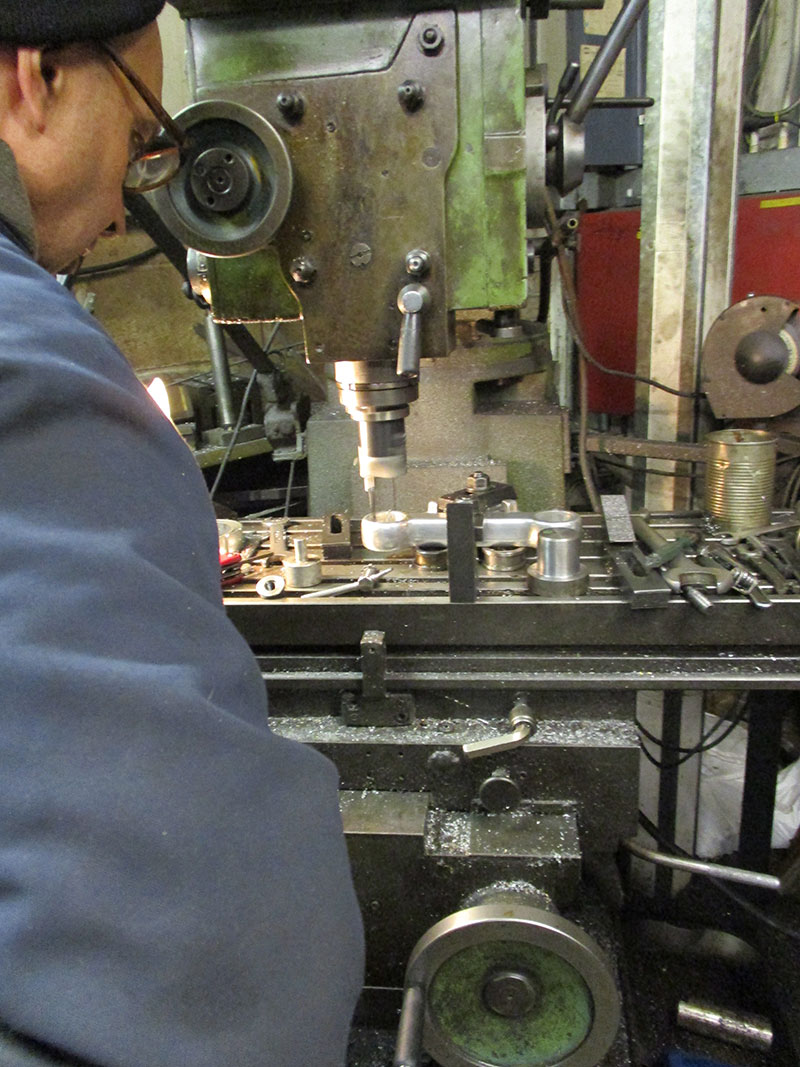
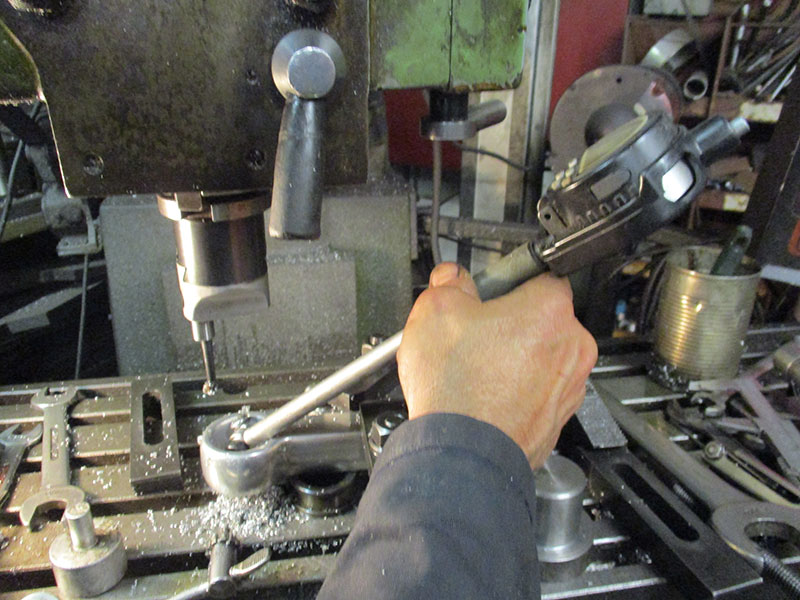
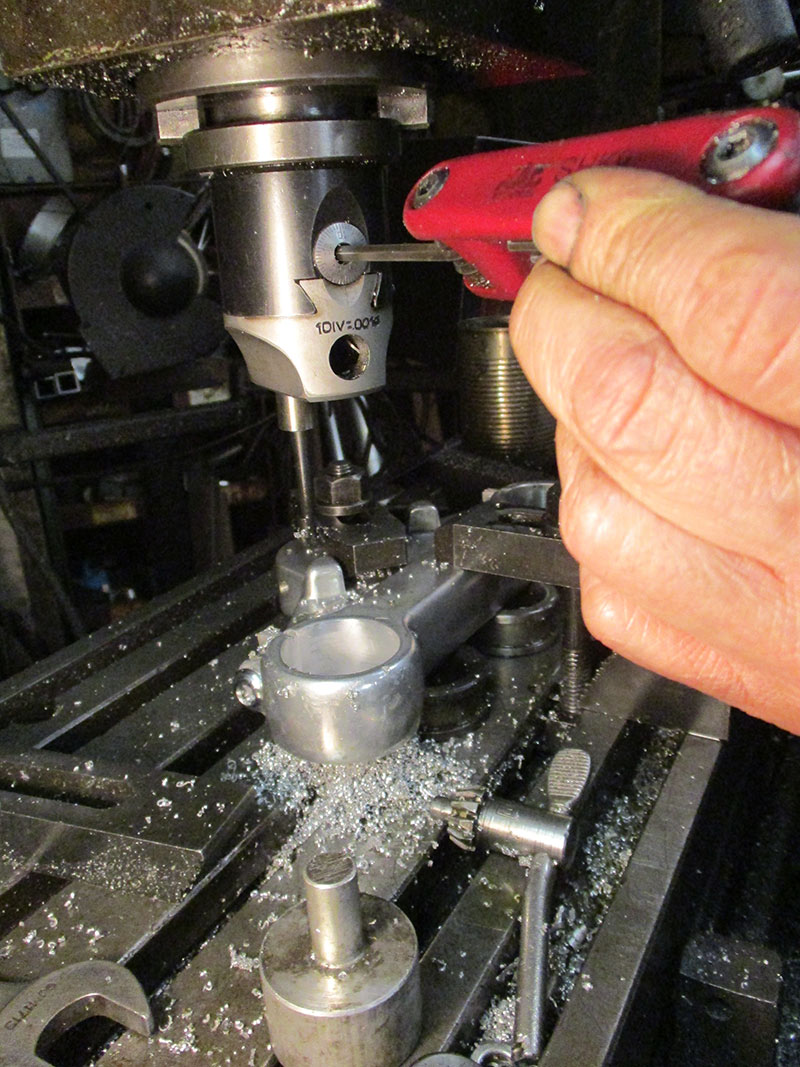
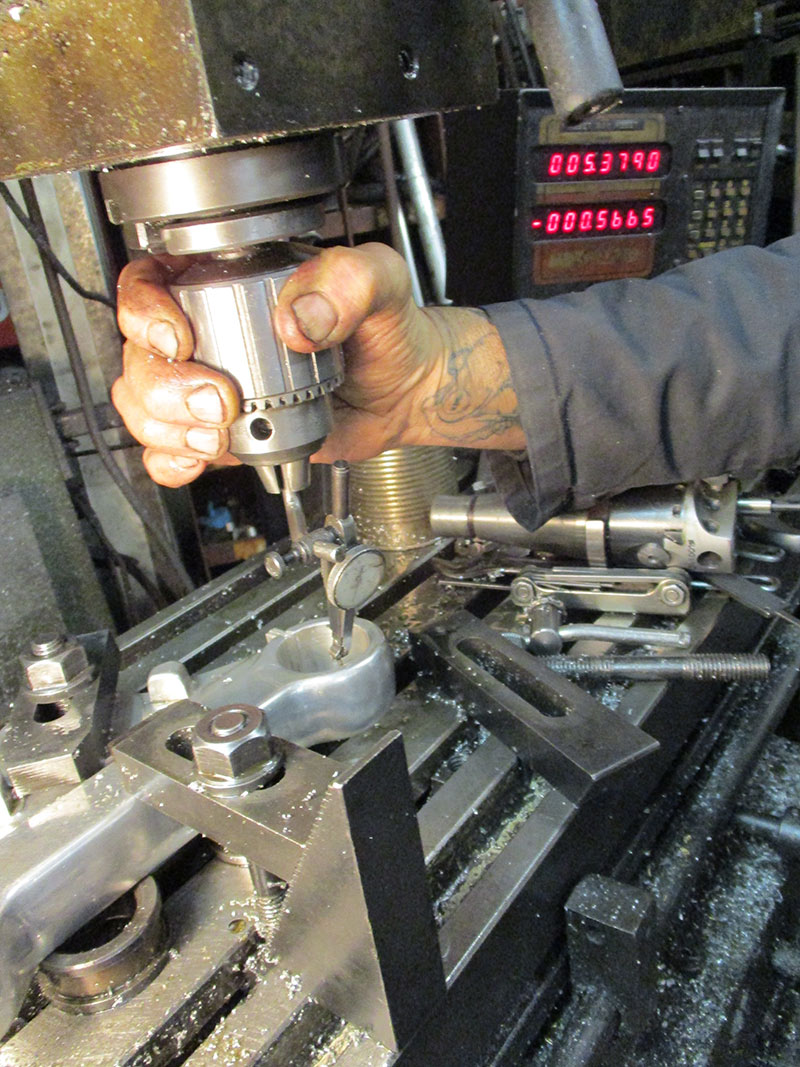
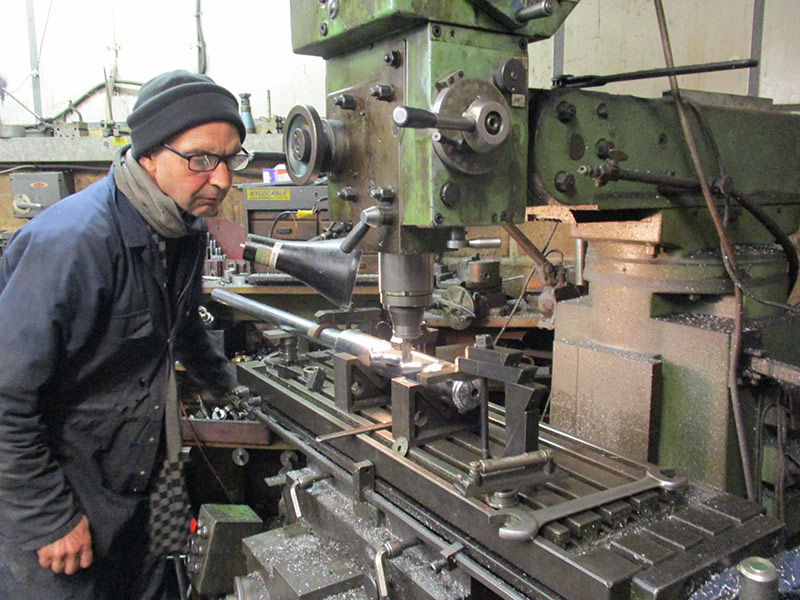
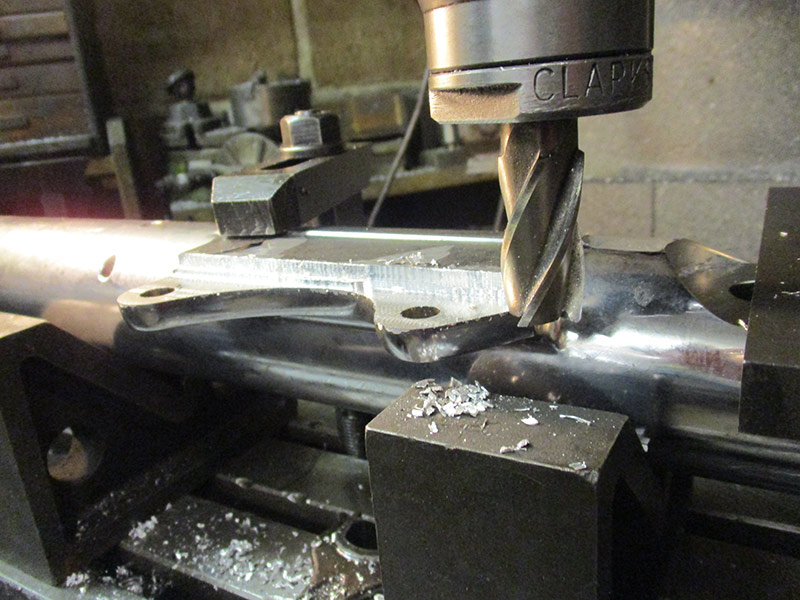
Drilling and tapping the bolt holes for the caliper on the mill.
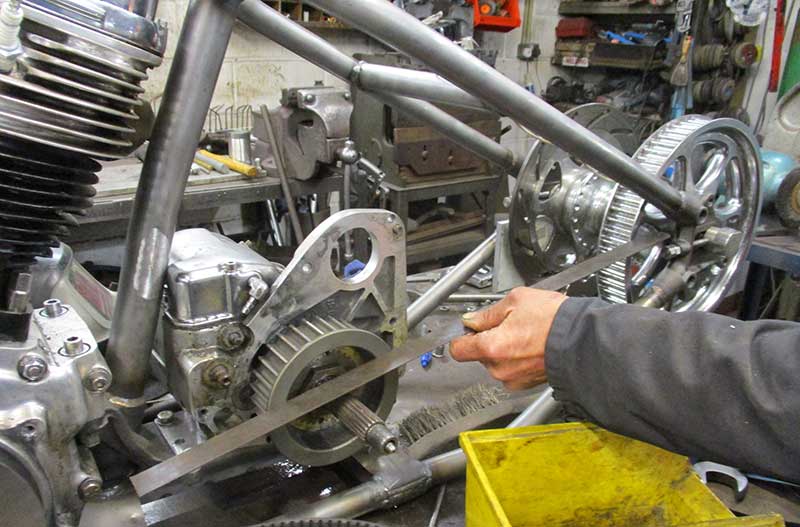
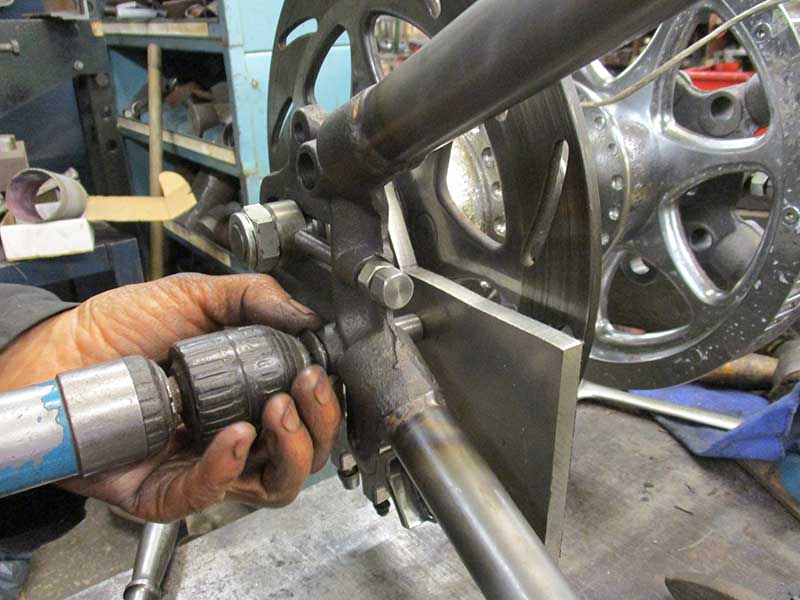
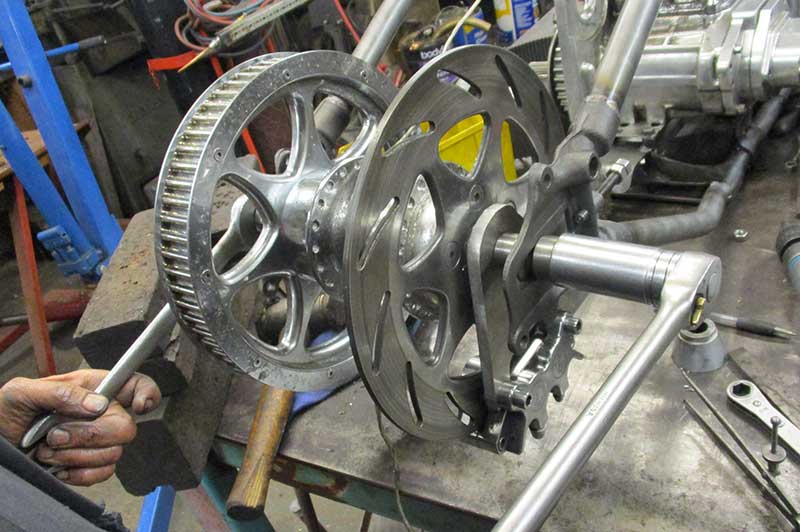
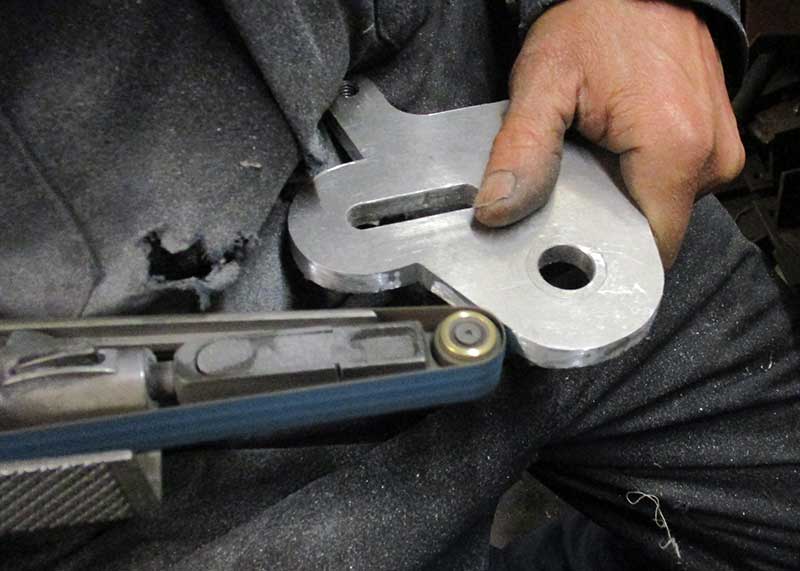
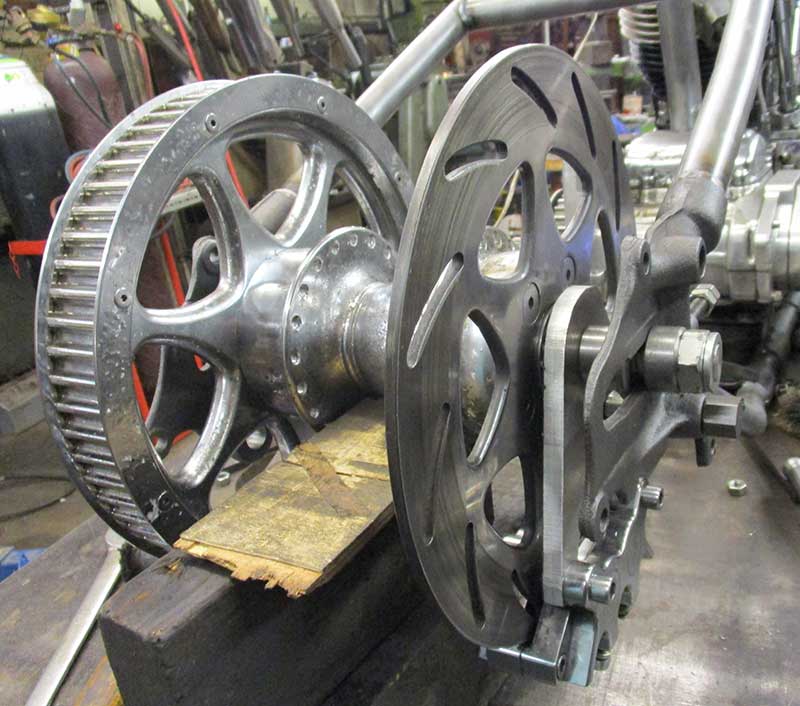
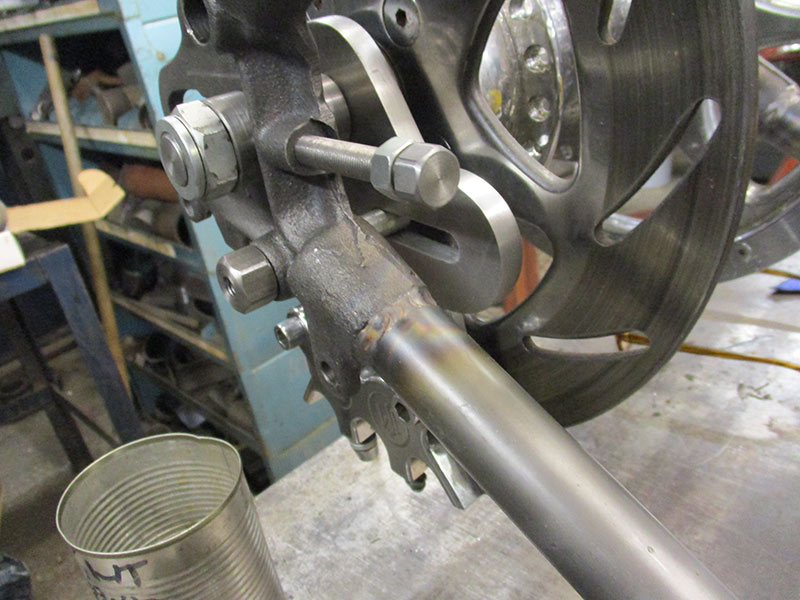
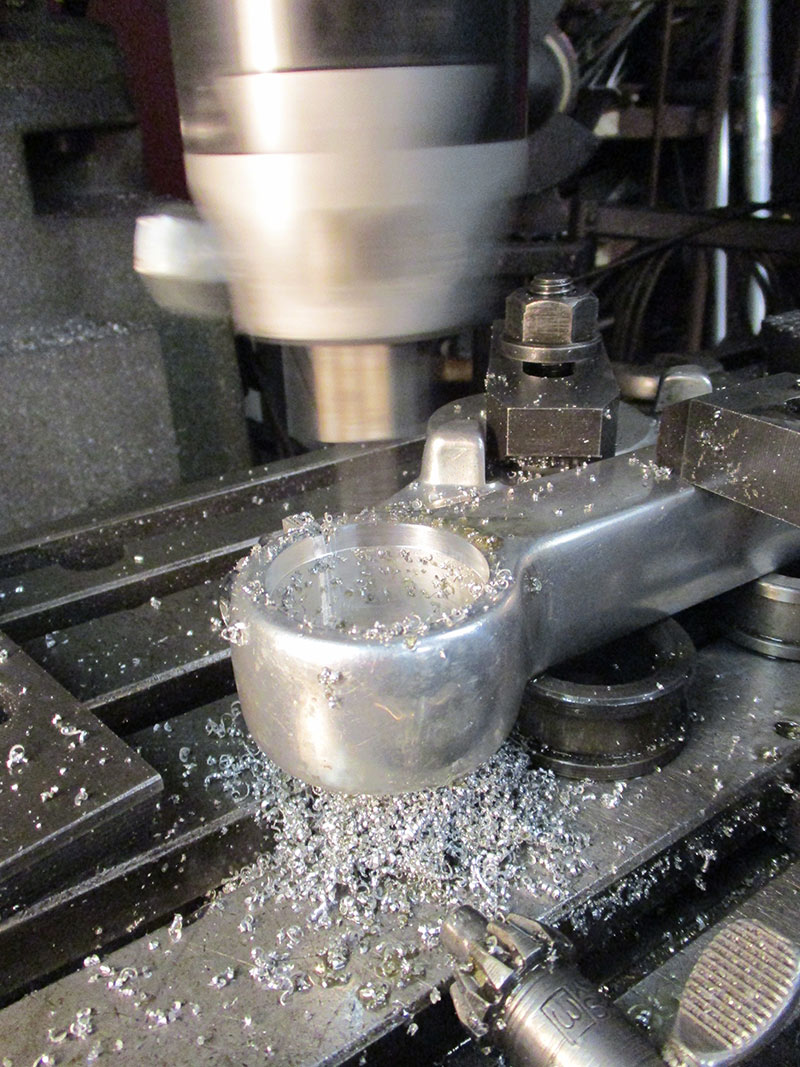
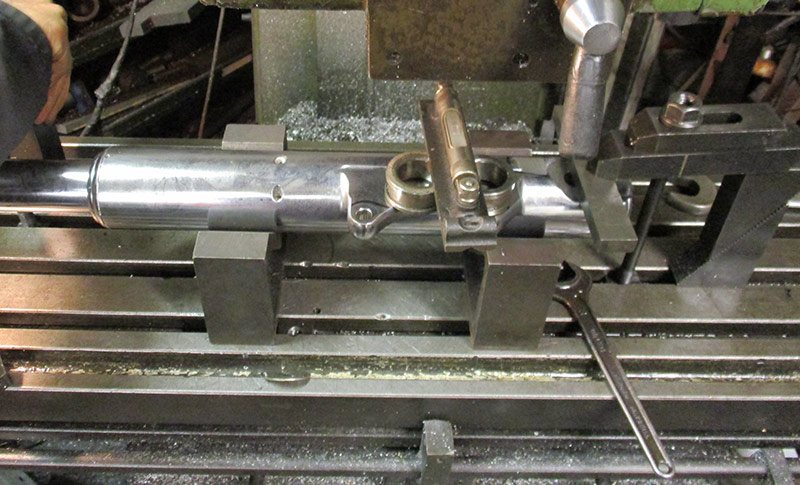
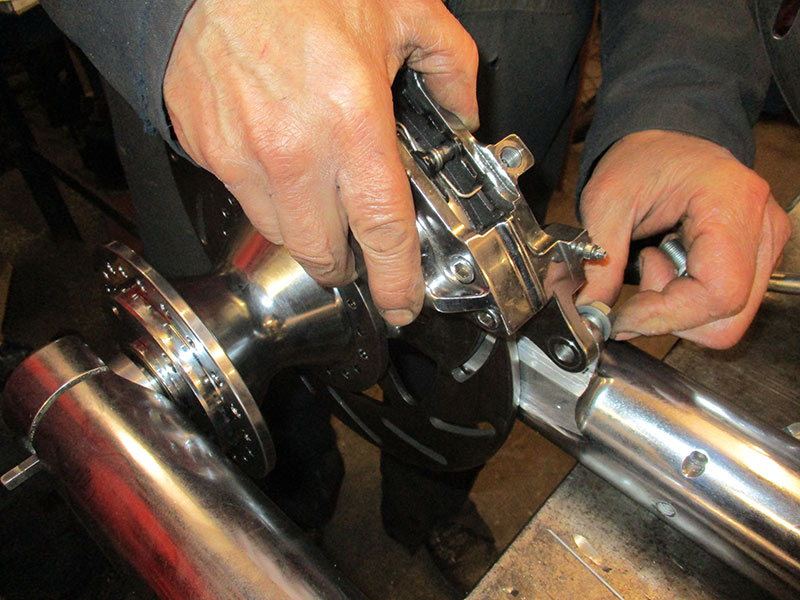
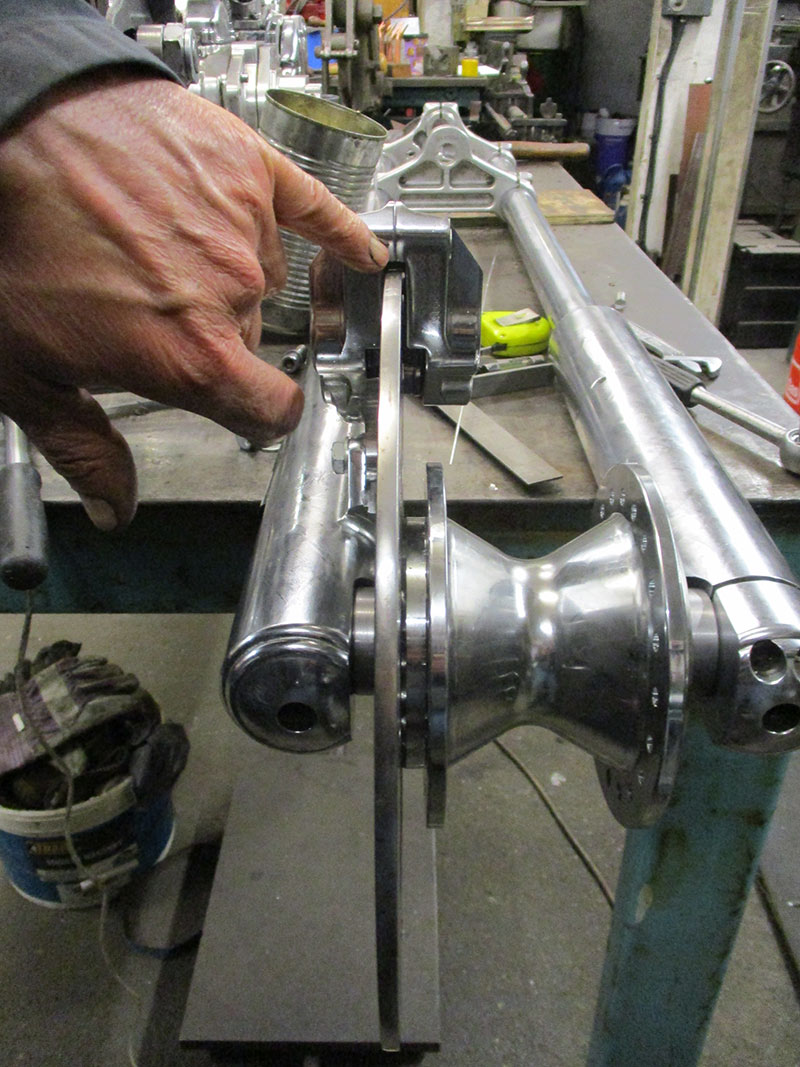
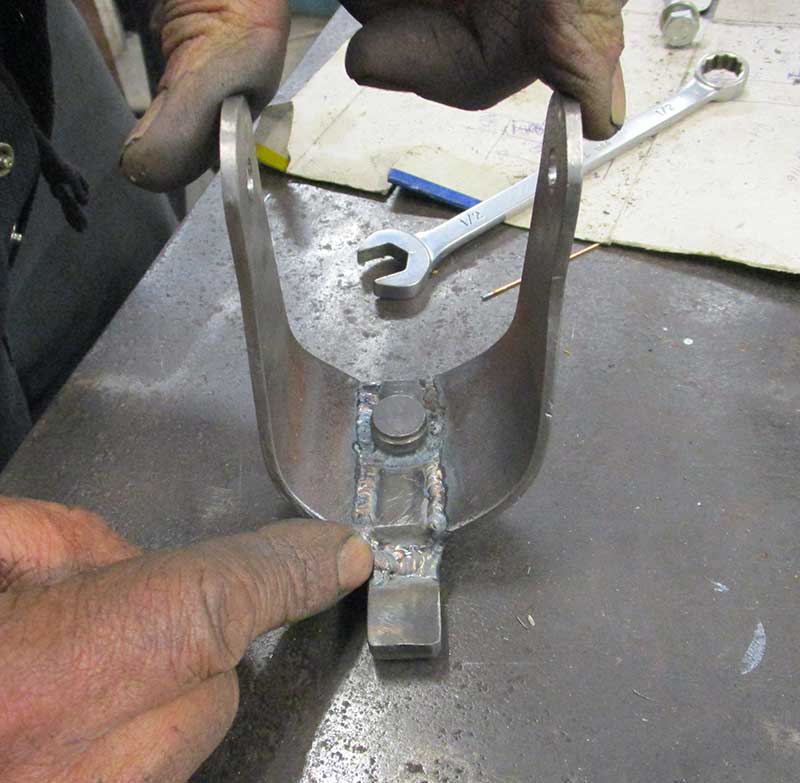
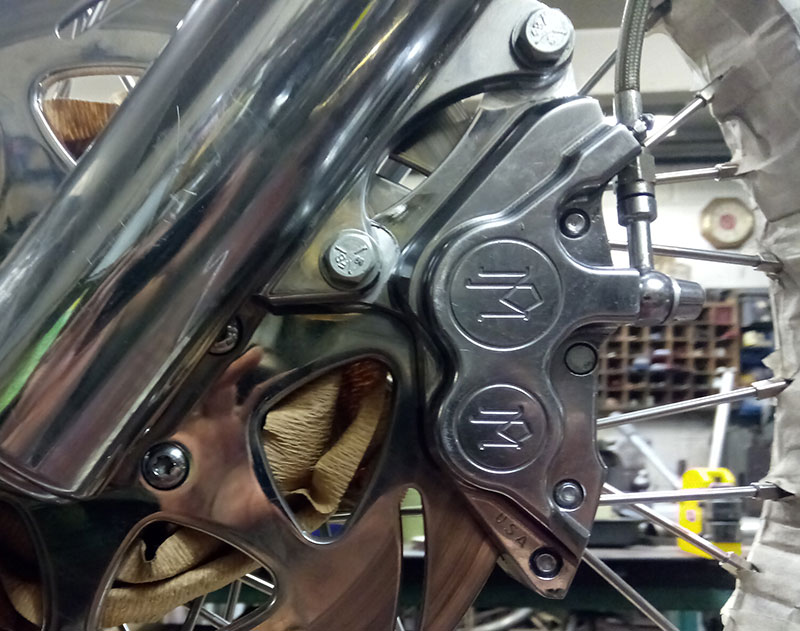
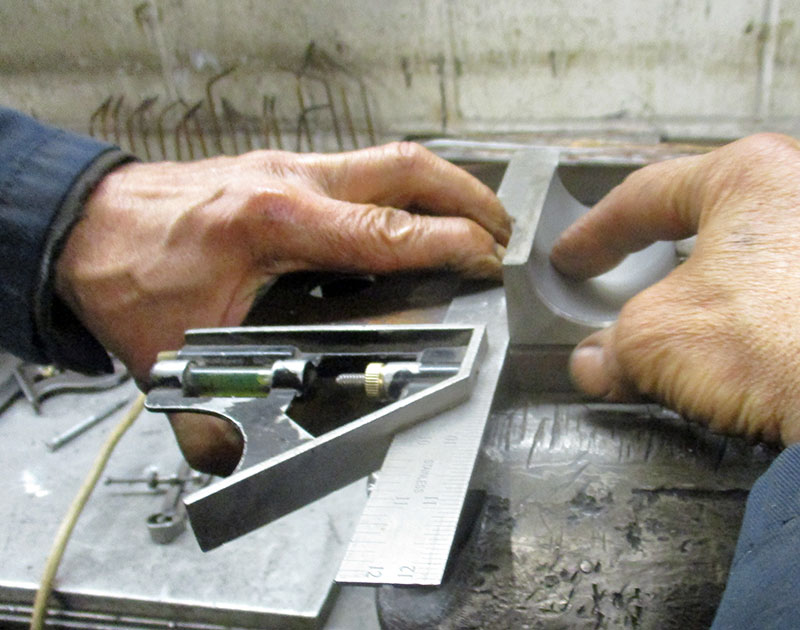
The caliper plate is in position to check alignments and spacings.
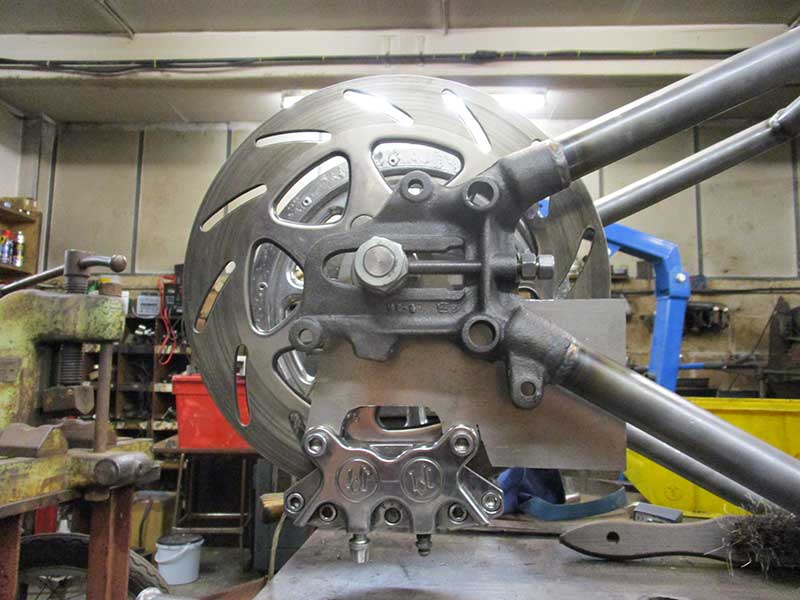
The caliper plate in position ready for marking where the wheel adjustment slots be drilled.
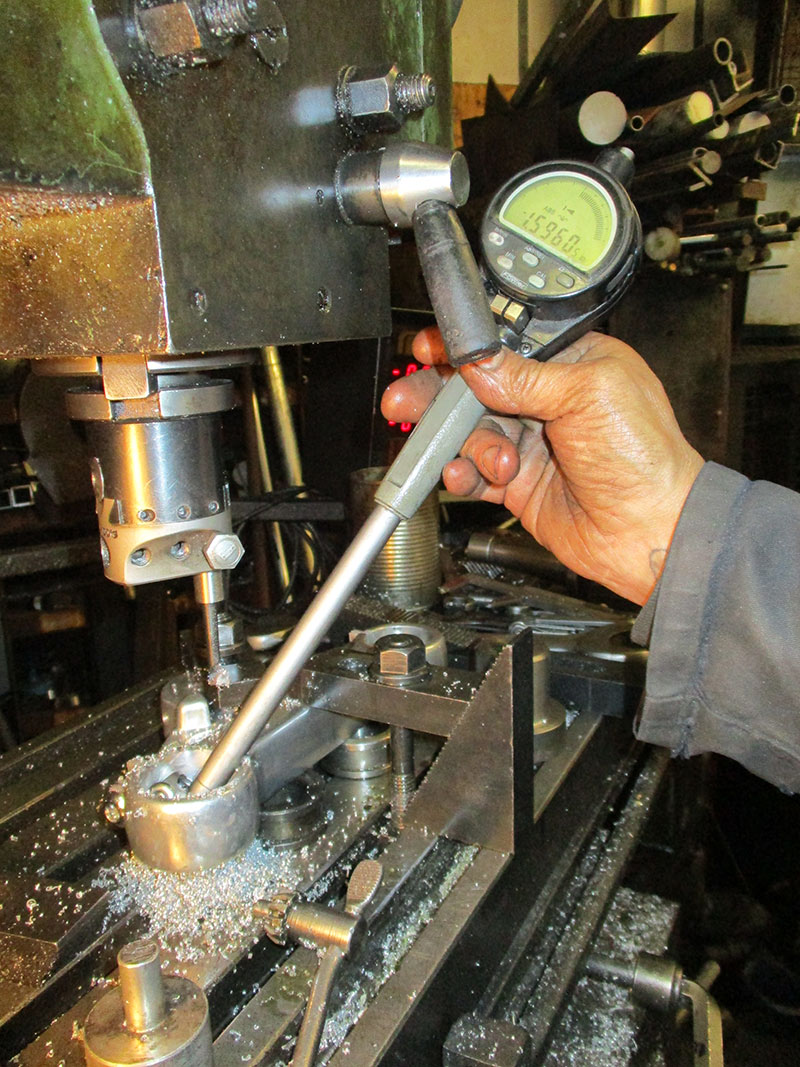
At this stage it is important to keep checking that everything is aligned correctly.
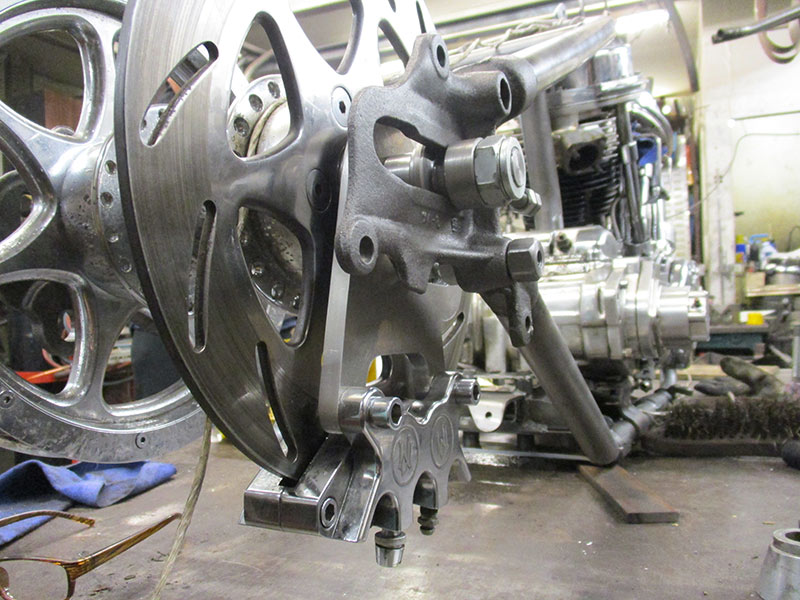
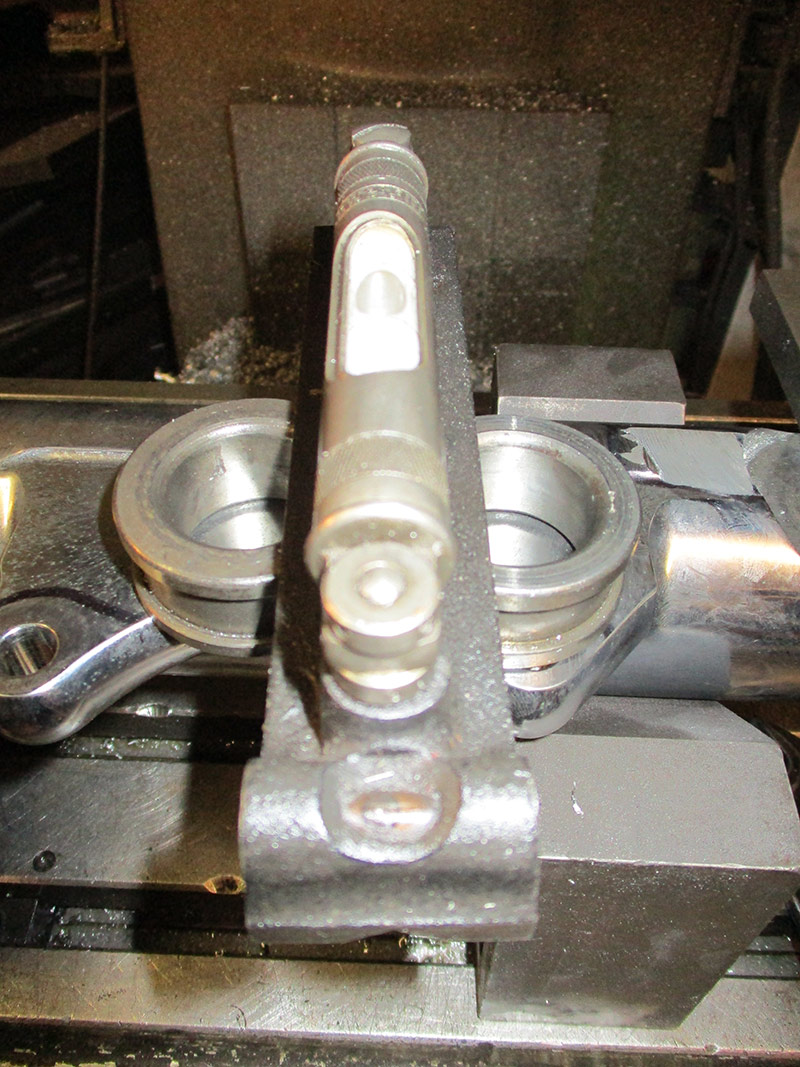
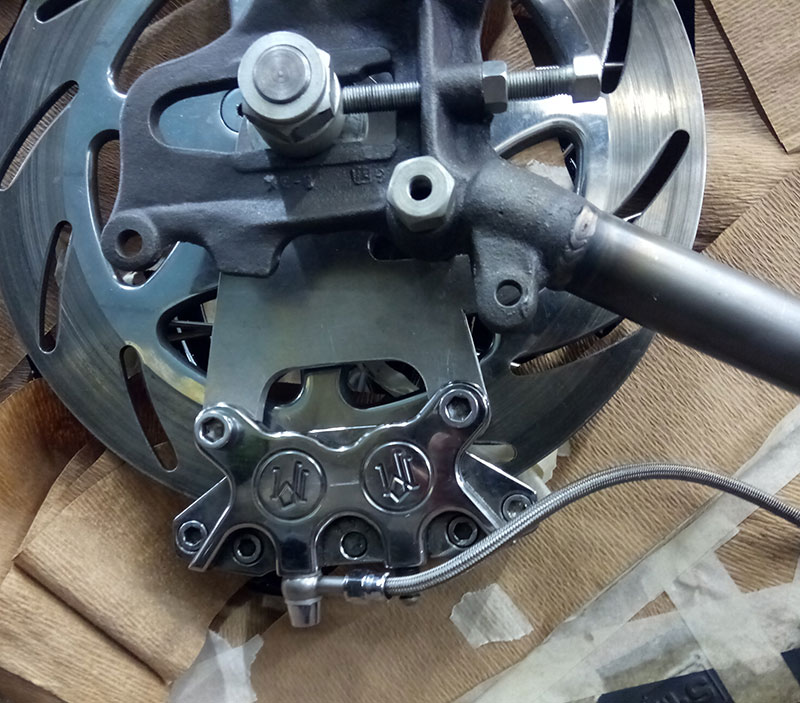
Rear view of caliper and caliper plate.
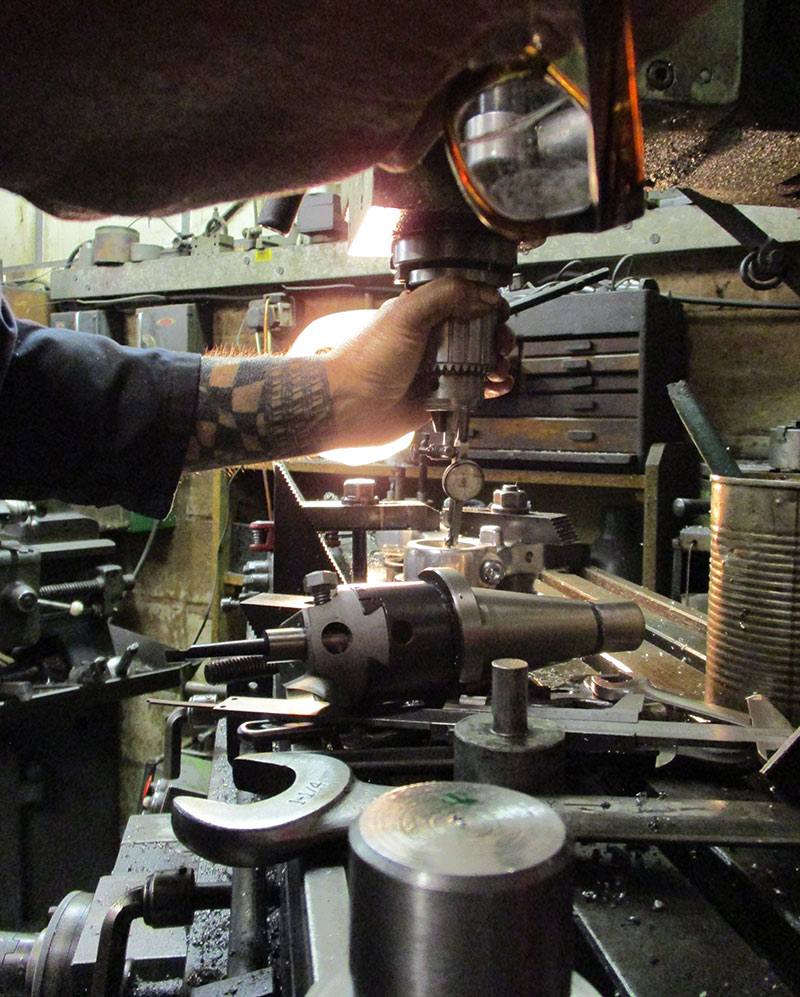
Checking over alignments.
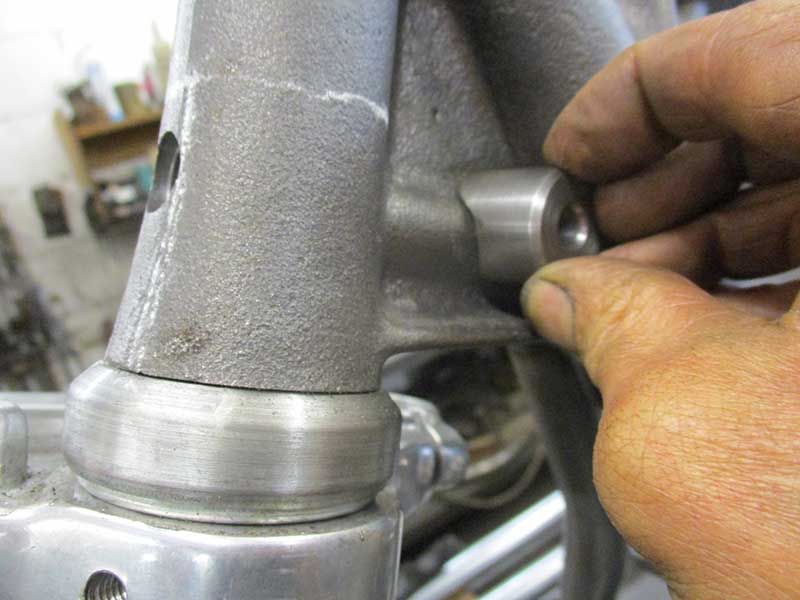
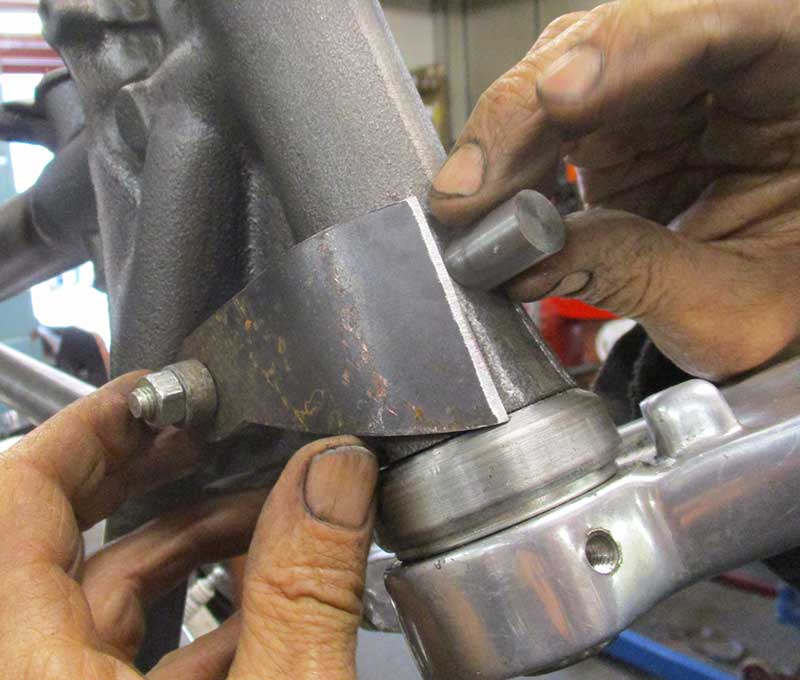
A tool is being made to mark out where the wheel alignment slot within the caliper plate will be positioned.
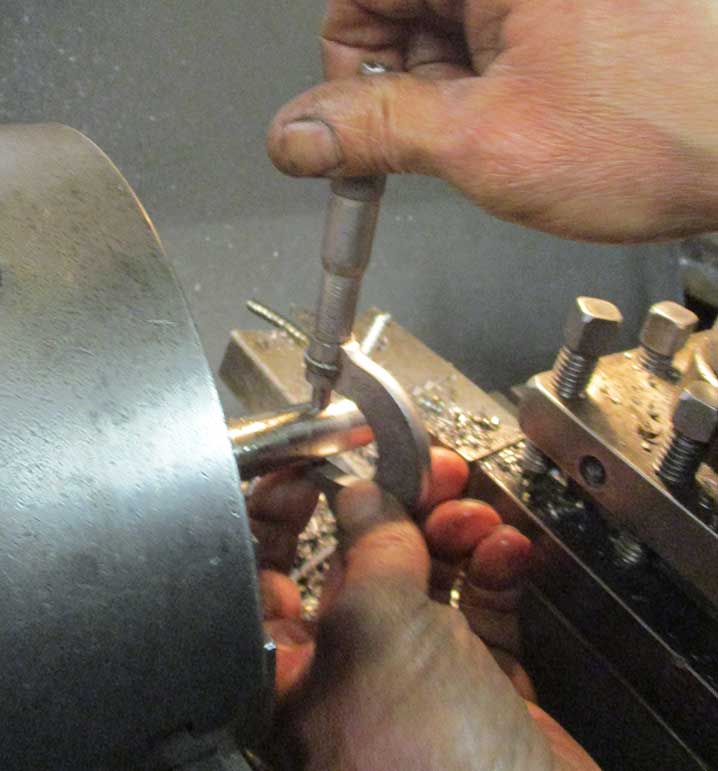
Checking for correct width.
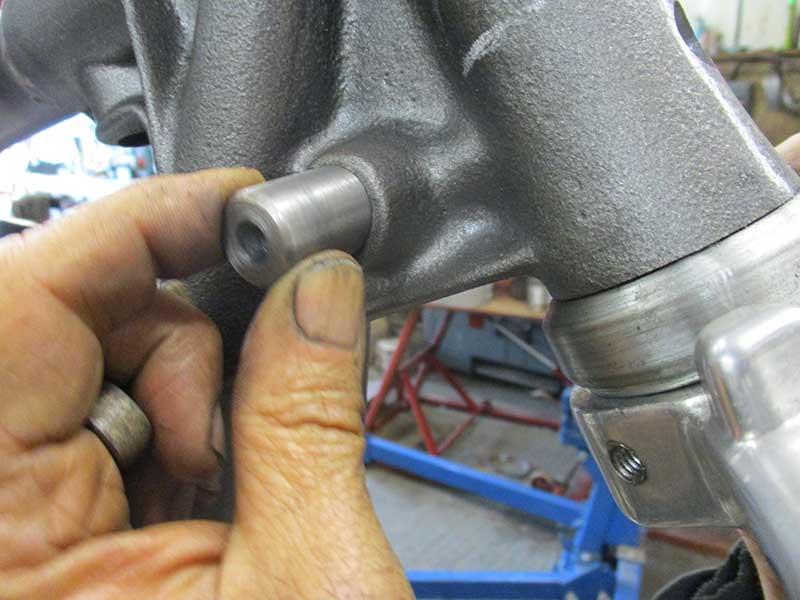
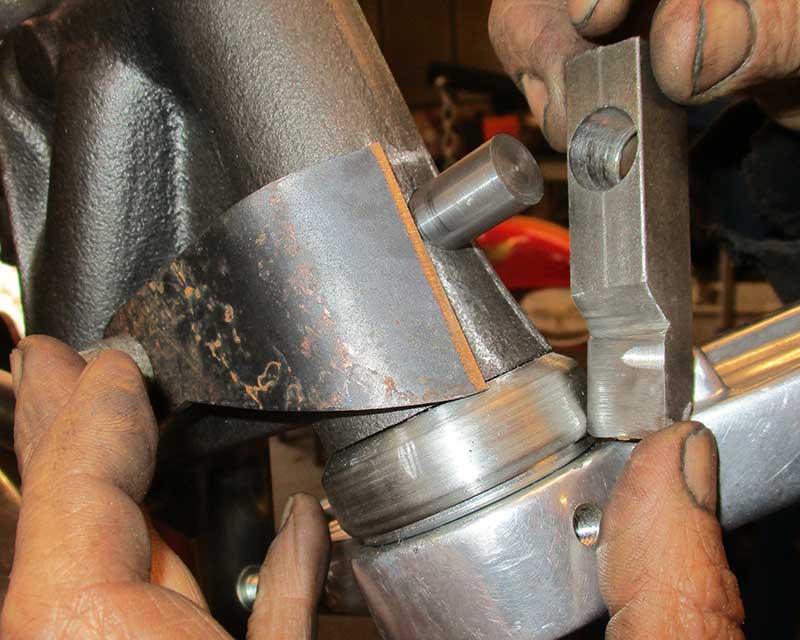
The tool in position touching the caliper plate.
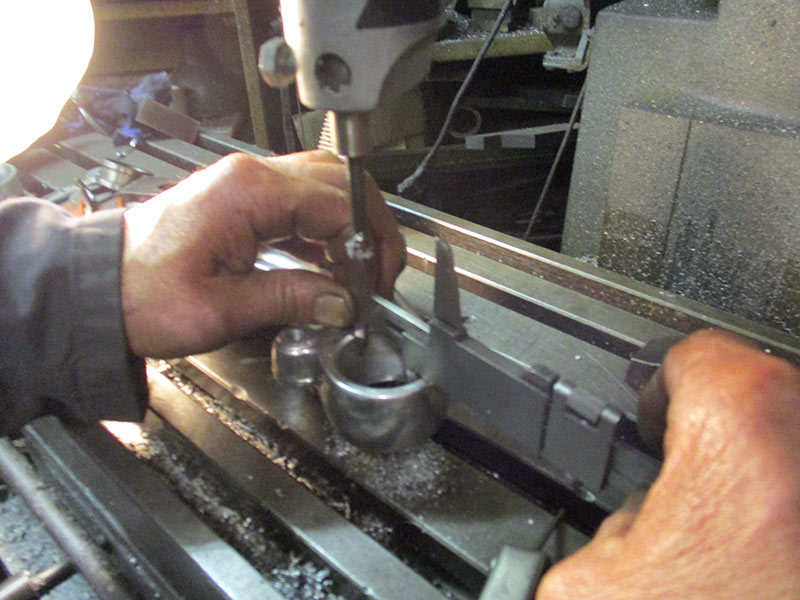
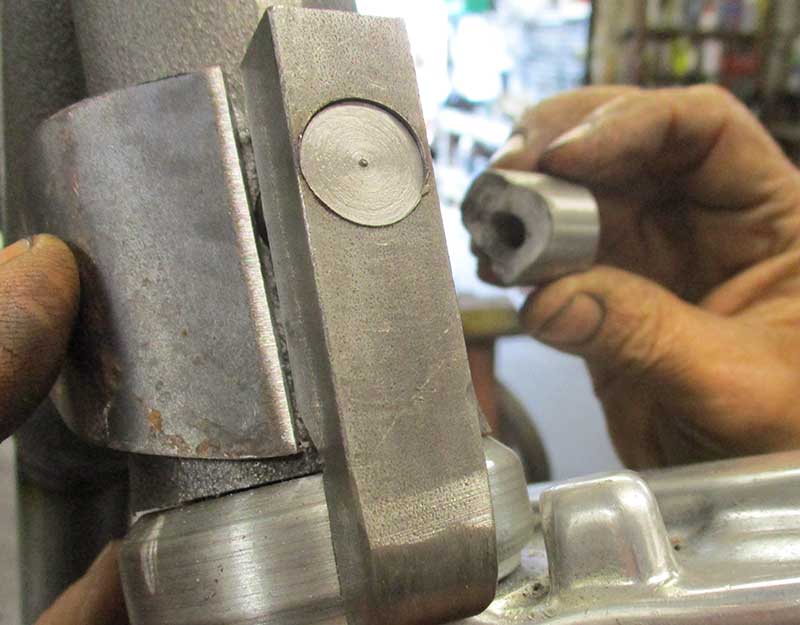
Drilling the preliminary hole within the tool for the marker to be guided through.
Cutting the tool down to size.
Re-drilling the hole within the tool for the marker to be guided through.
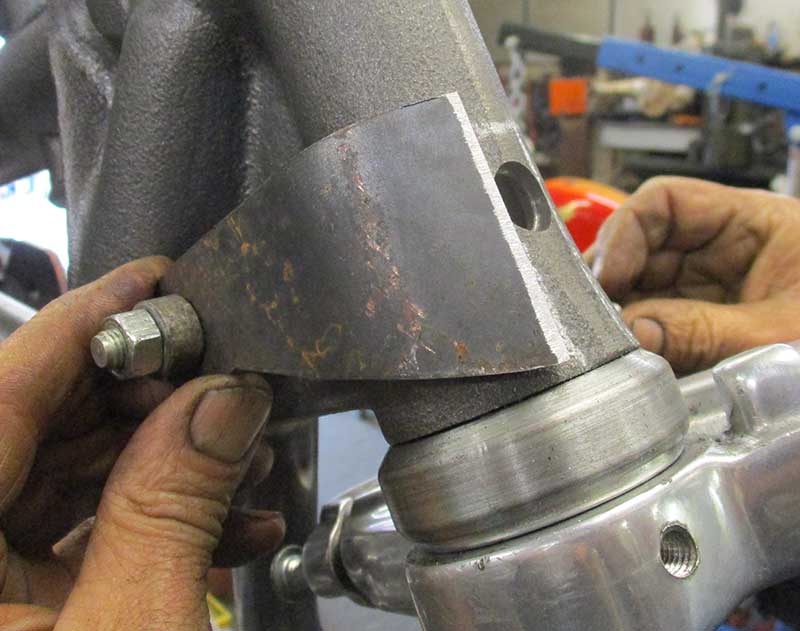
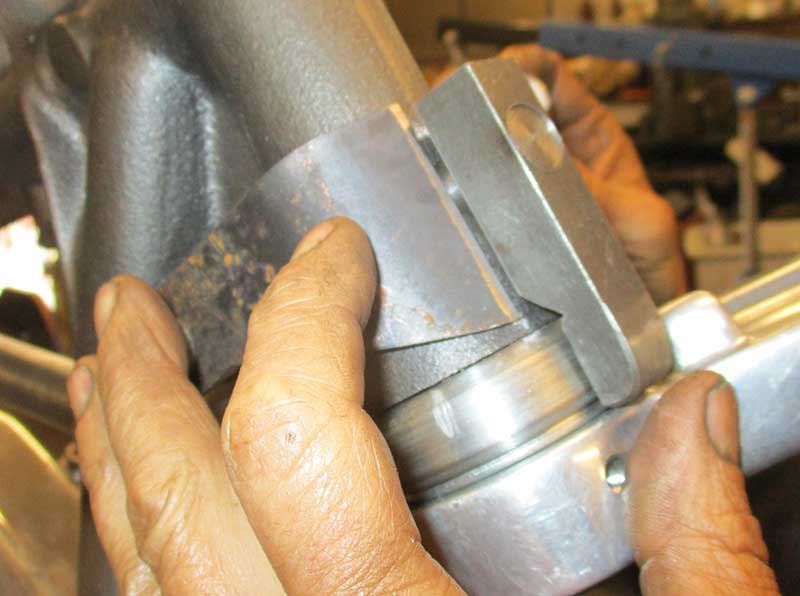
Tool in position ready for marker to be made upon the caliper plate.
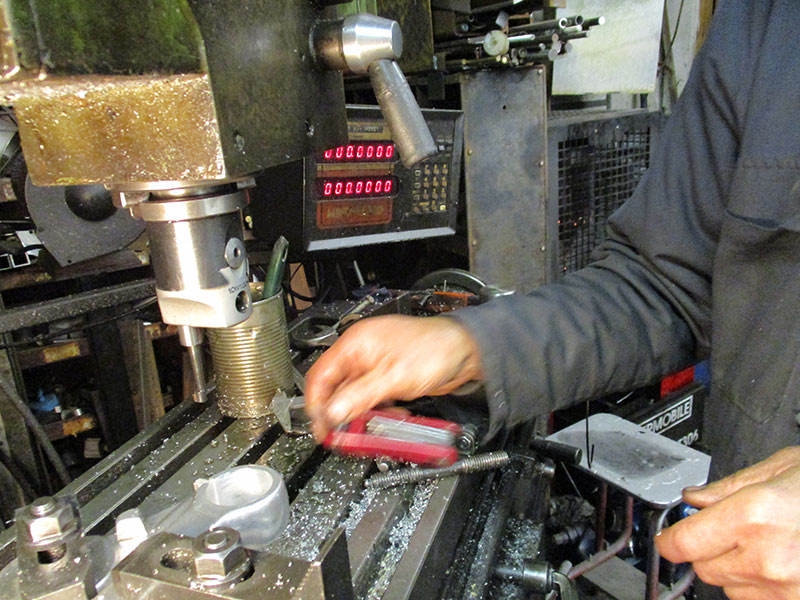
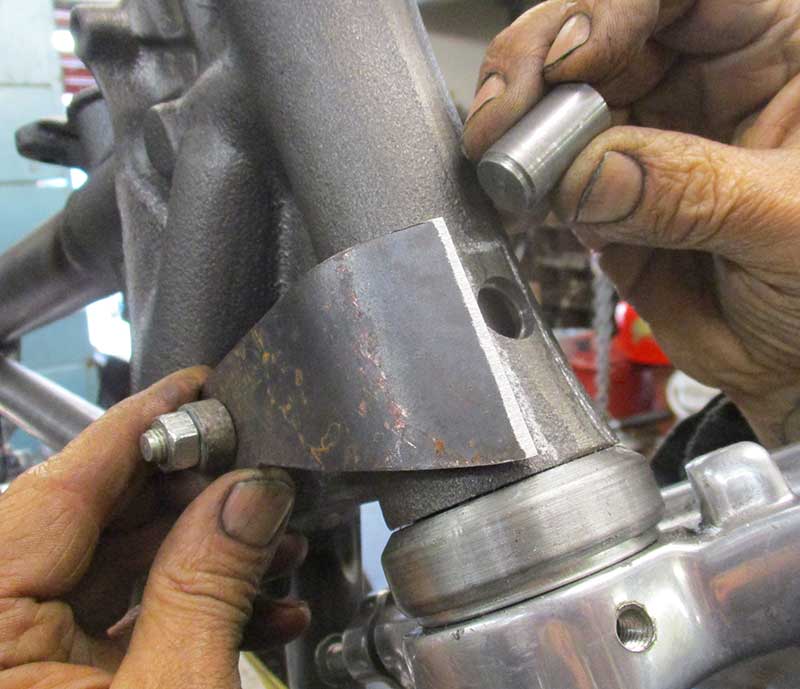
Marker being made upon the caliper plate.
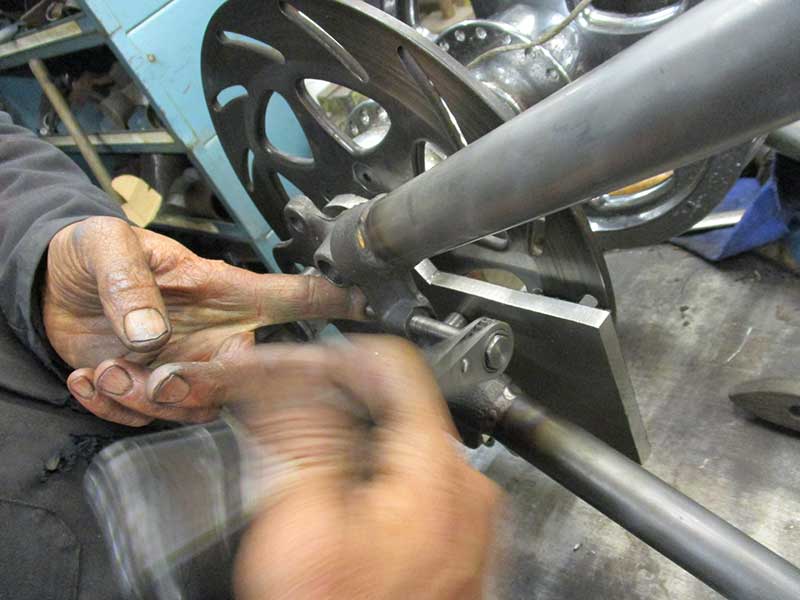
Wheel adjuster being moved fully to the other direction ready for second marker to be made for slot position.
.
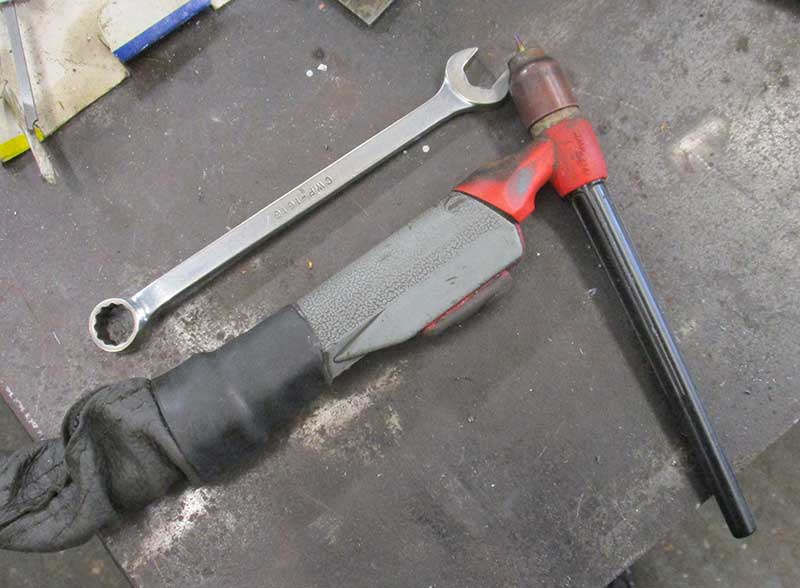
A couple of tools which have been made.
The second marker is being put upon the caliper plate.
The two marks indicating where the slot for wheel adjuster will start and end.
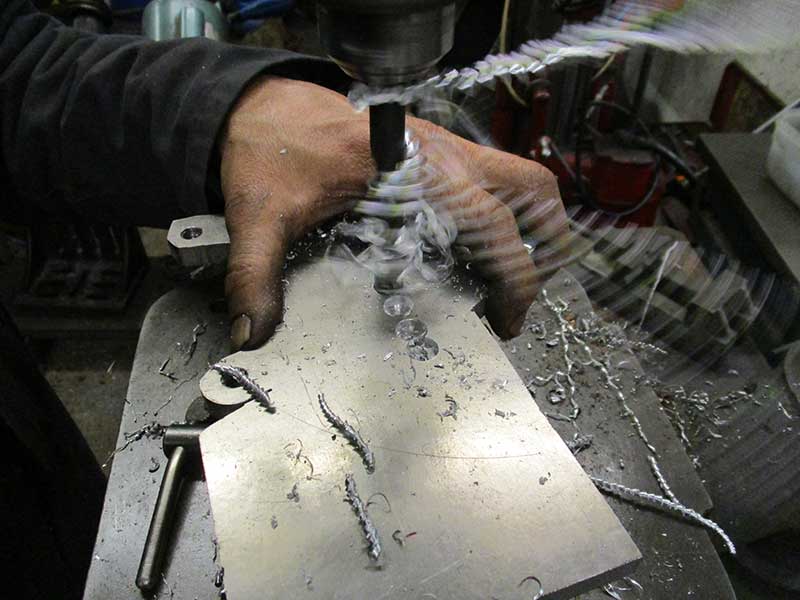
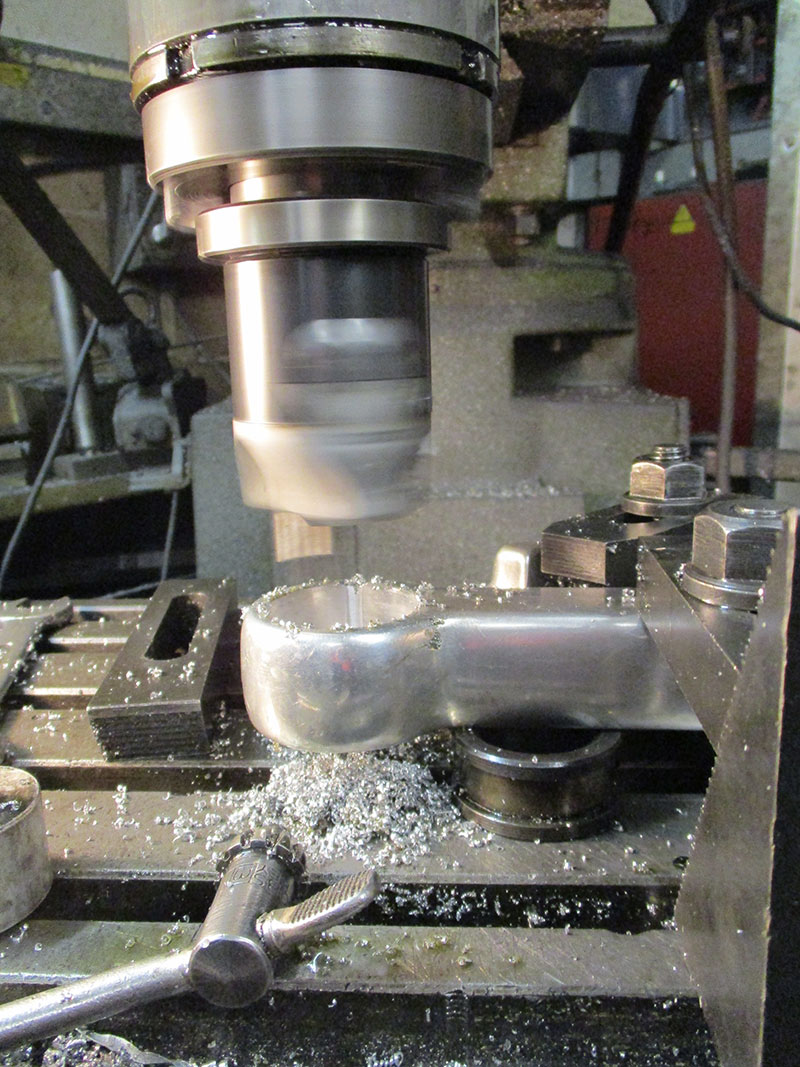
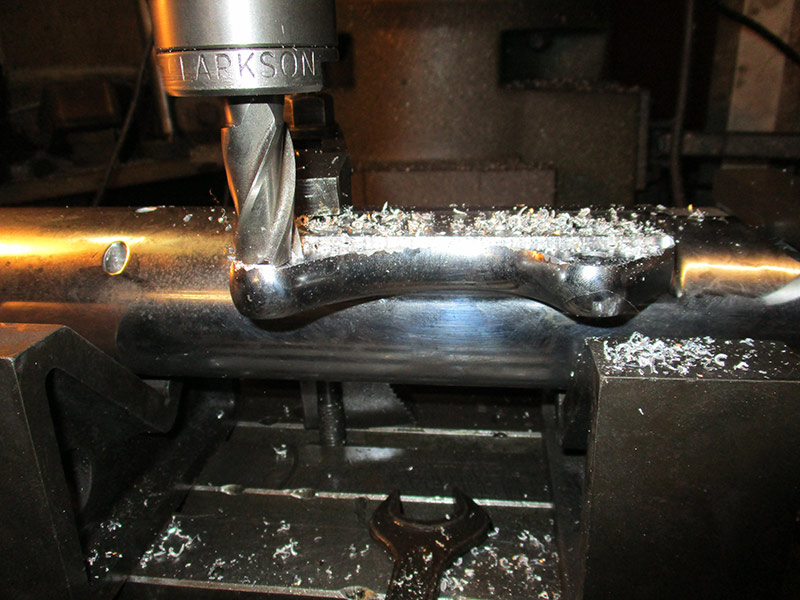
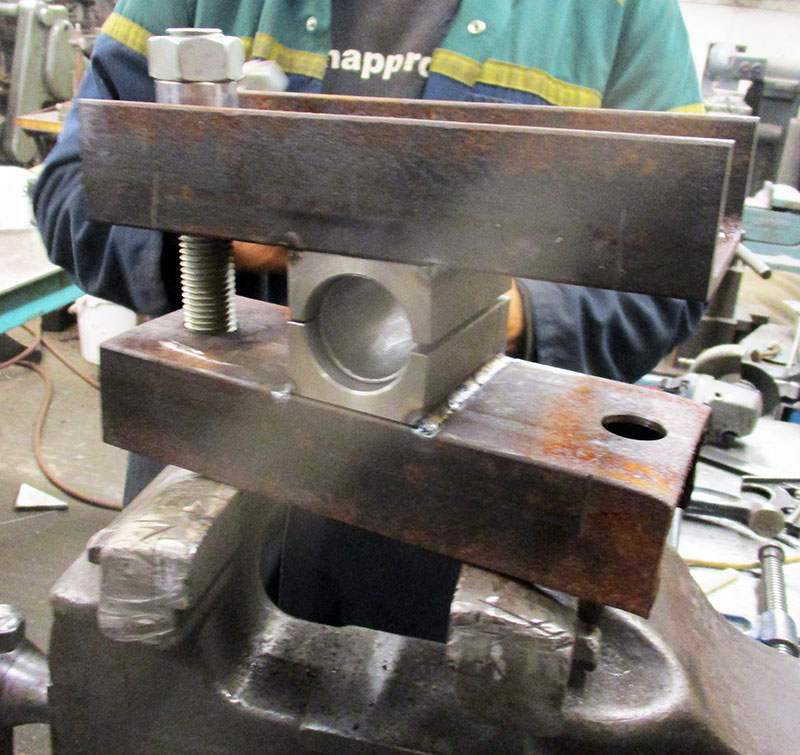
Drilling holes where the slot will be.
Holes are drilled ready for the slot to be made.
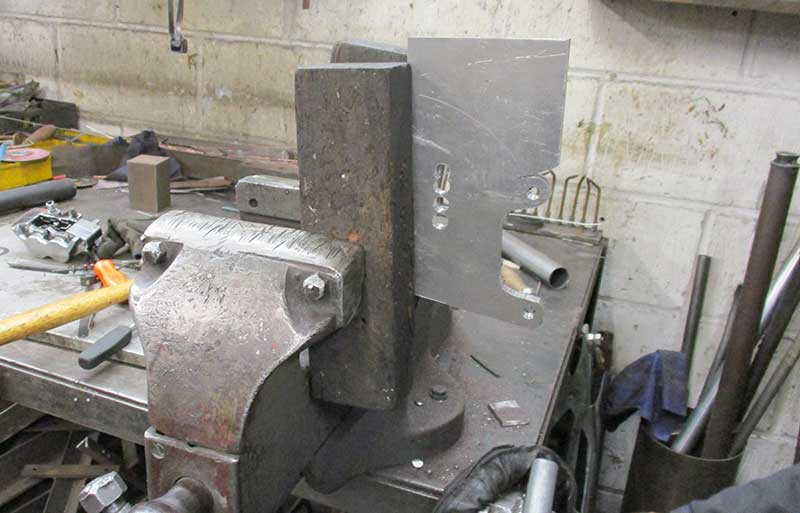
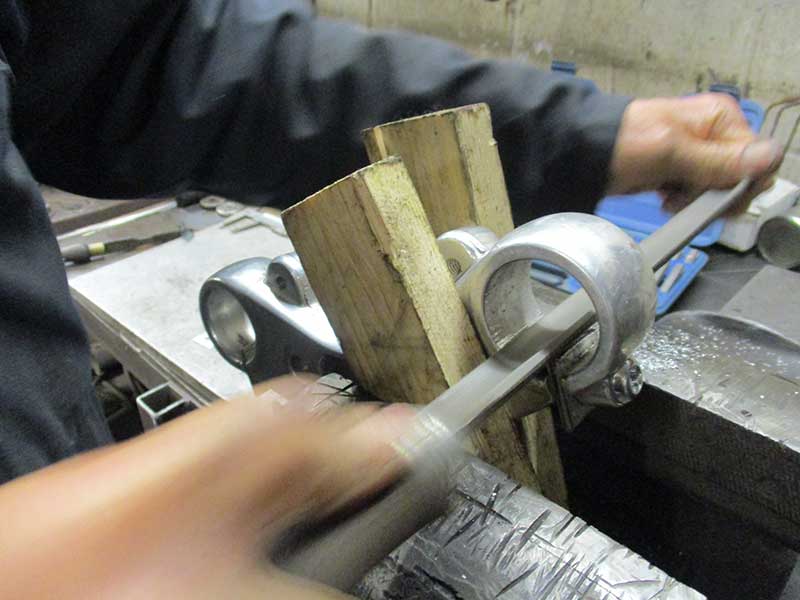
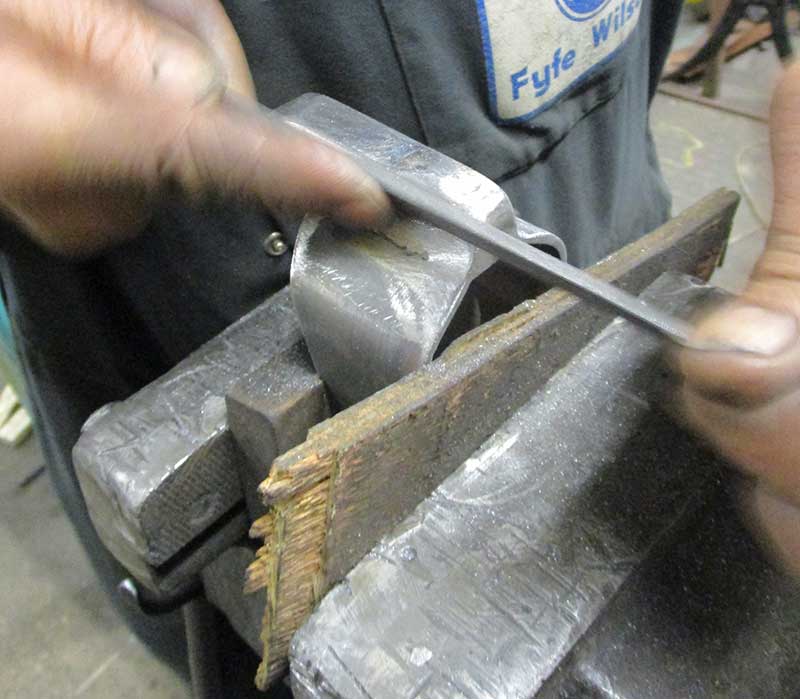
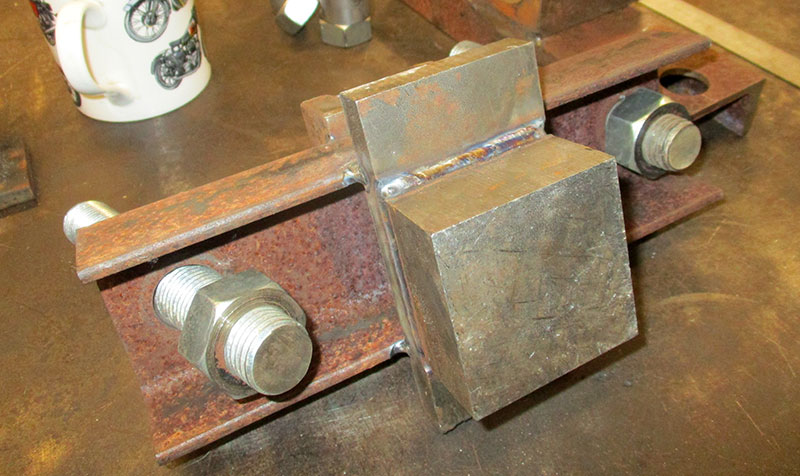
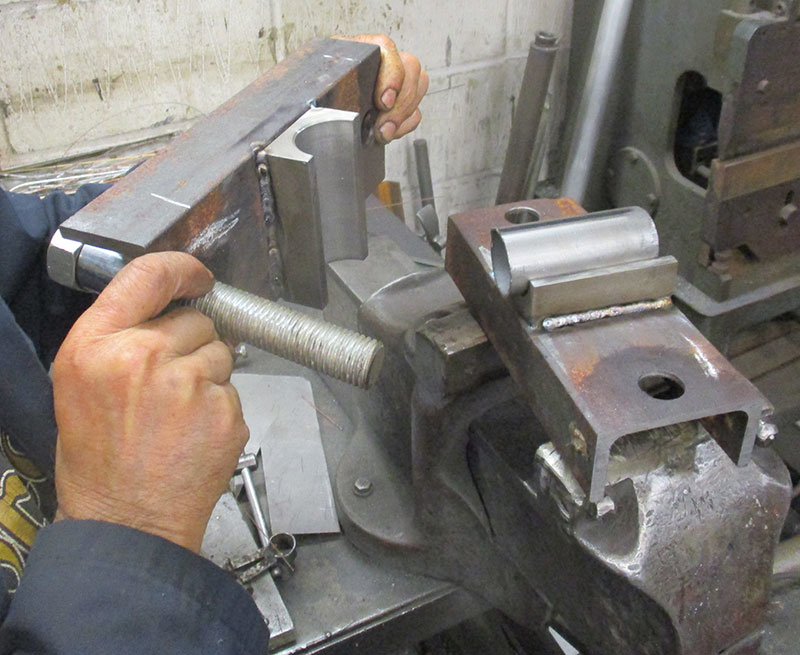
Held with blocks of wood in the vice.
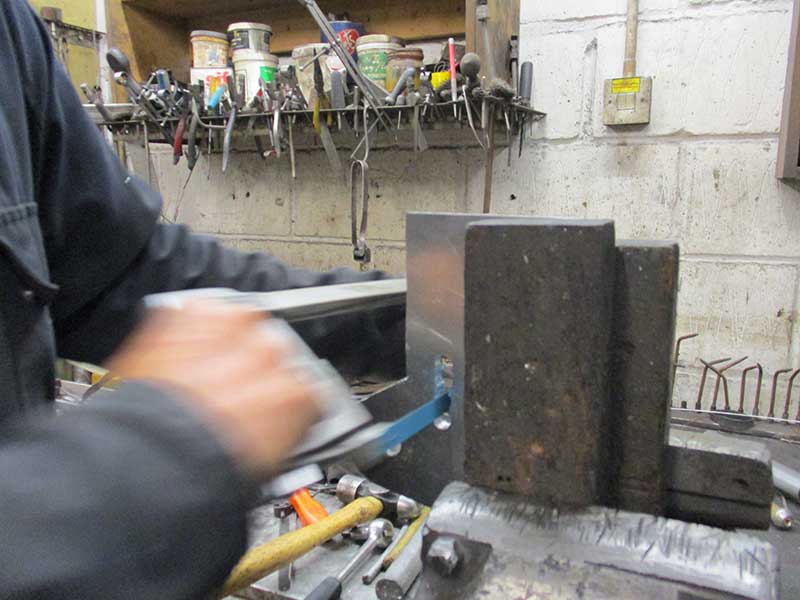
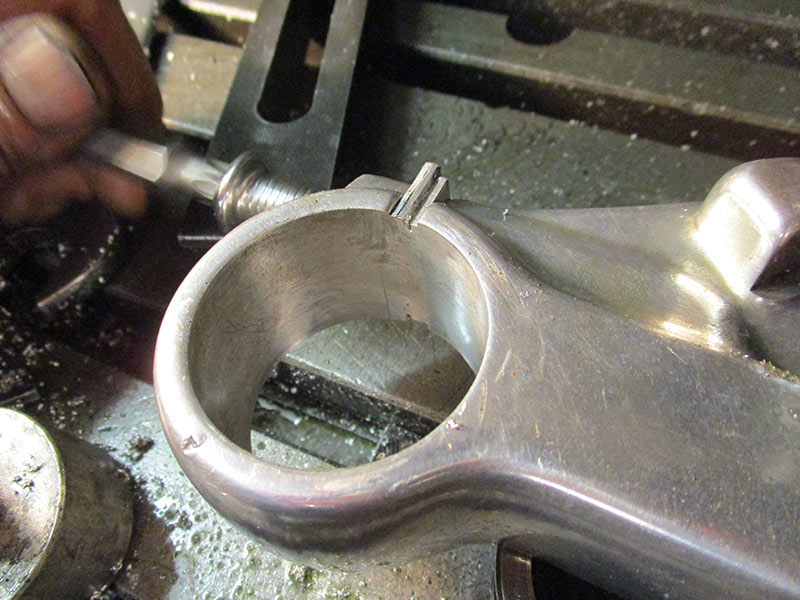
Using the handsaw to make a slot from the drilled holes.
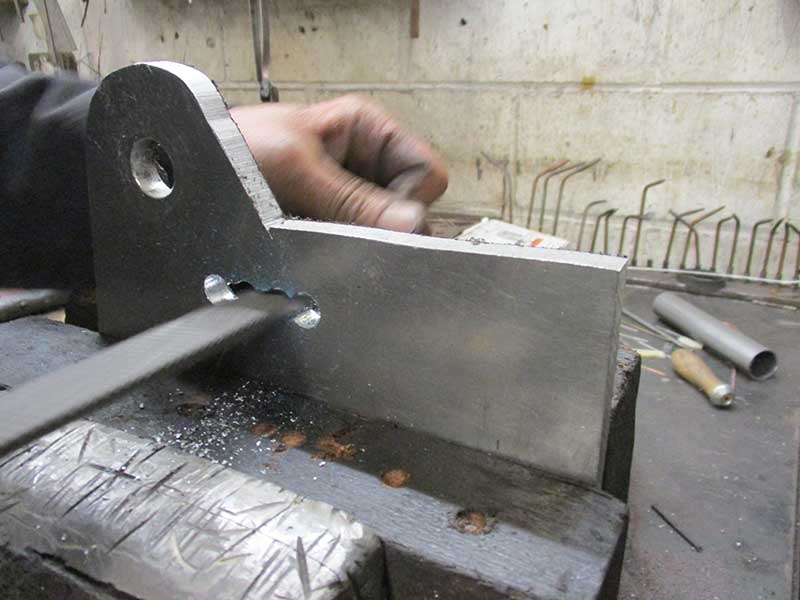
Filing down the edges.
The slot is now complete.
Making the edges good.
46
47
48
49
50
51
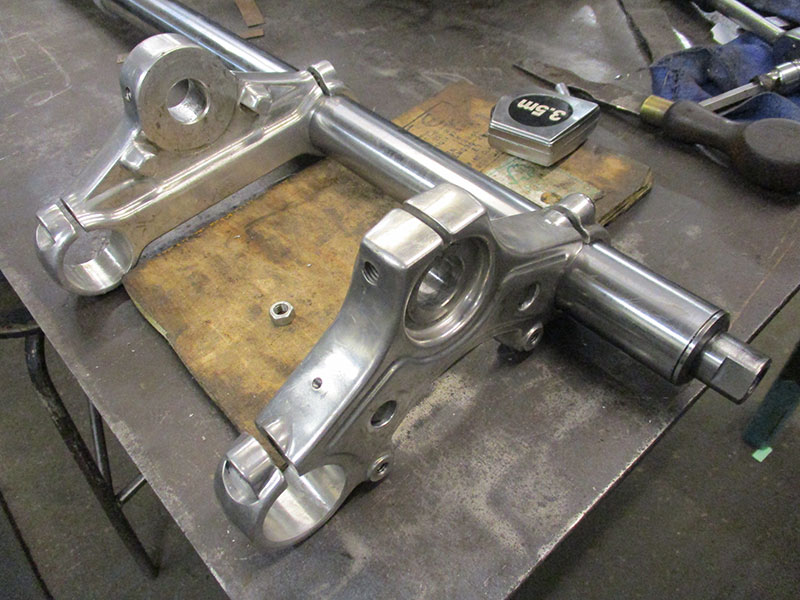
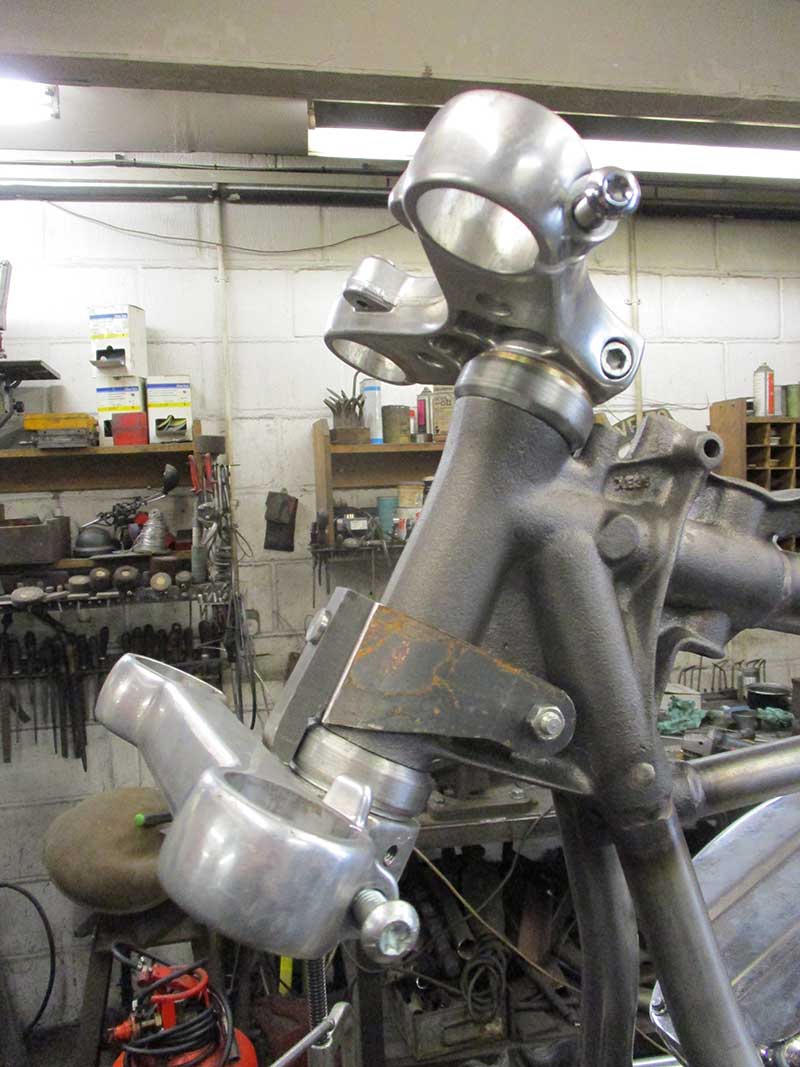
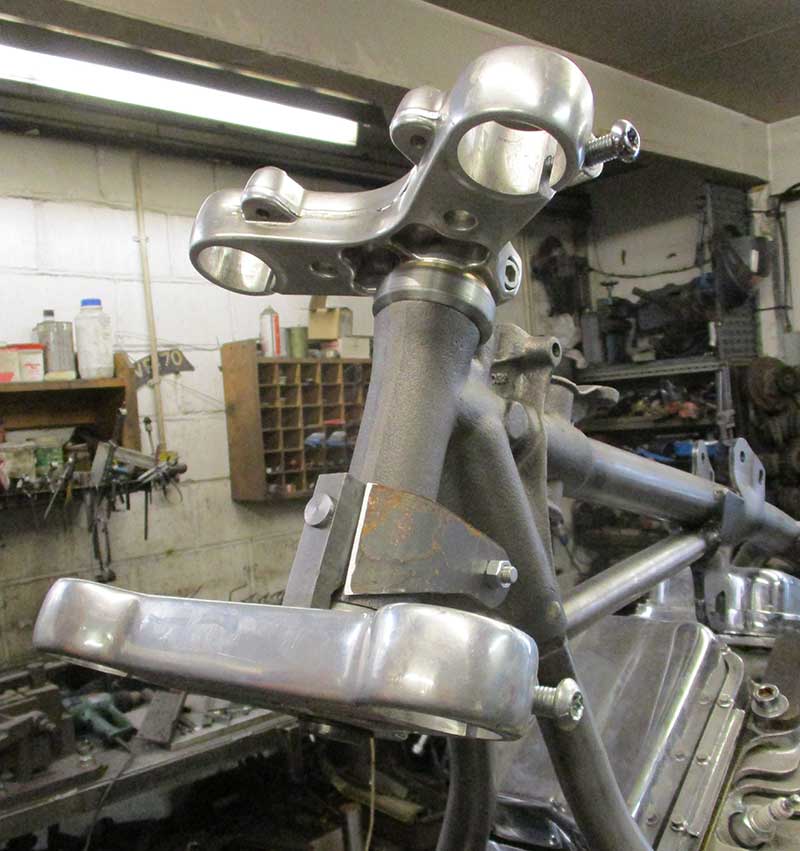
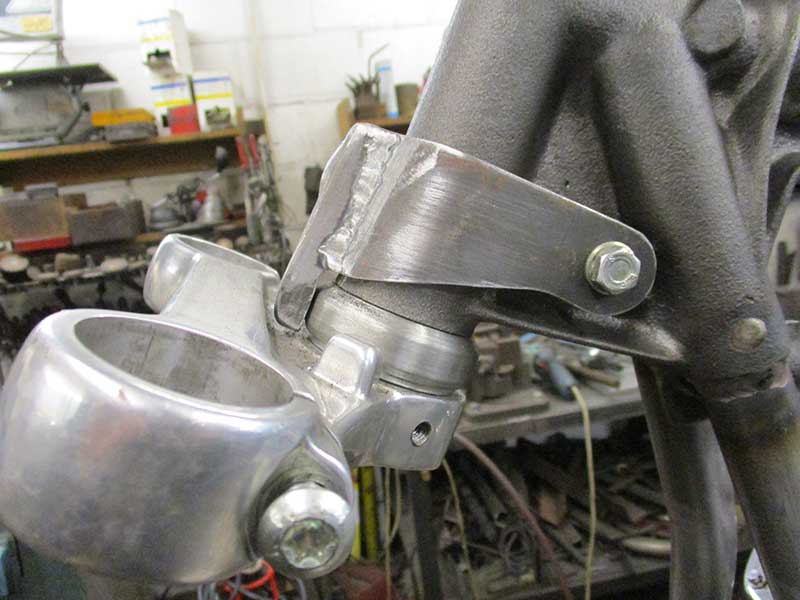
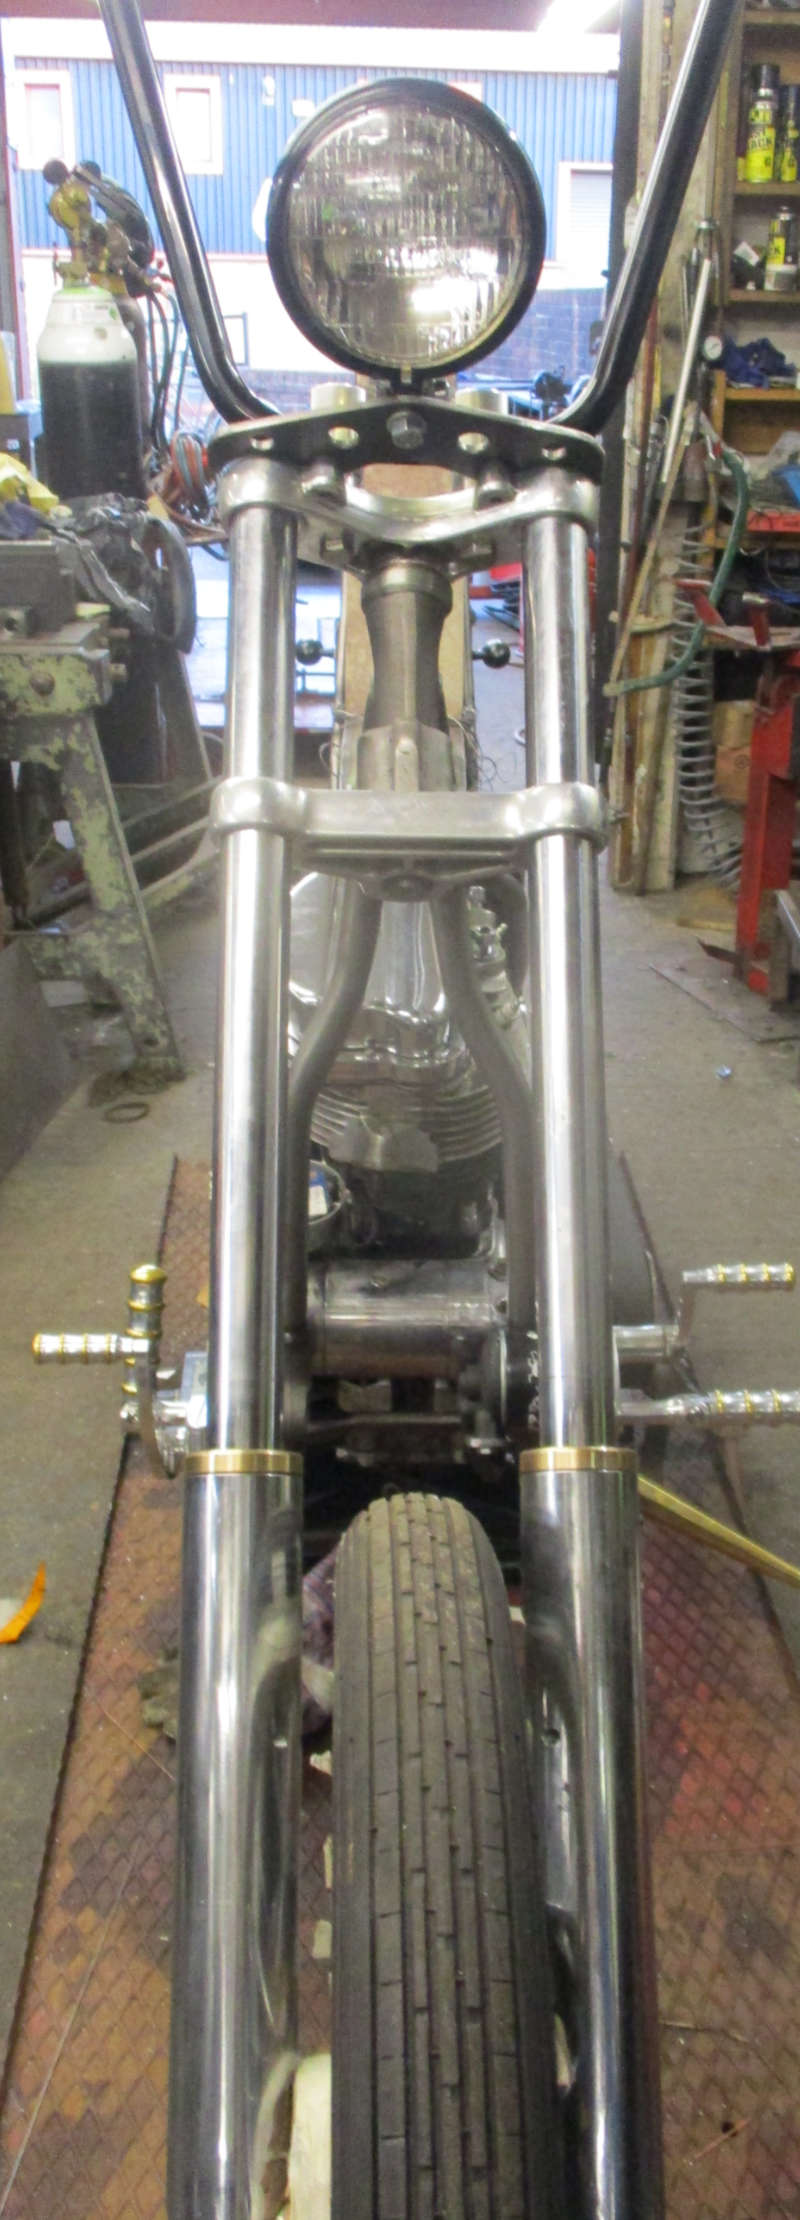
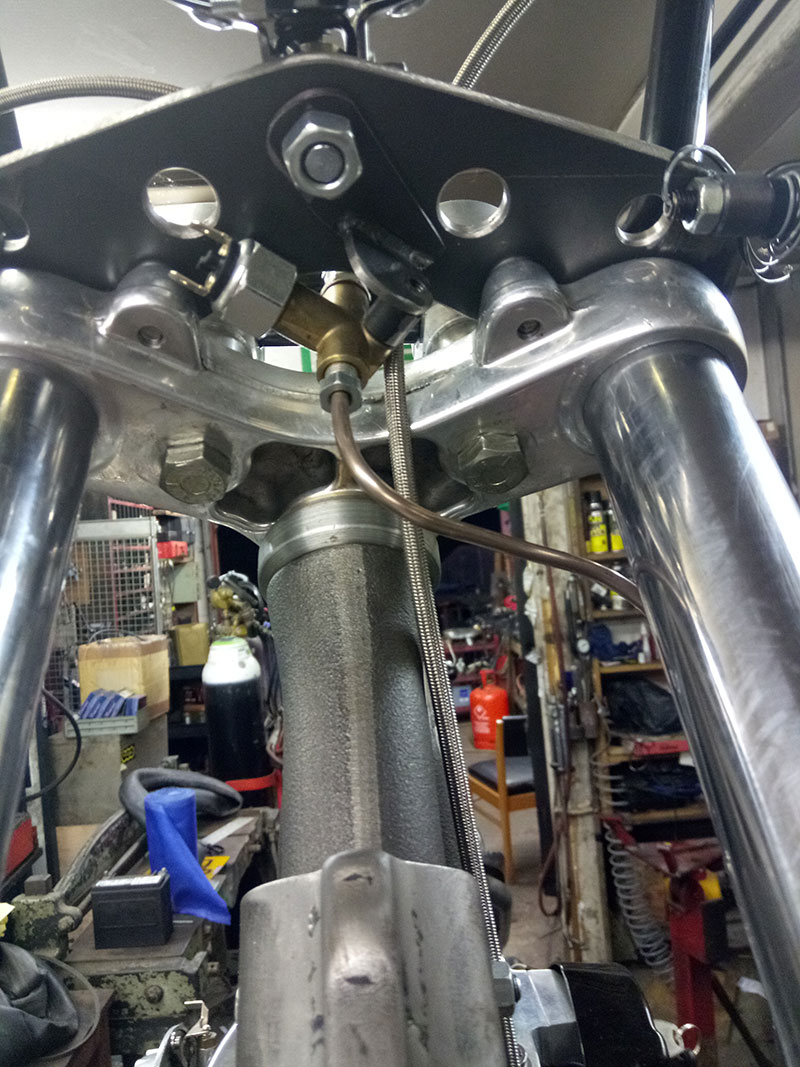
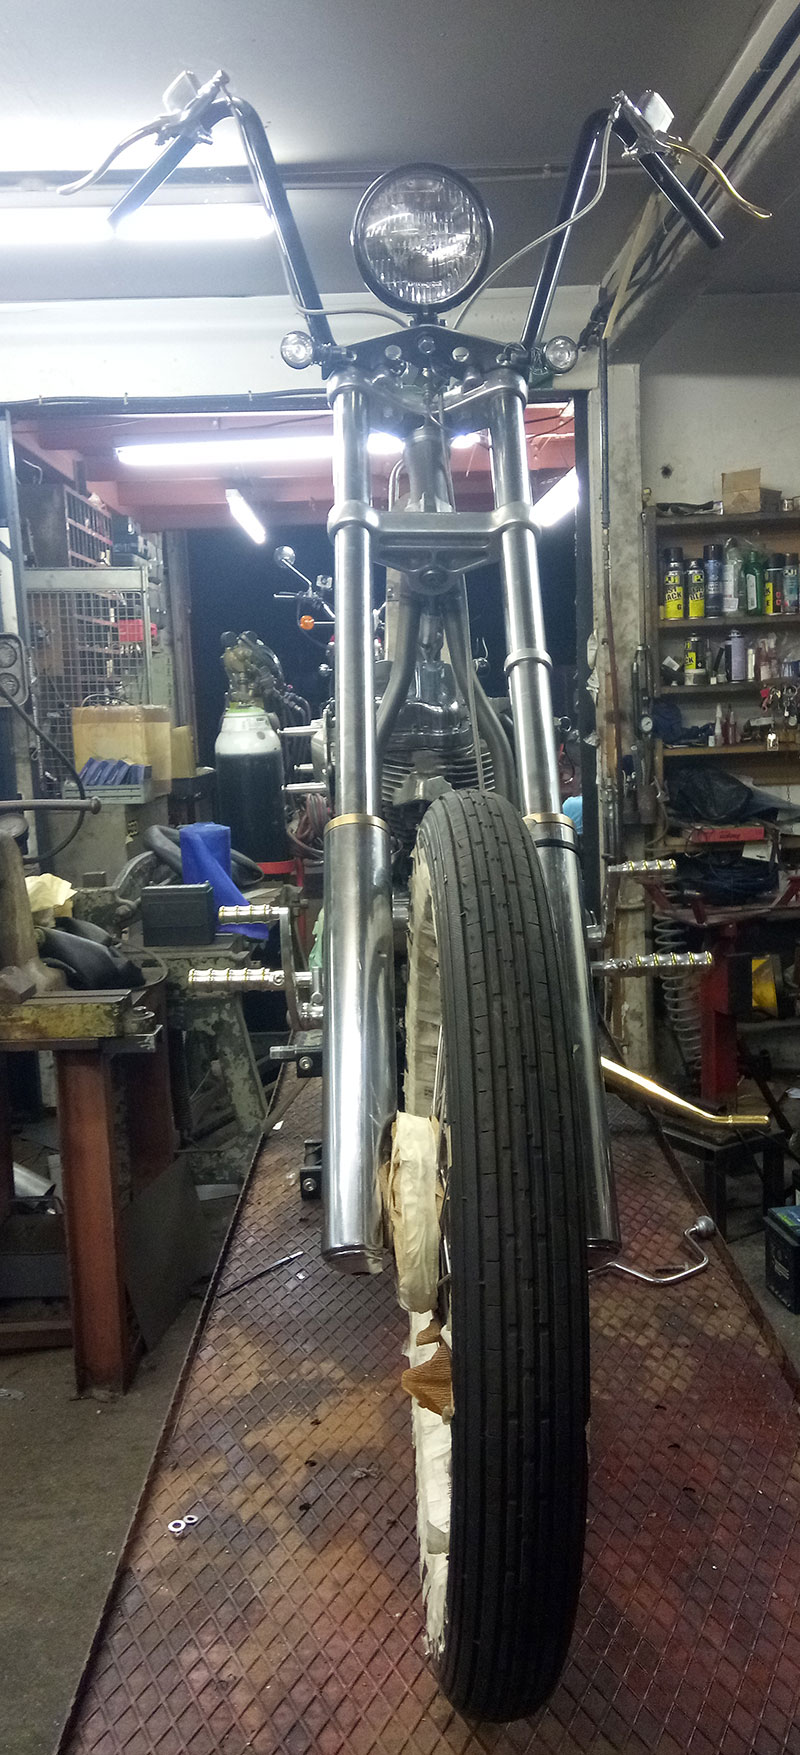
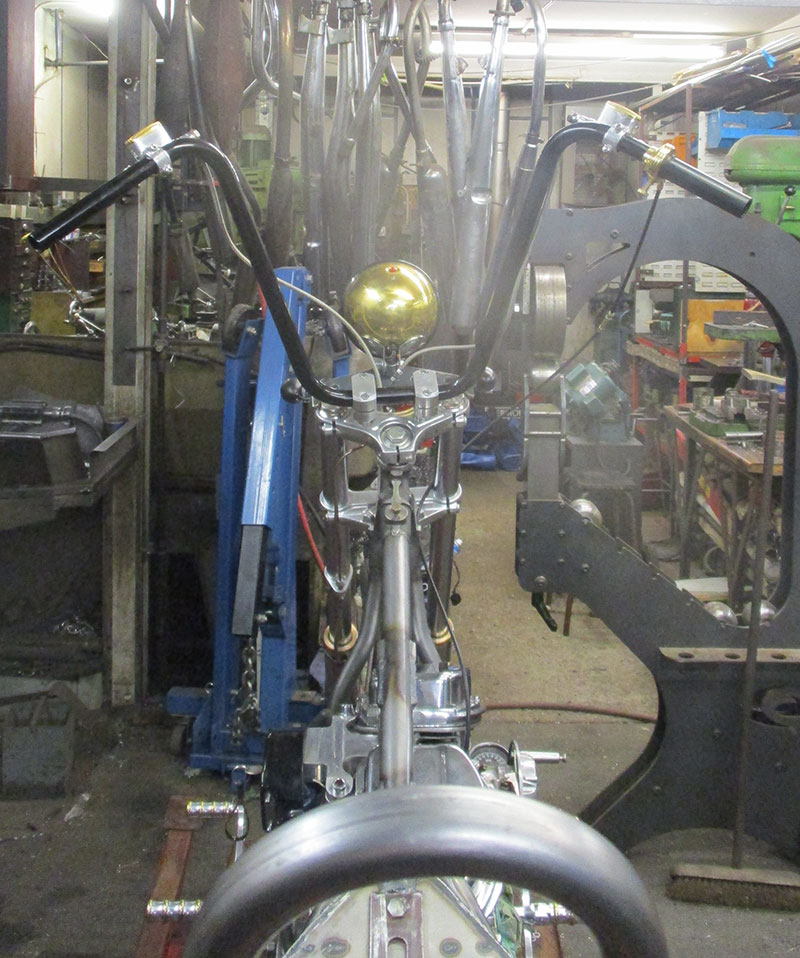
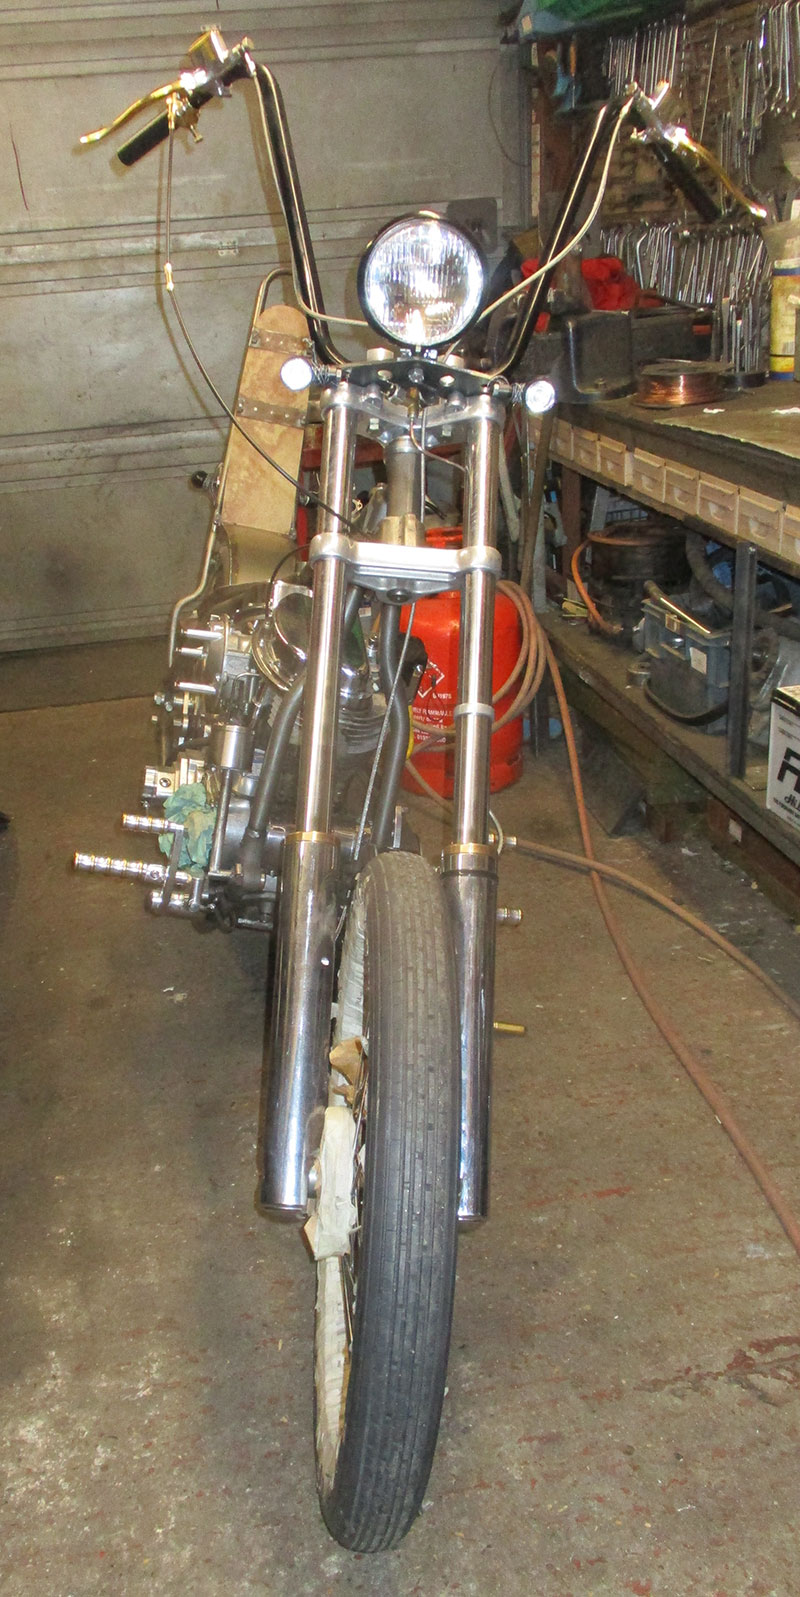
Focus on the front end.
The yokes must be precisely bored out to accomodate the forks.
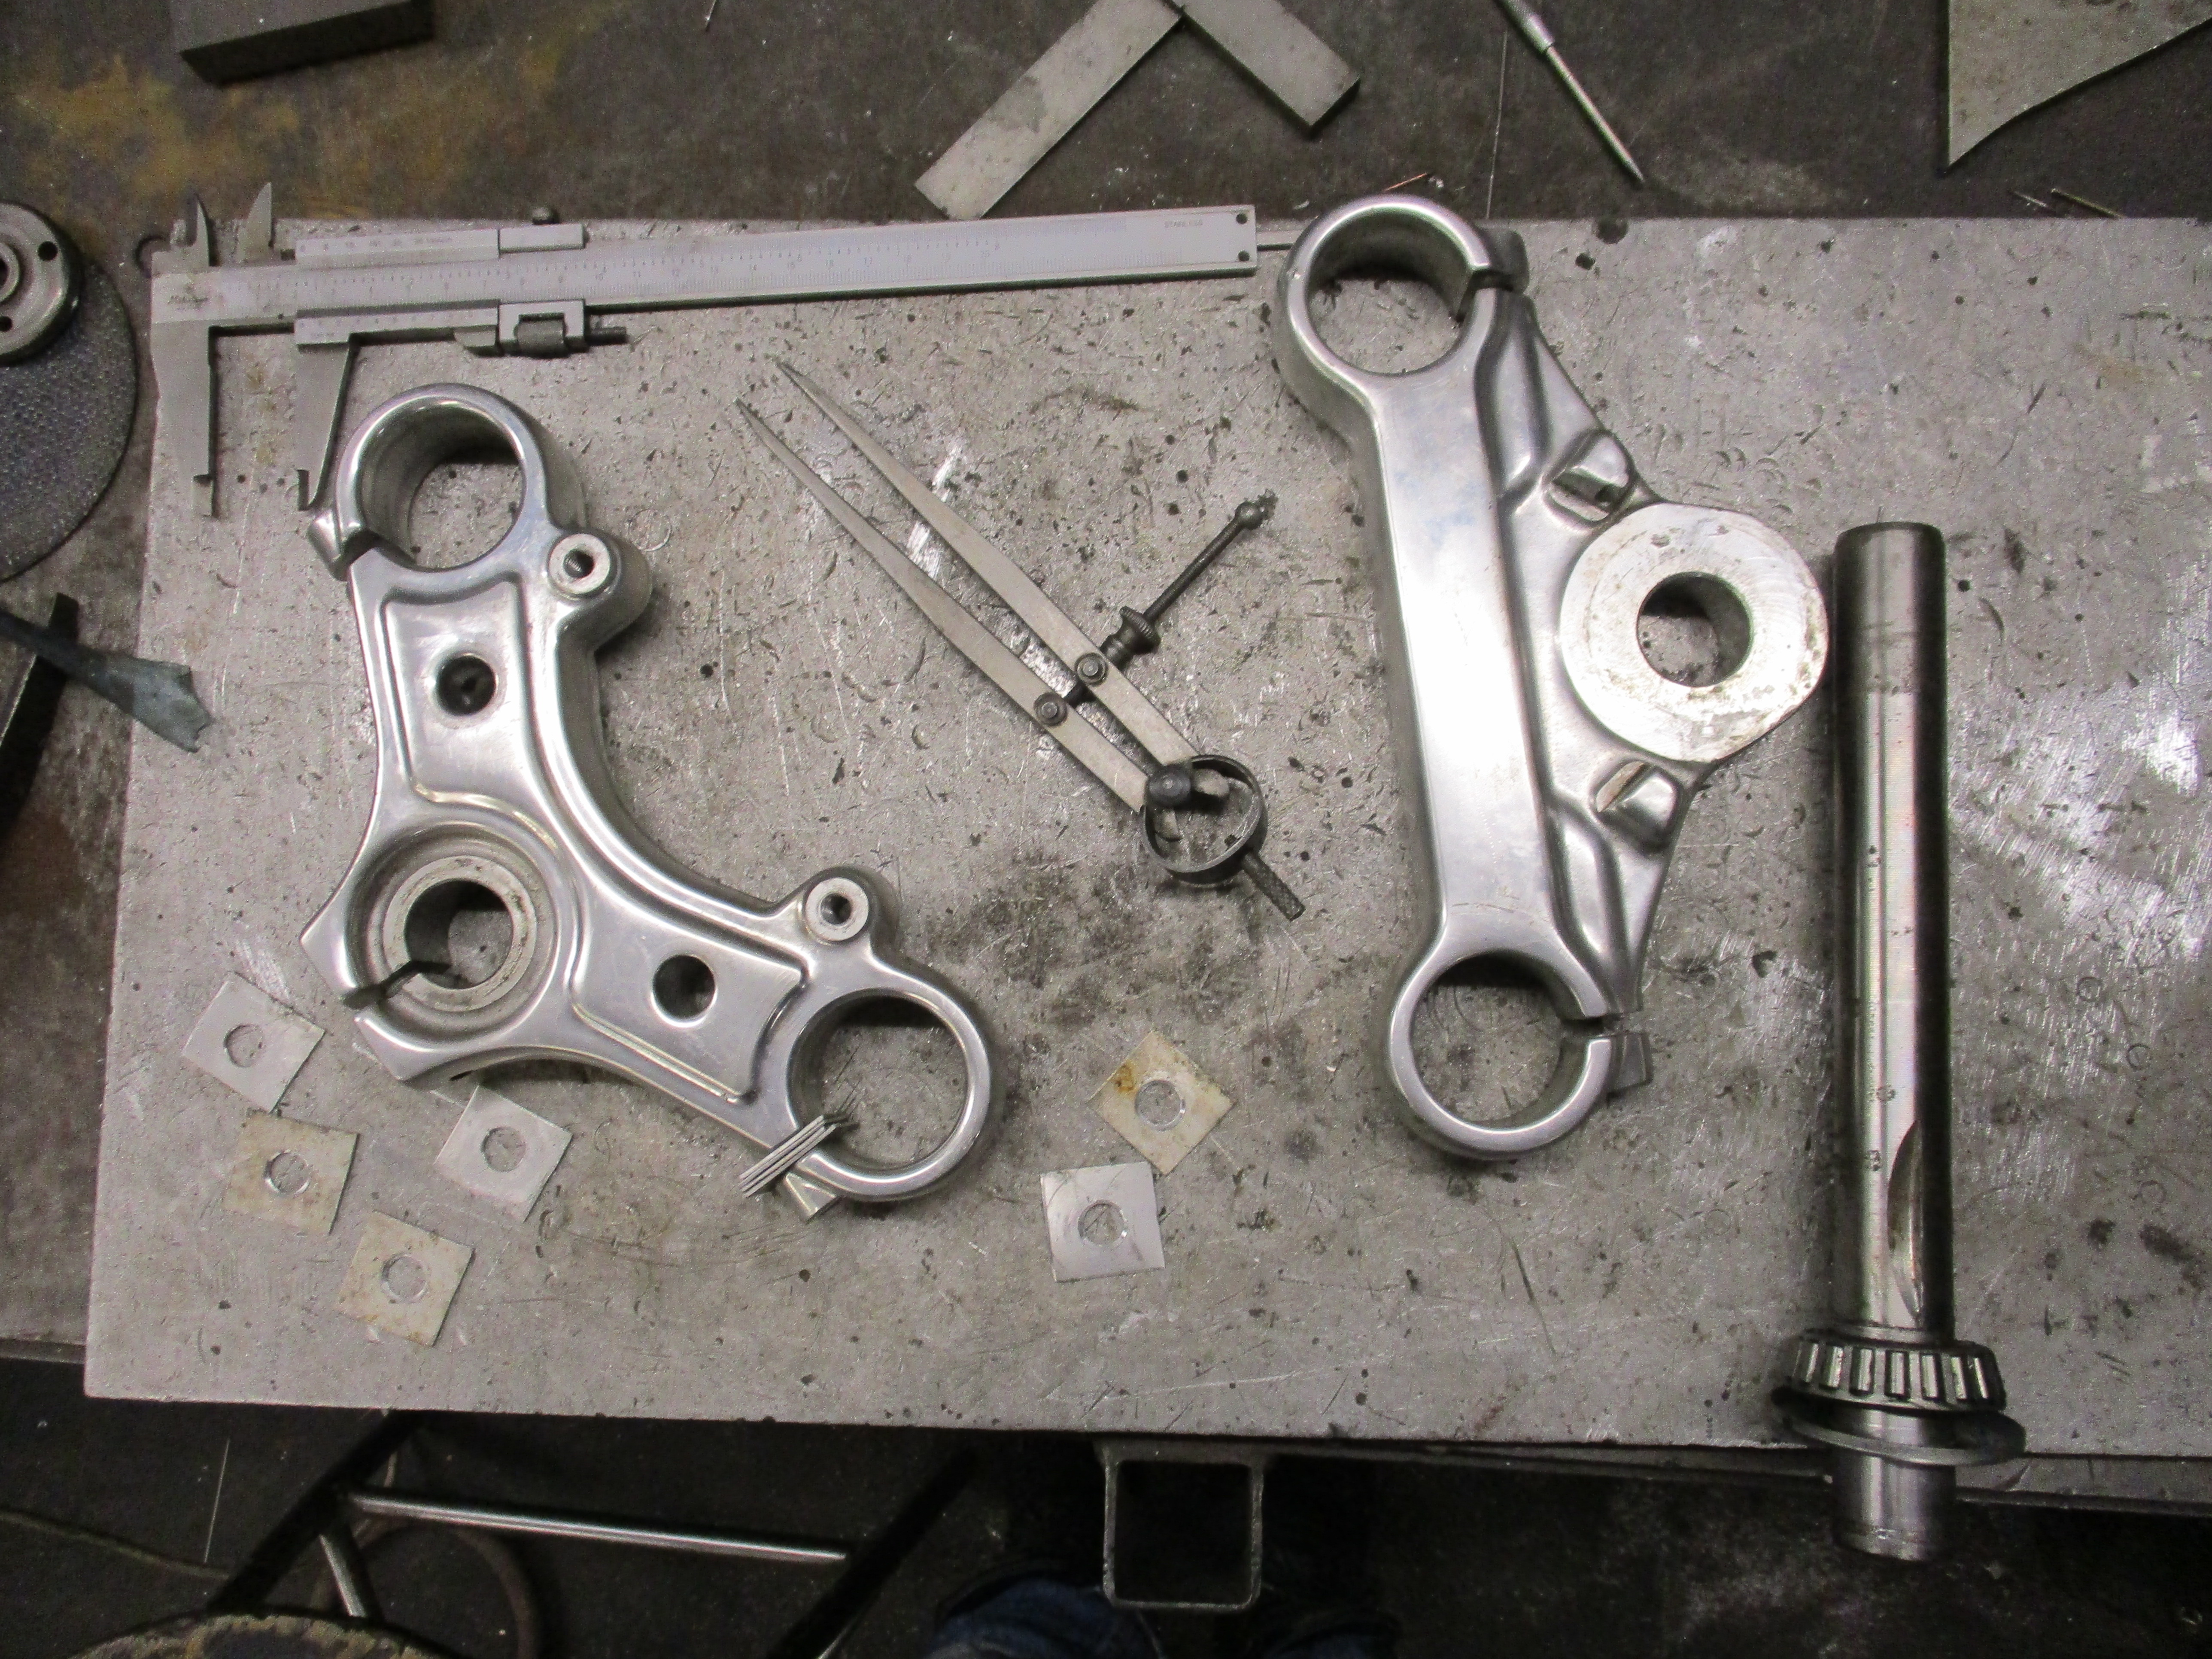
Shims have been made to fit the gaps for the duration of the boring process.
The shims are filed down so that they sit flush.
The first yoke is placed ready for precision alignment - horizontally and vertically.
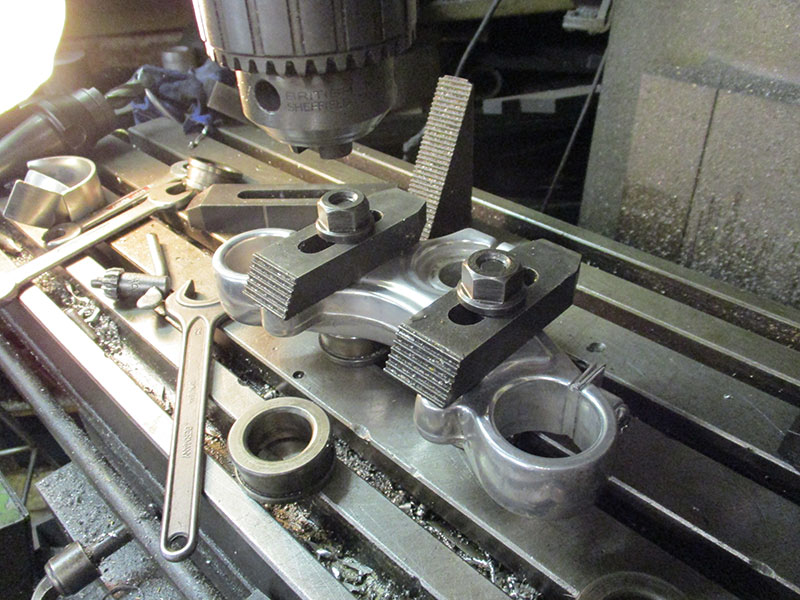
Held tight into position
56

57

58
59
60
61
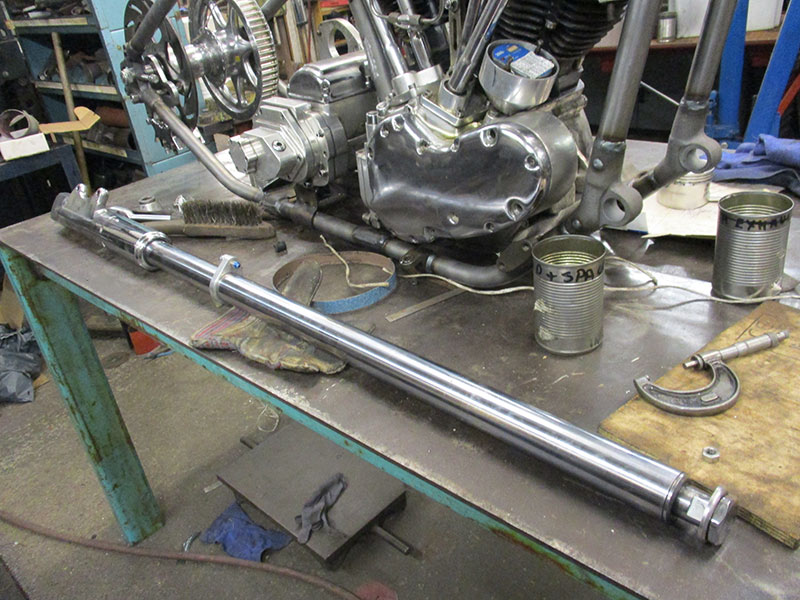
One of the fork legs ready to offer the yokes up to for testing size.
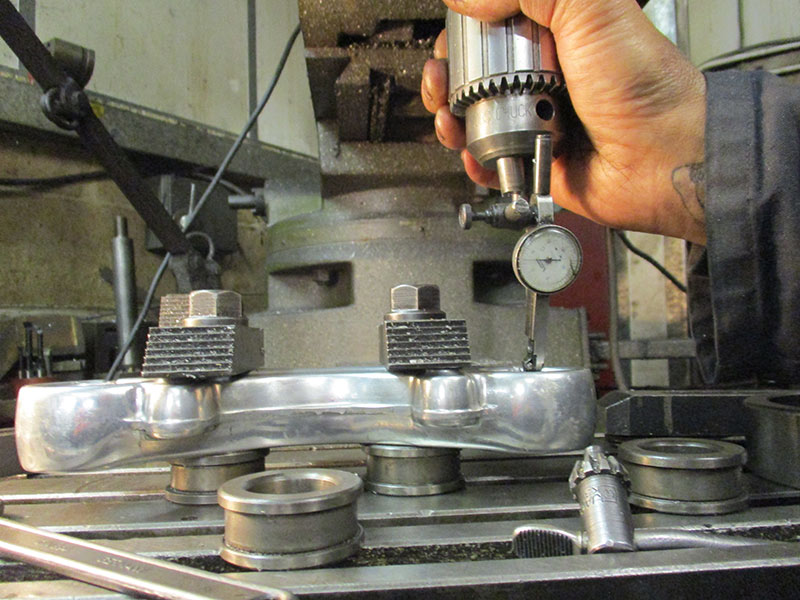
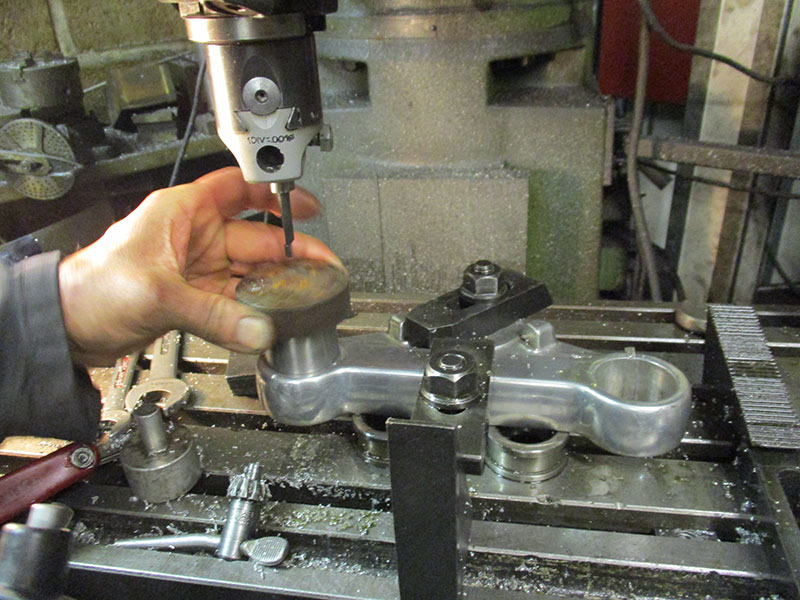
Machining has begun on the second (bottom) yoke.
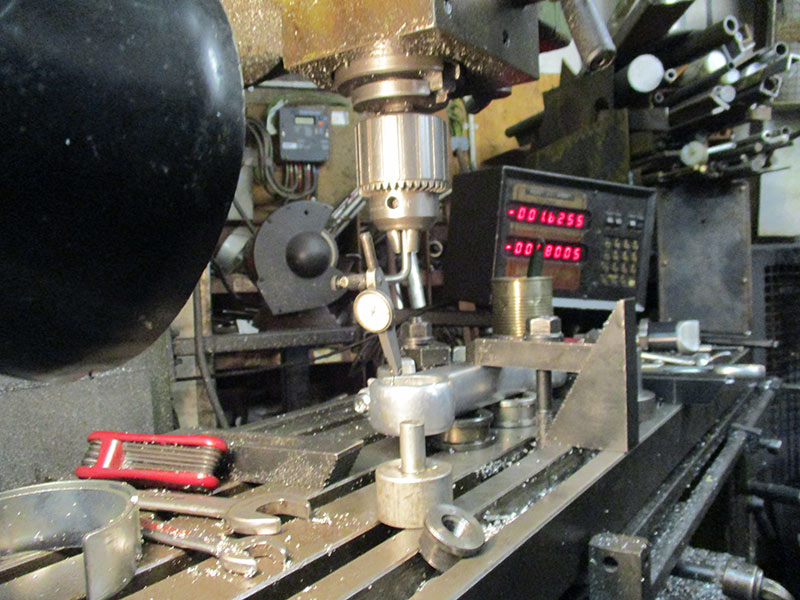
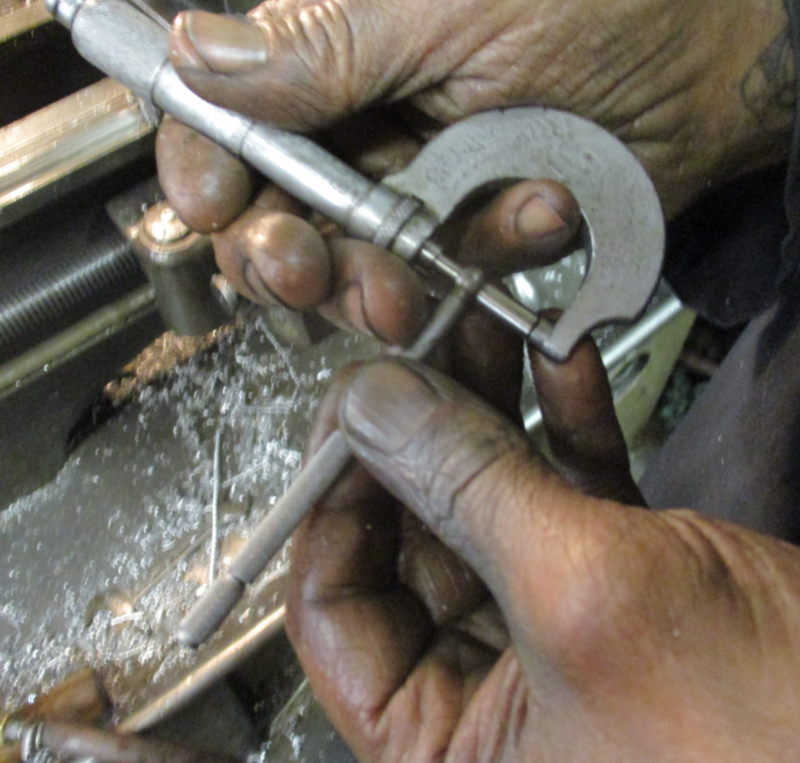
Precision measuring.
Precision measuring.
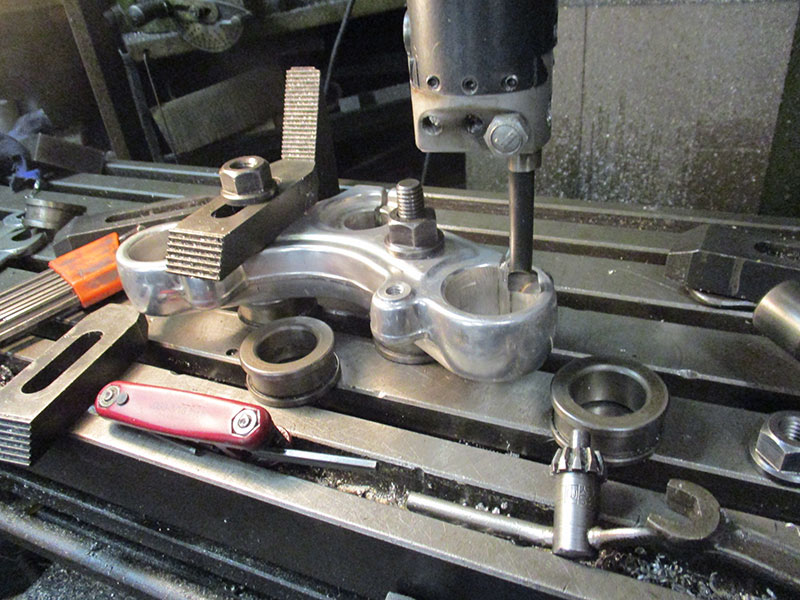
The second cut has begun.
Measuring.
Changing the tool over.
Measuring.

The measurement is taken.
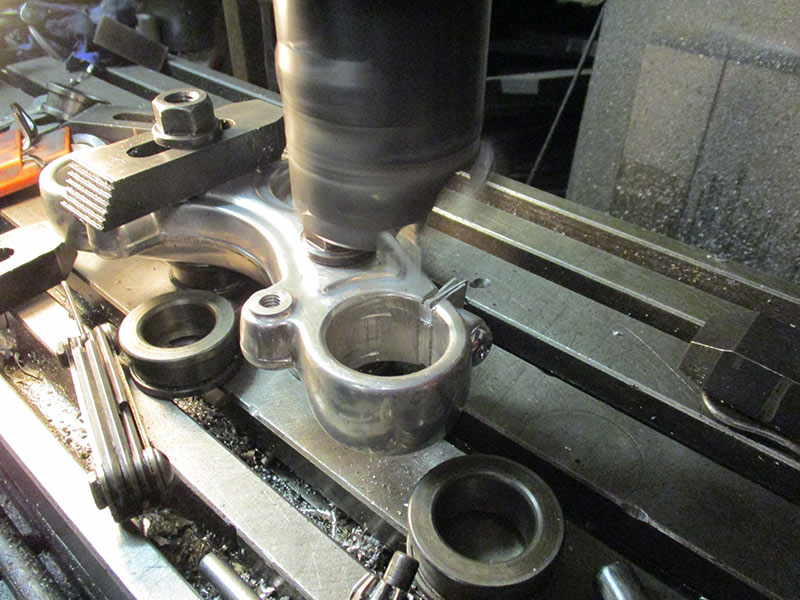
More inside is taken out.
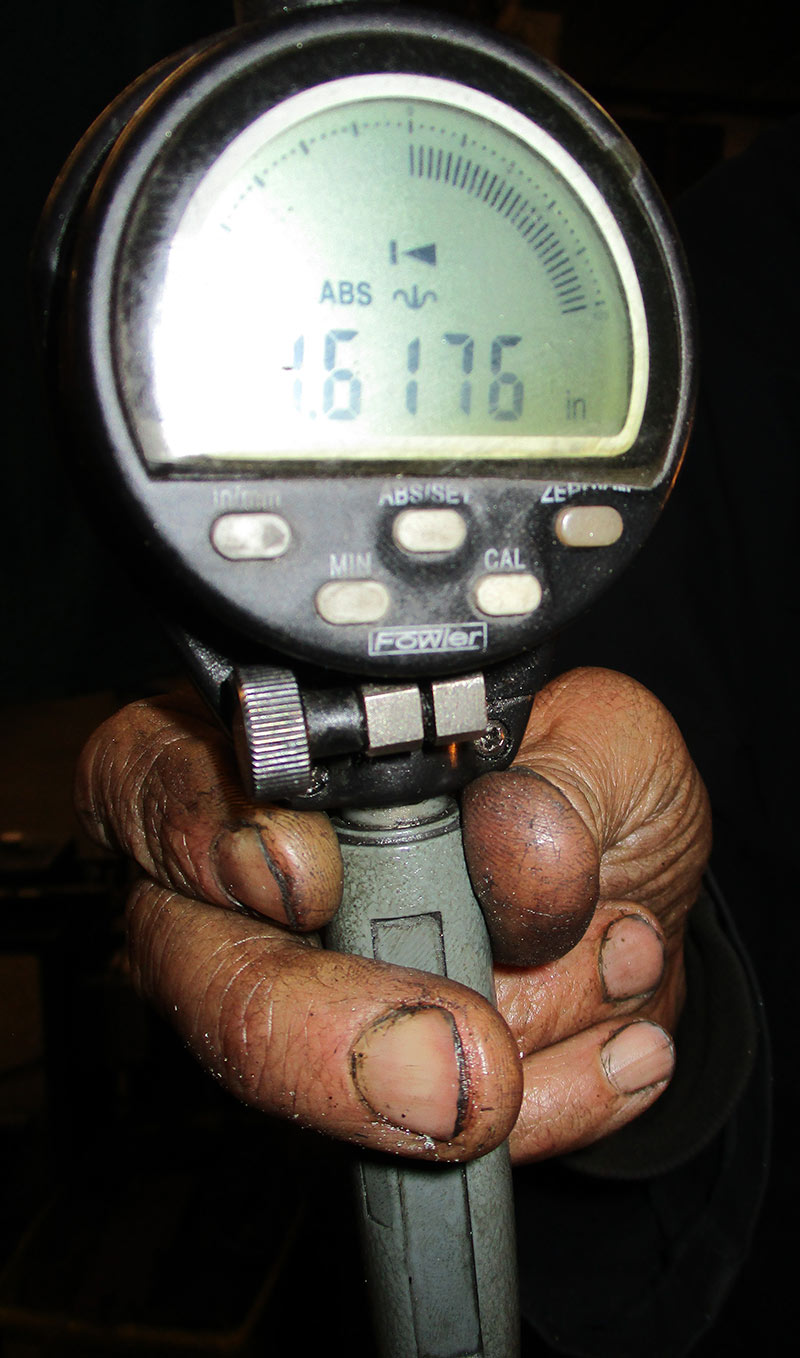
The measurement is taken.

Being held on the left is a tool that has been made to exact measurement of the forks, this is inserted into the yokes to test to see if the size is correct.
It fits.
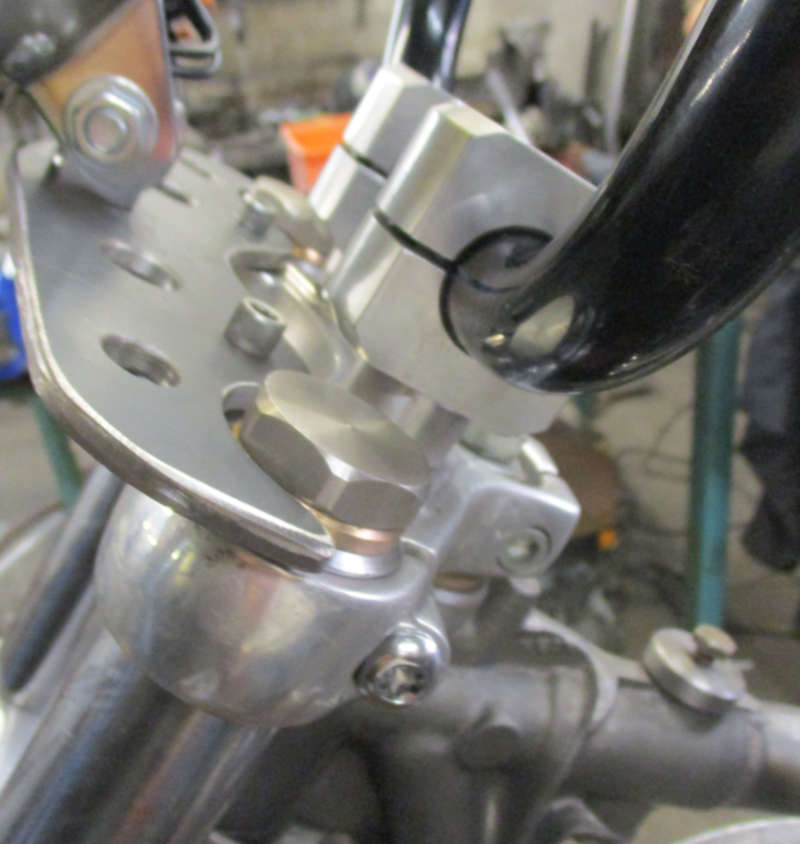
Fork fitted within top yoke.
The work on the hole is now complete, the shims will be carefully removed.
Shims being removed.
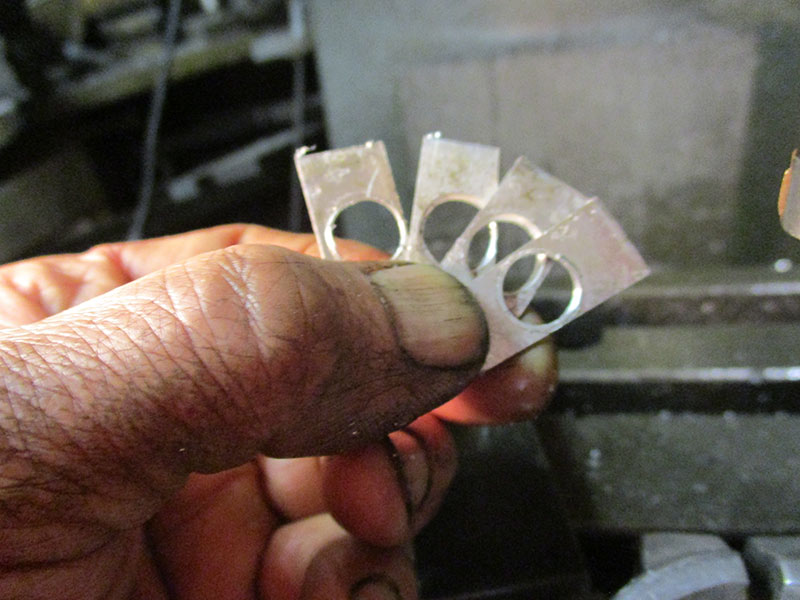
The four shims that were used.
Completed
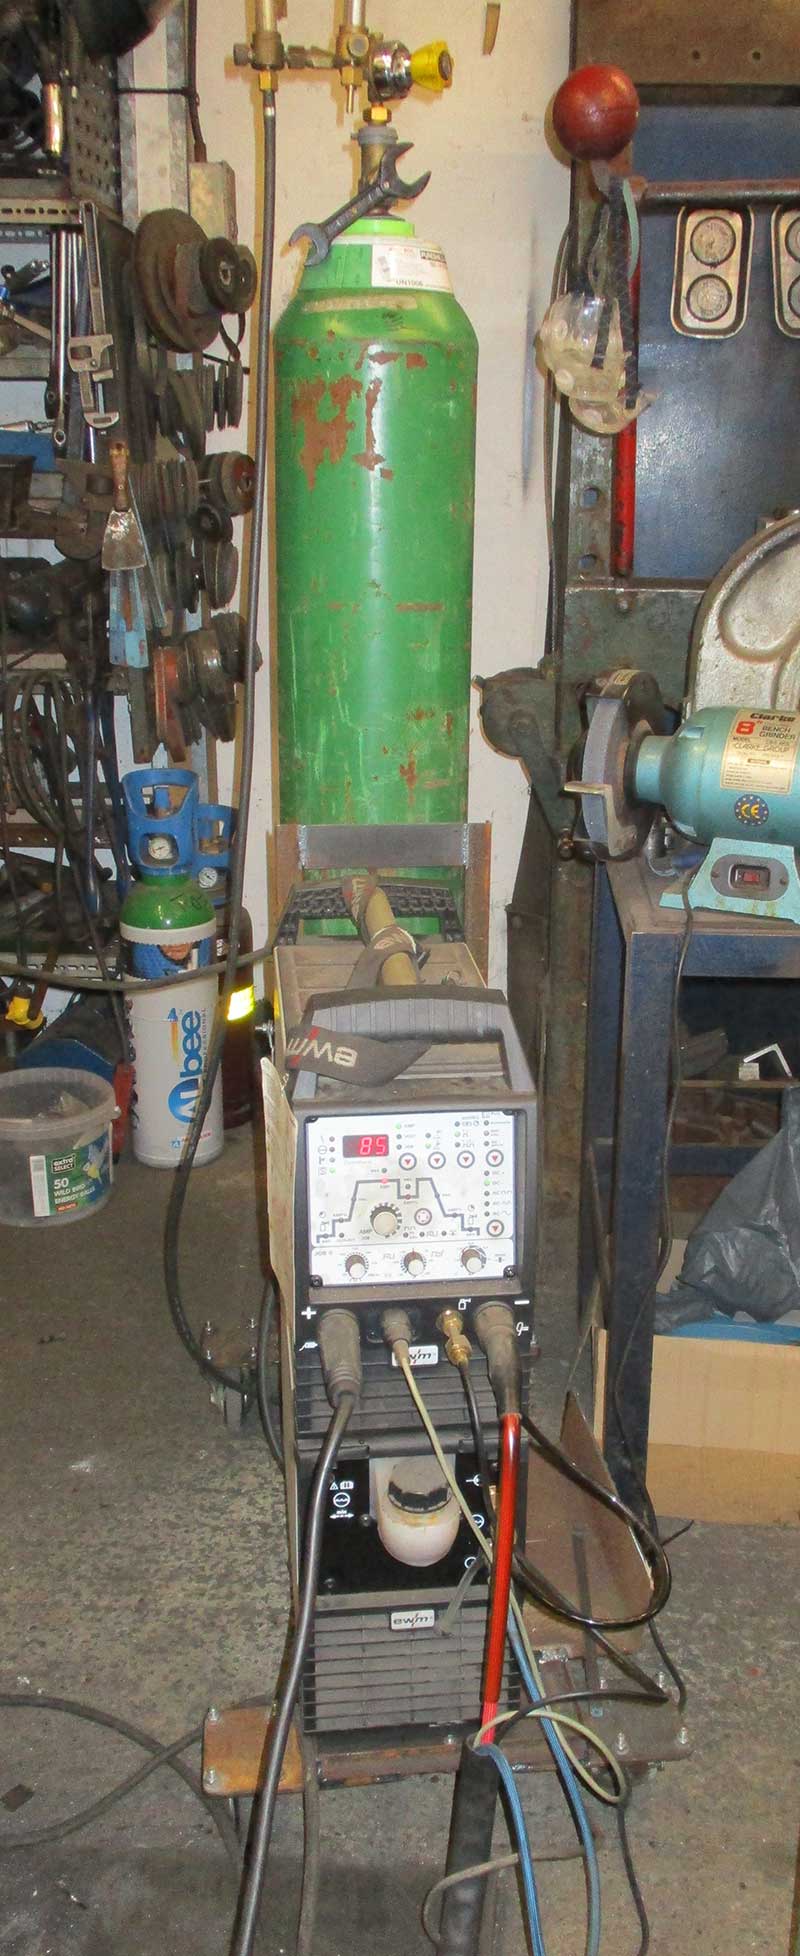
Adjusting the machine settings.
Measuring the widths.
Measuring the widths.
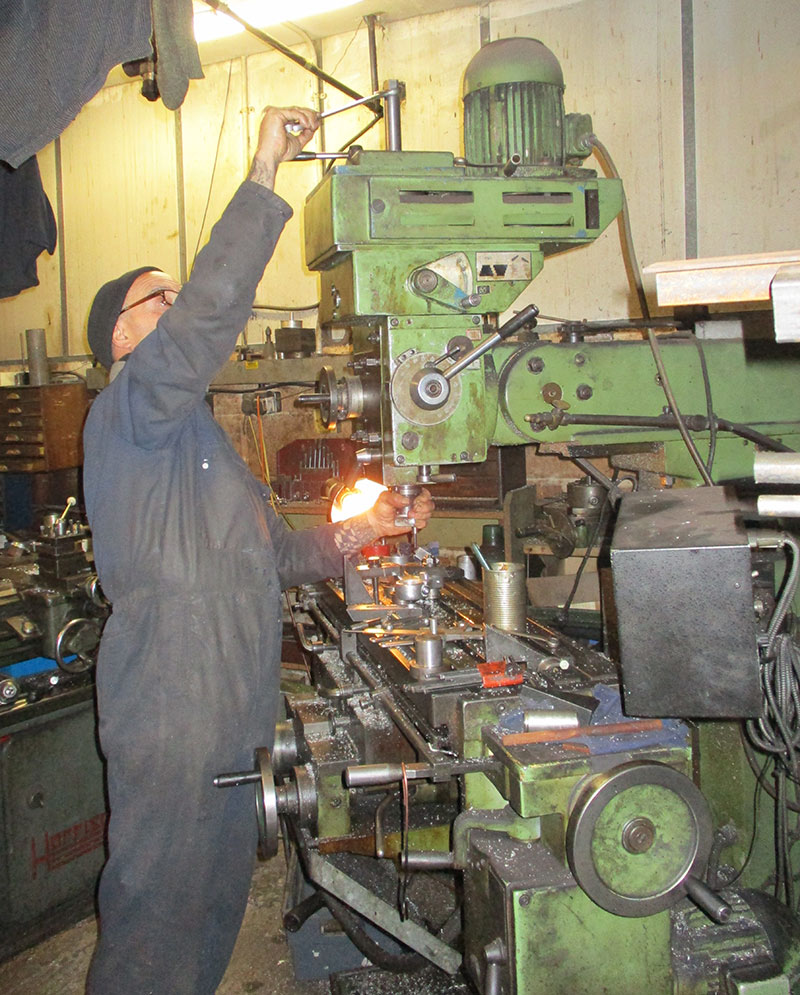
Adjusting the machine settings.
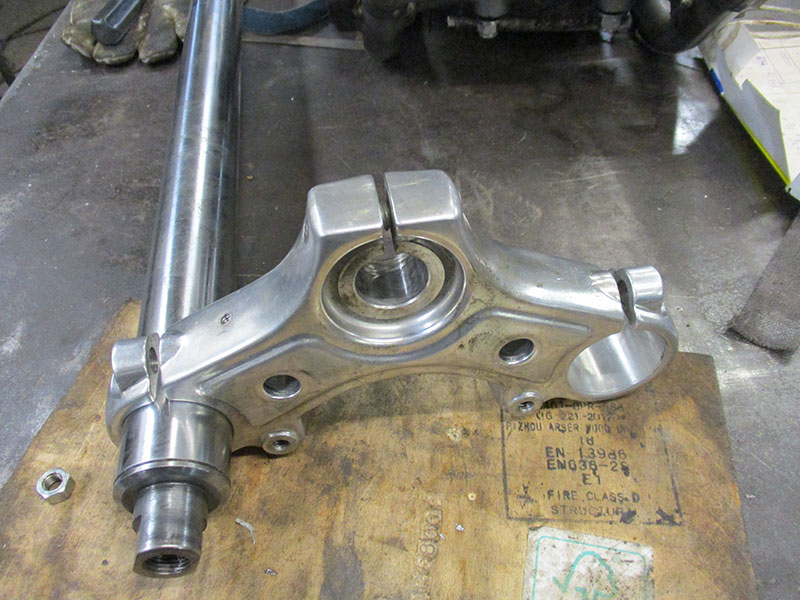
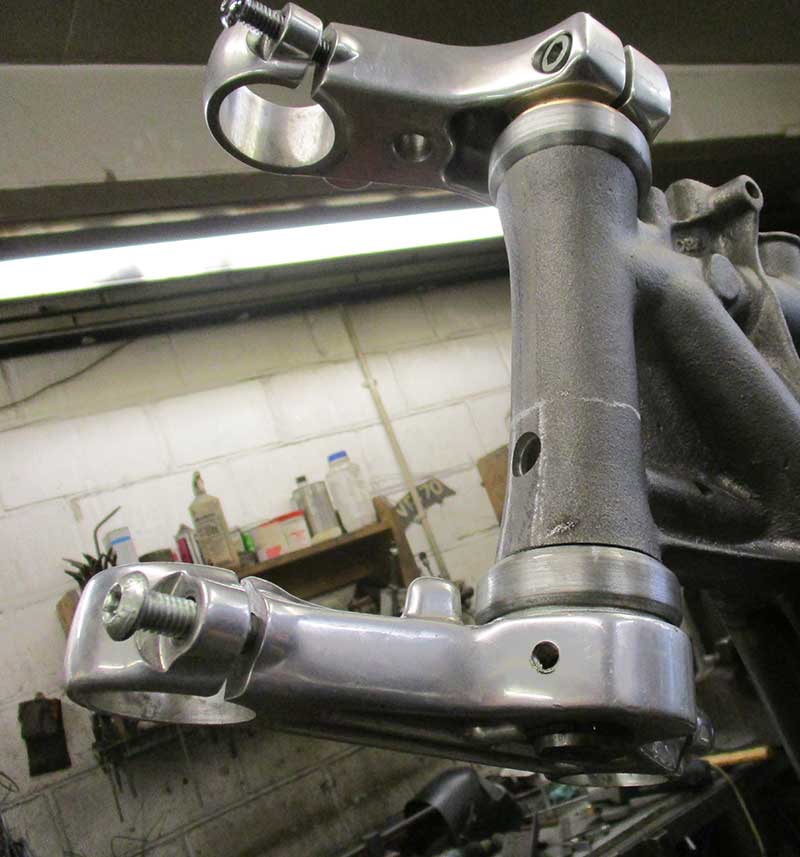
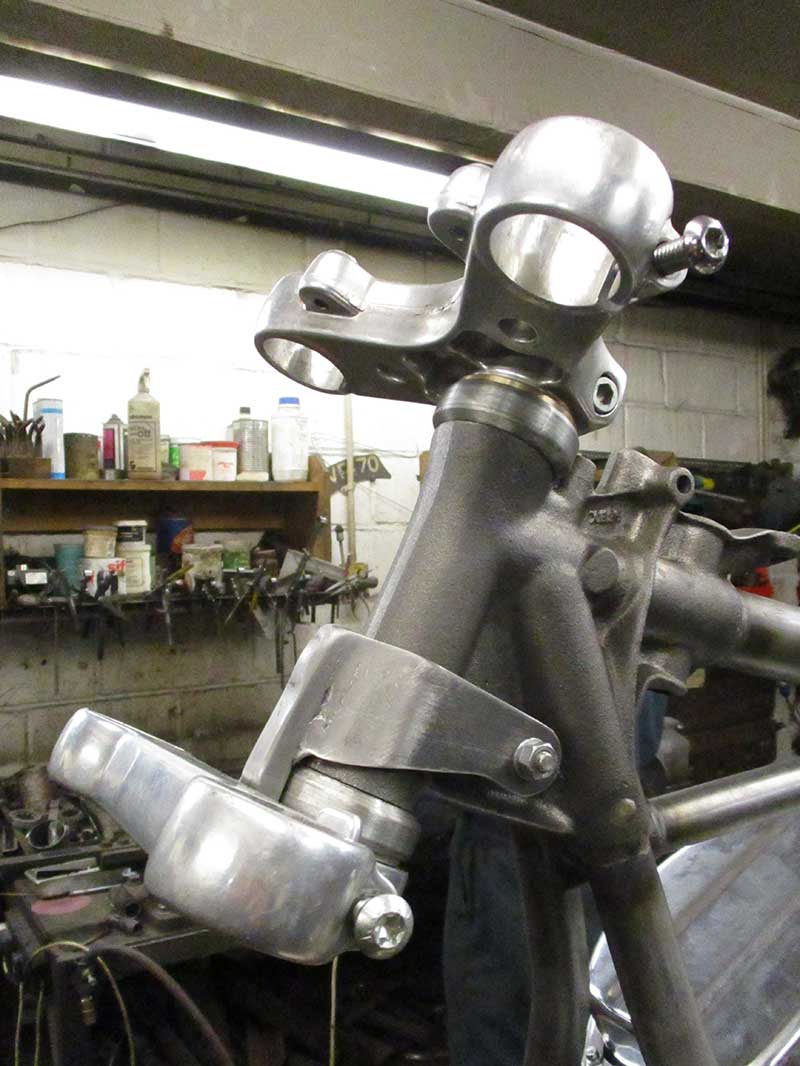
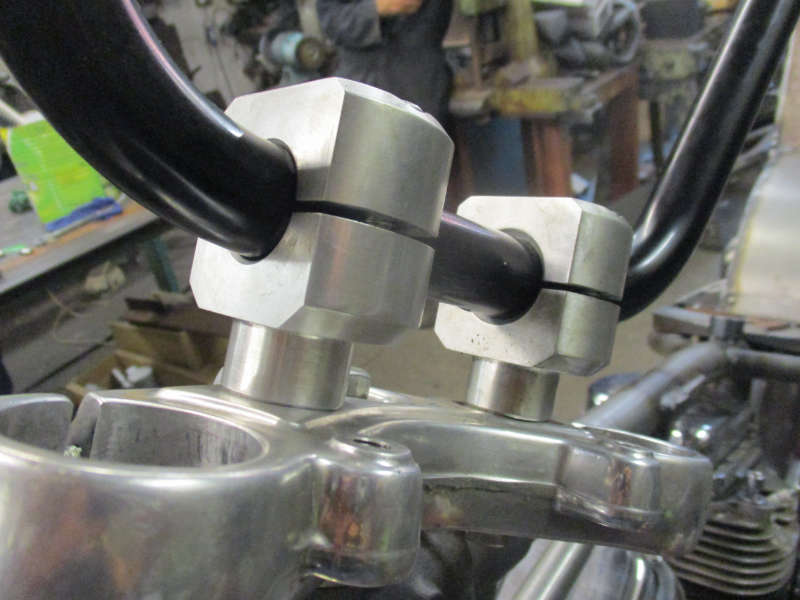
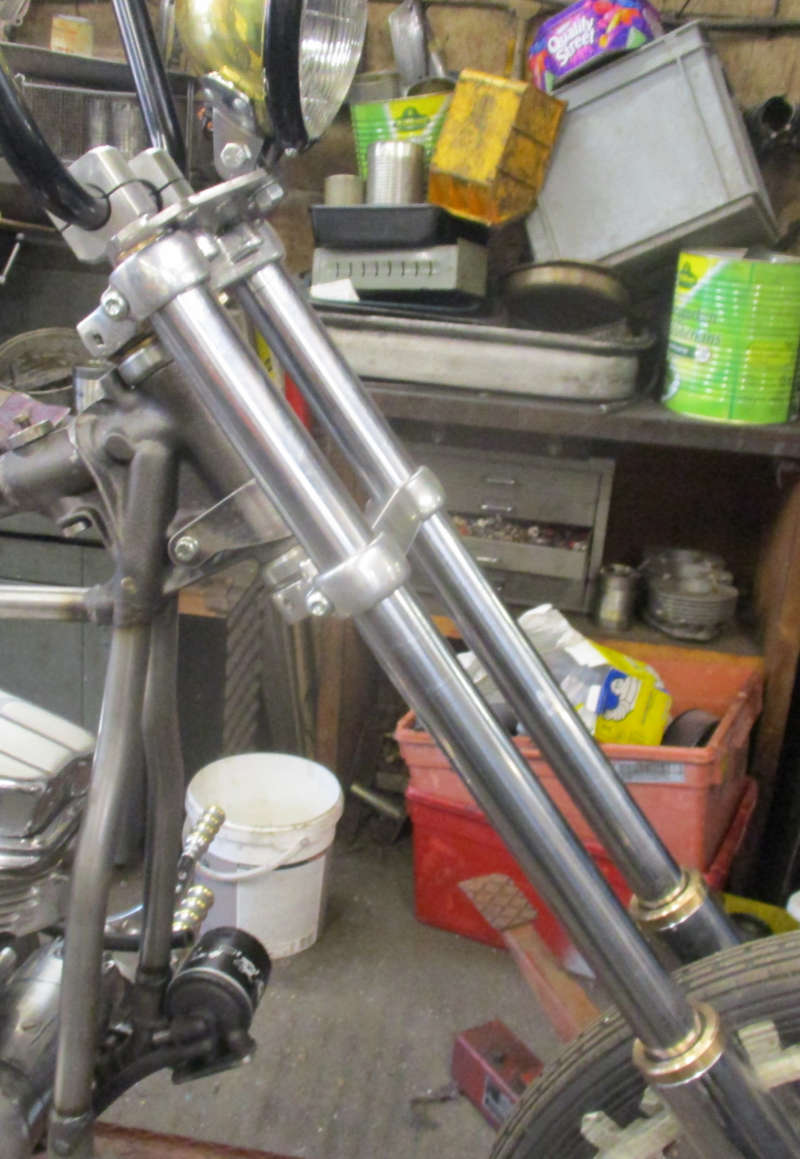
One fork leg within the top and bottom yokes.
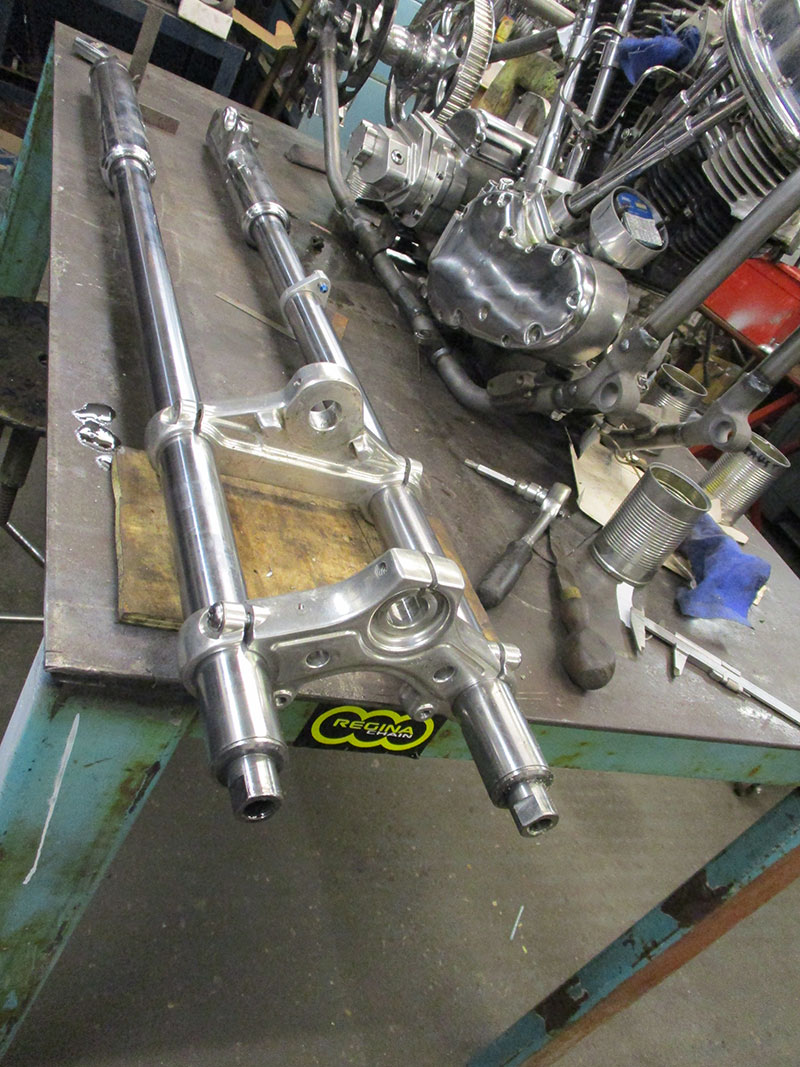
The forks within both yokes.
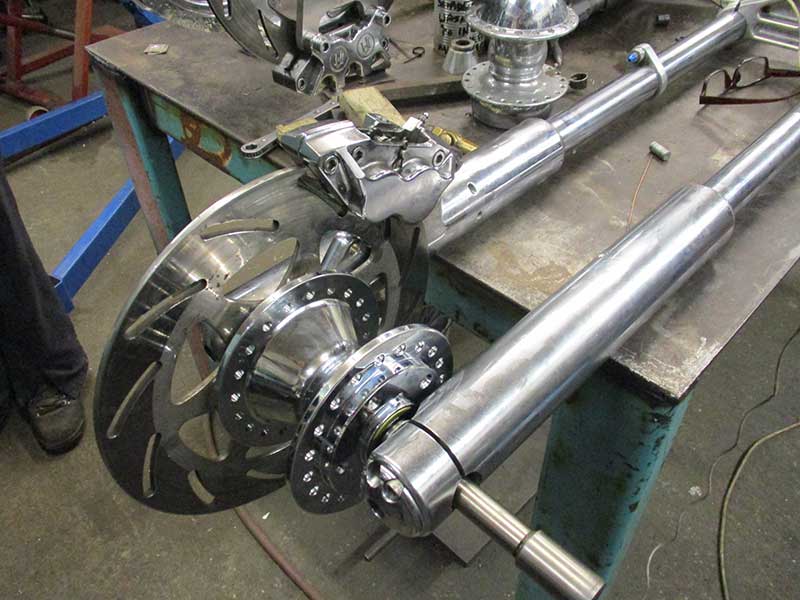
The forks with front hub and disc brake placed ready for sizing.
Measurements are made to determine spacings to the left and the right of the front hub.
Perfect central alignment
We zinc plated these handmade components on the premises
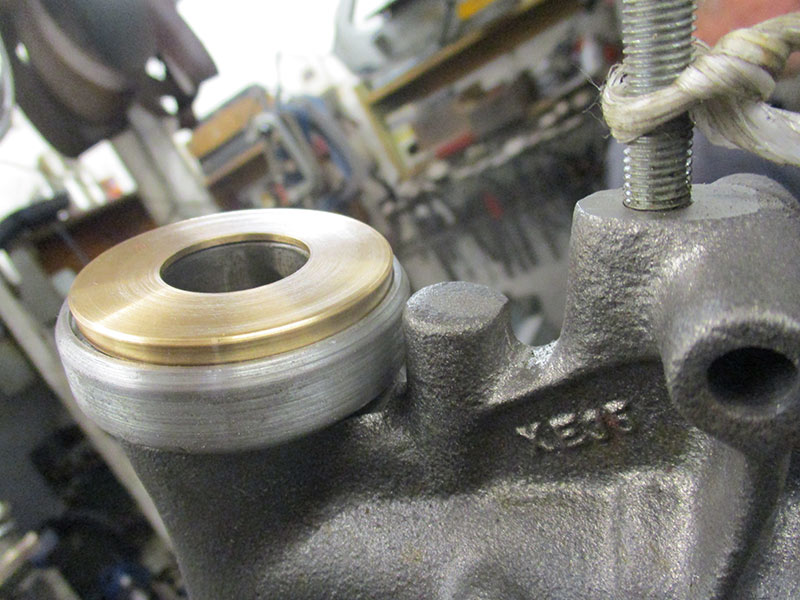
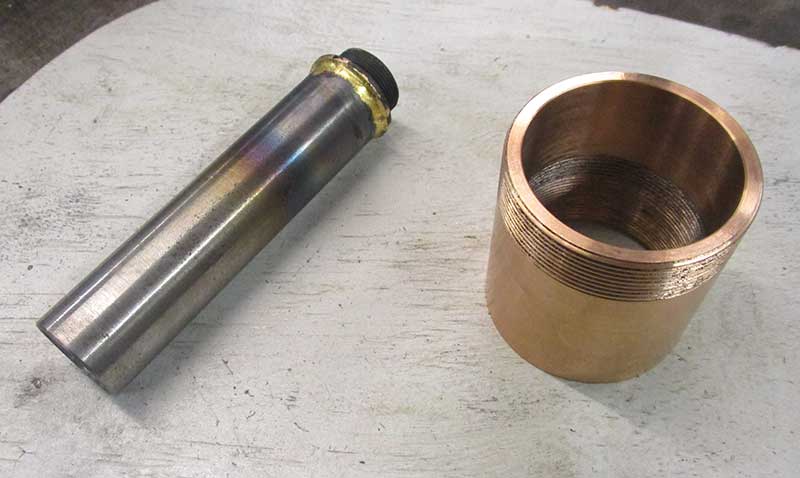
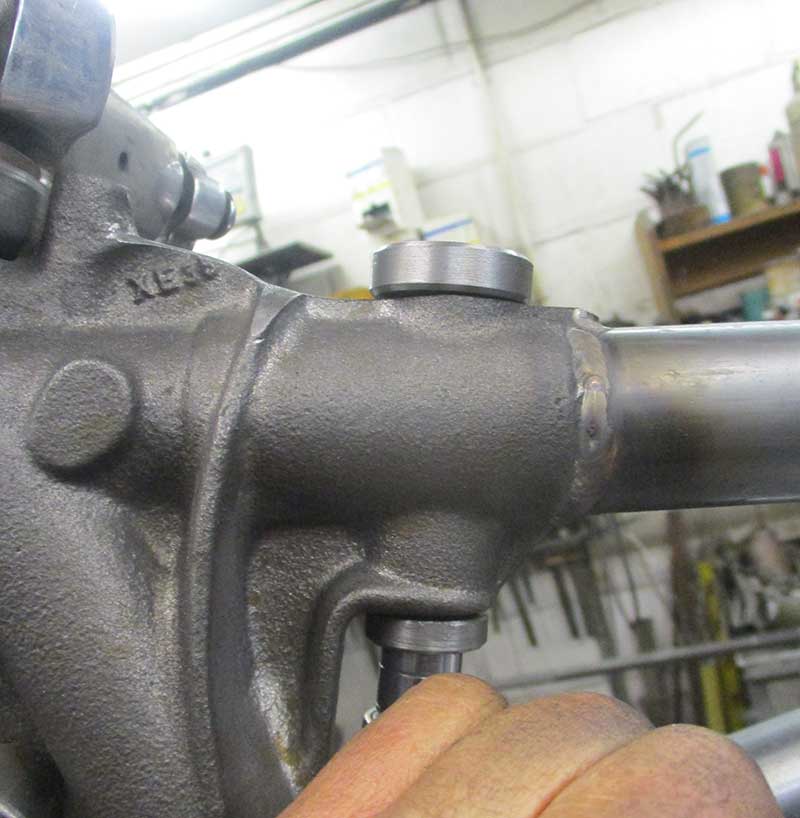
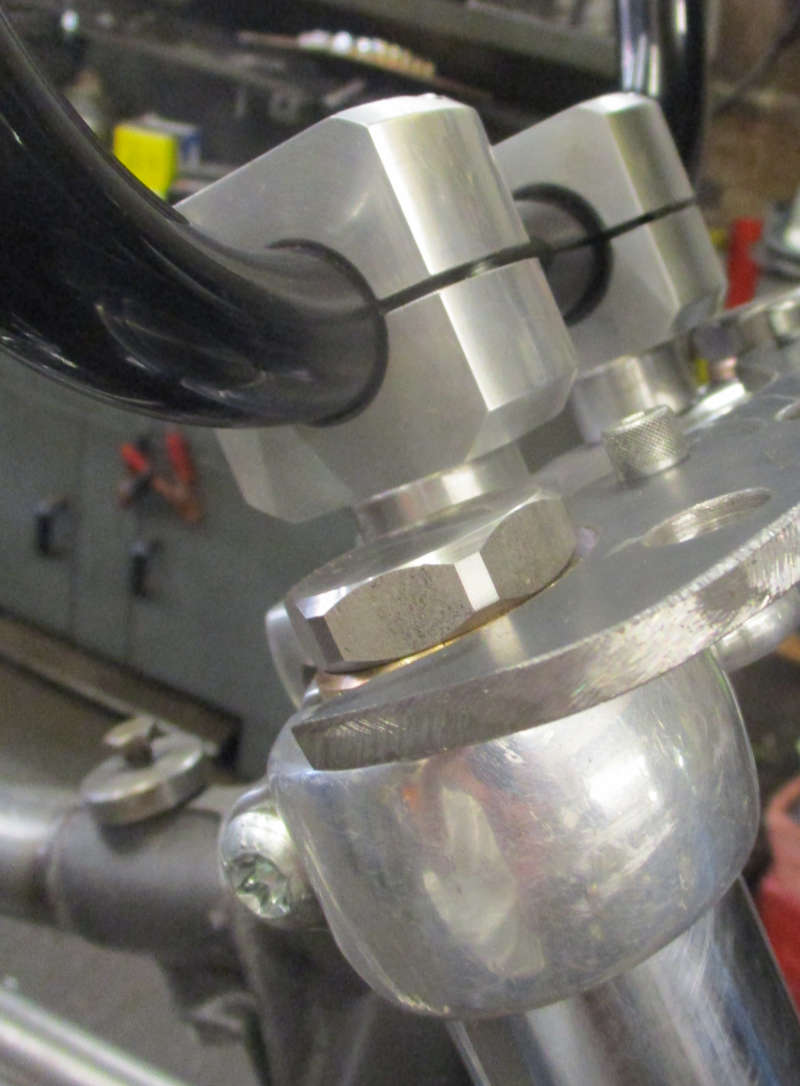
For the top of the yoke this bronze component was made on the lathe
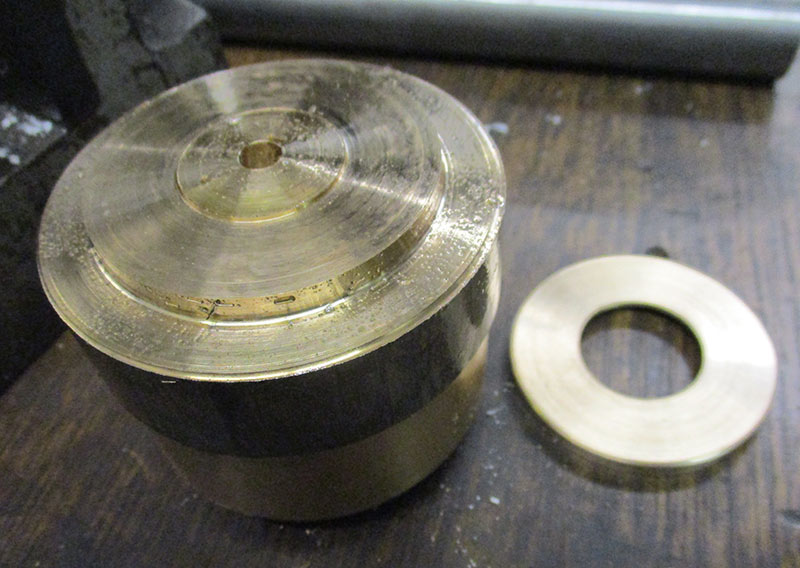
The lump of bronze that was used

Offering up of the top yoke
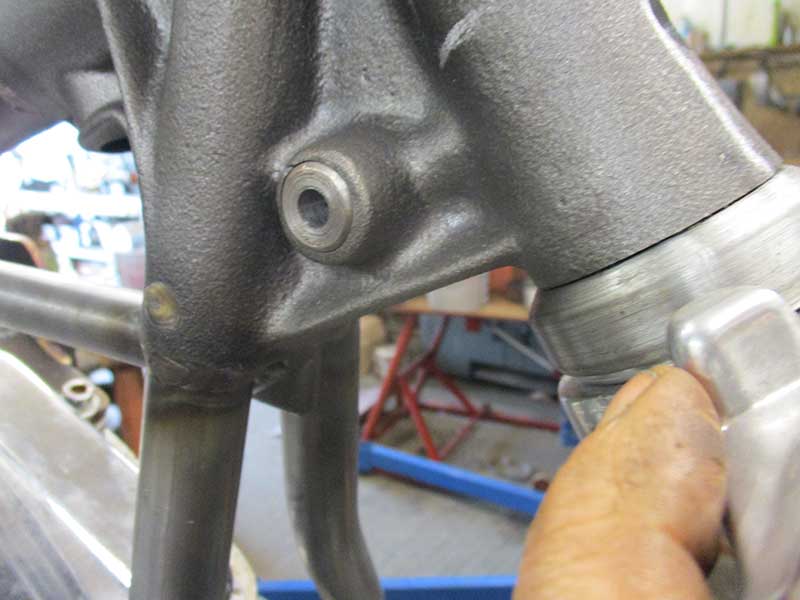
Making the steering stop.
105
106
107
108
110
111
112
113
114
115
116
117
118
119
120
121
122
123
124
125
126
127
128
140
130

131
132
133
134
135
136
137
138

139

The steering stop is now complete ready to be blasted and painted.
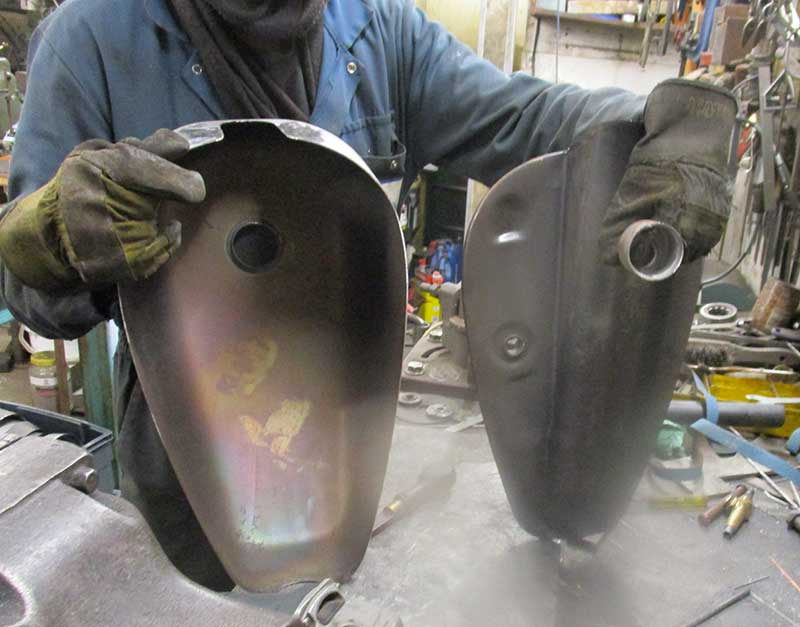
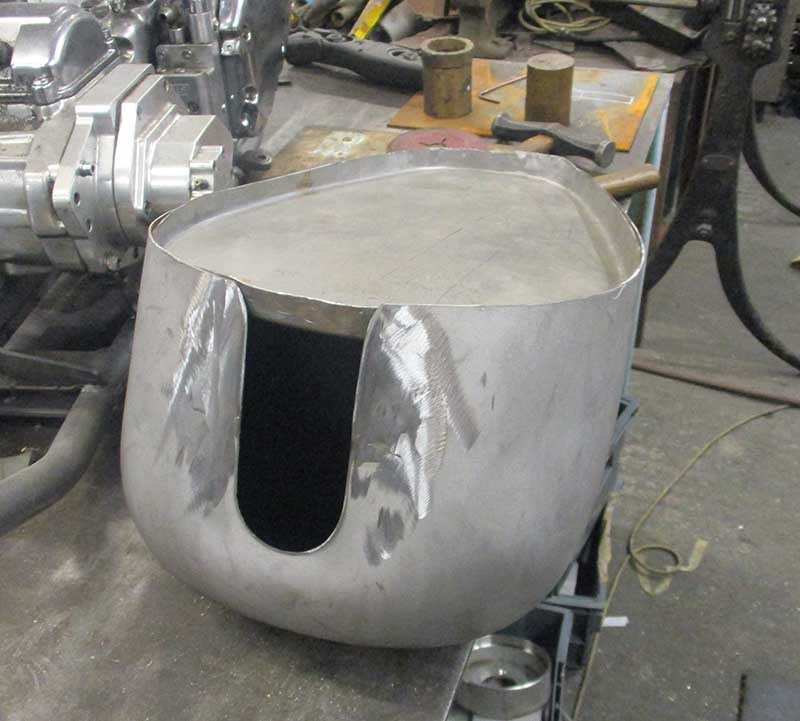
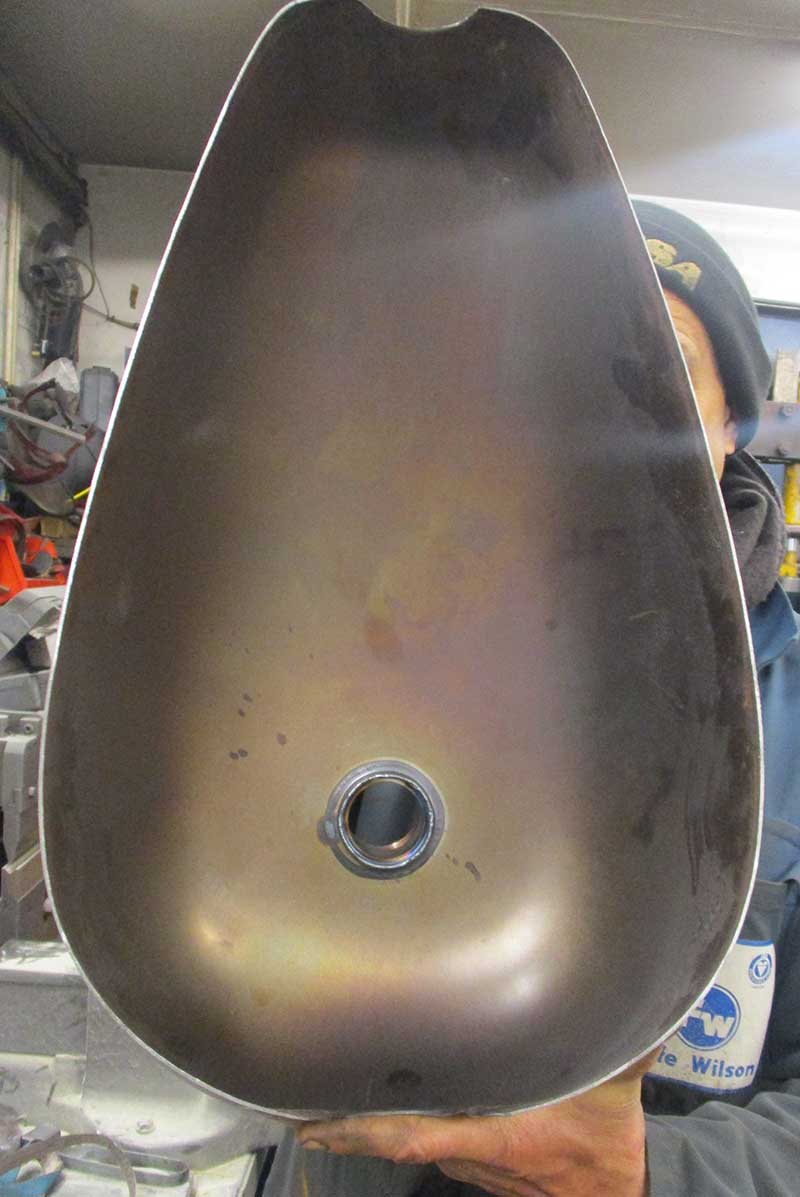
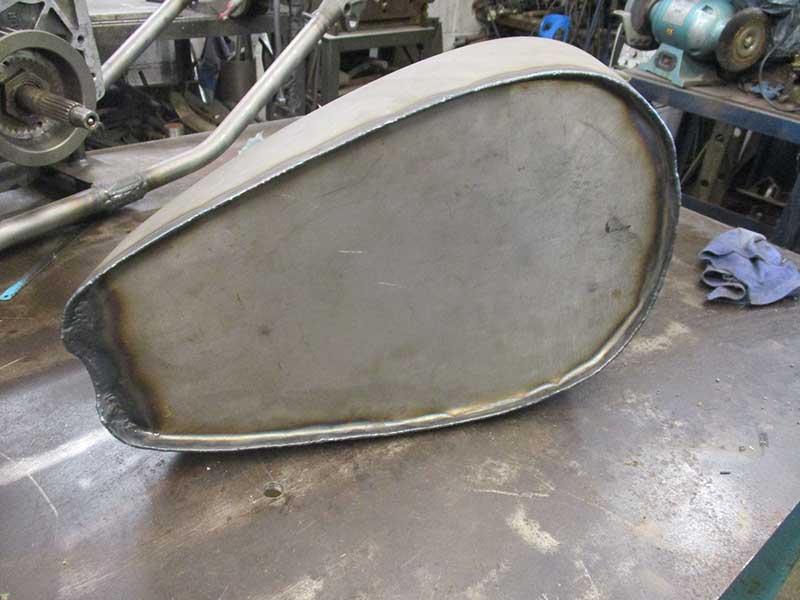
The petrol tank needs to be prepared and altered.
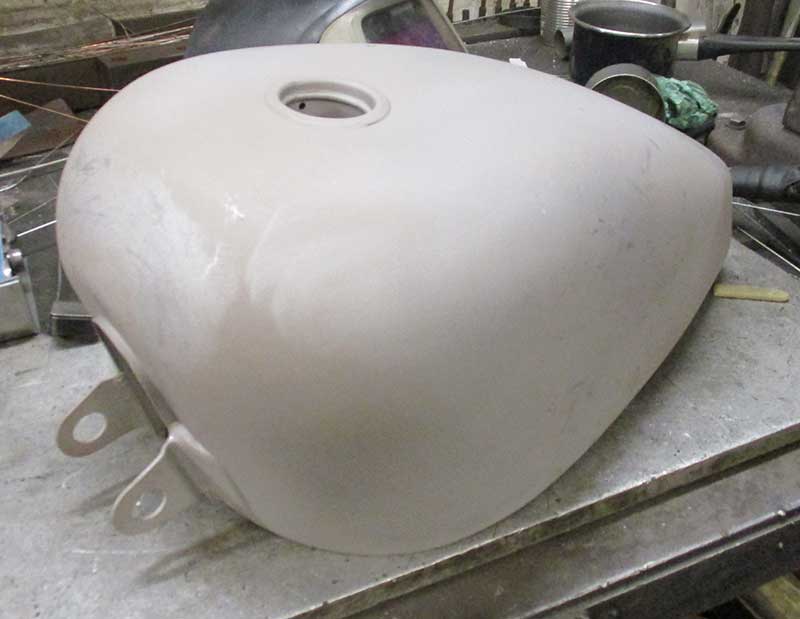
The petrol tank has been blasted.
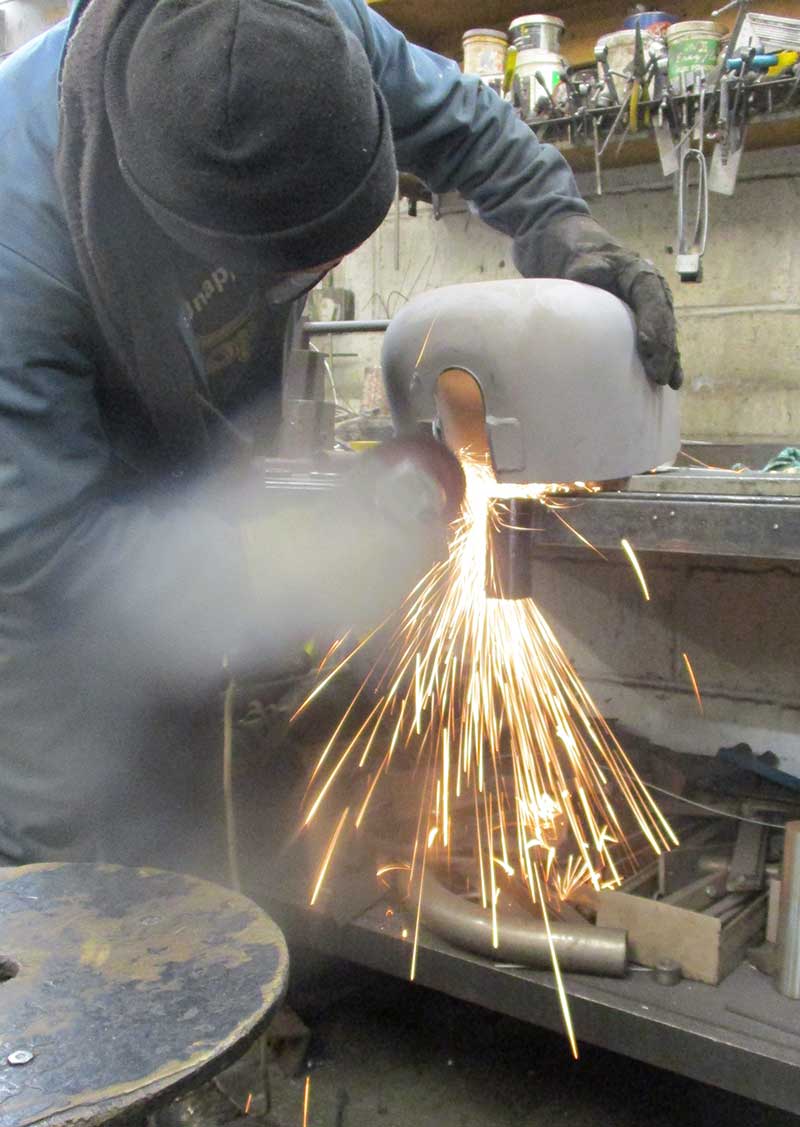
The bottom of the petrol tank is being removed.
143
144
145
146
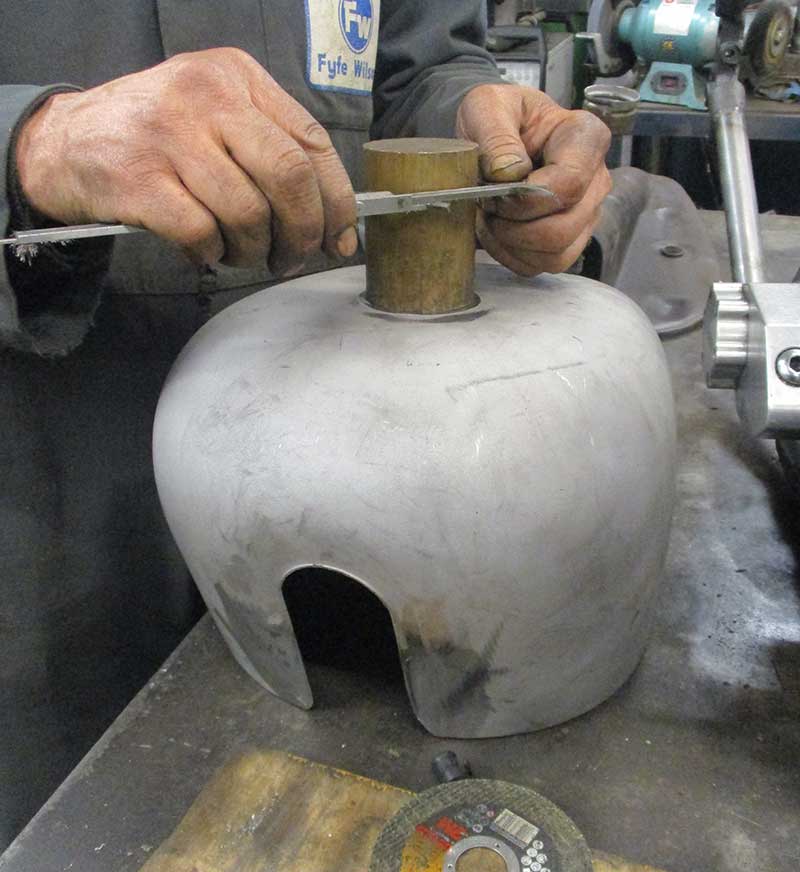
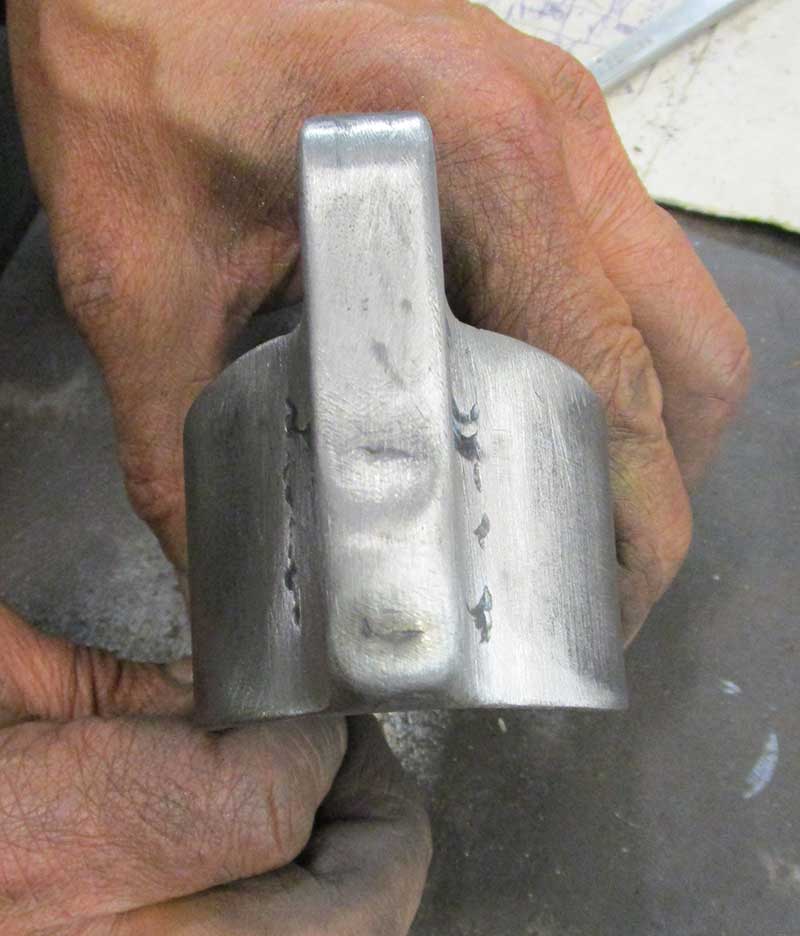
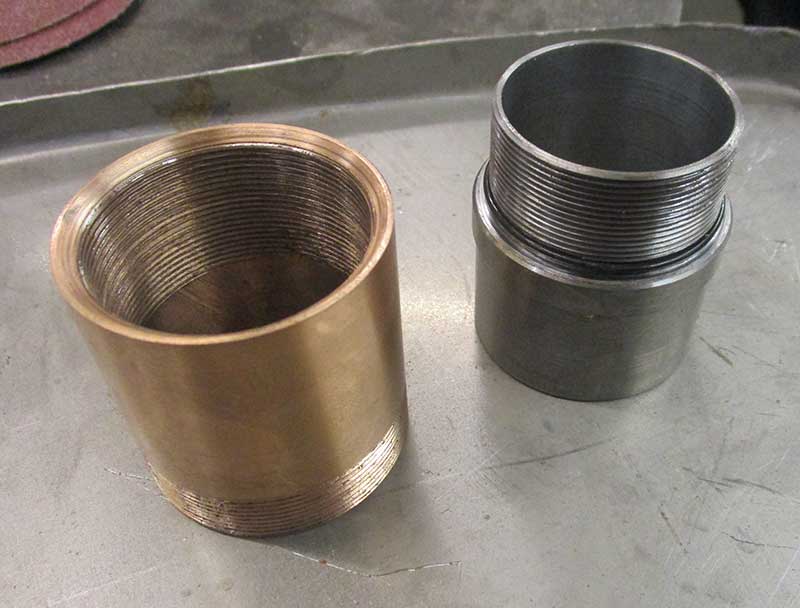
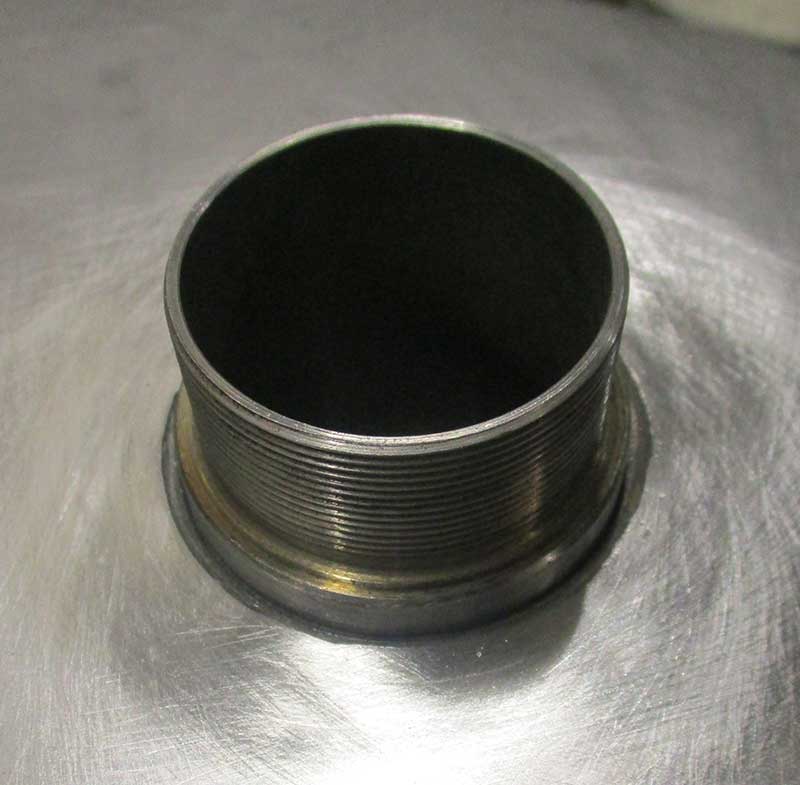
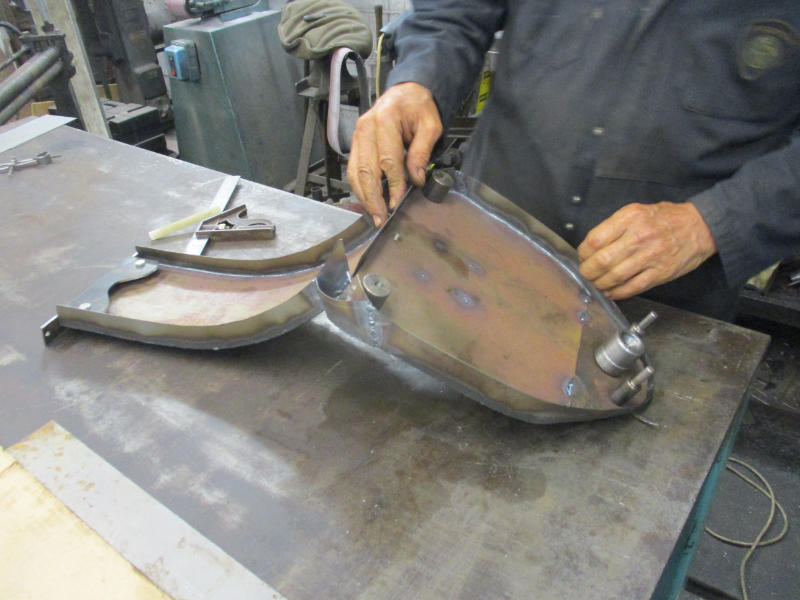
A piece of bronze has been selected ready for maching into a component for the petrol tank.
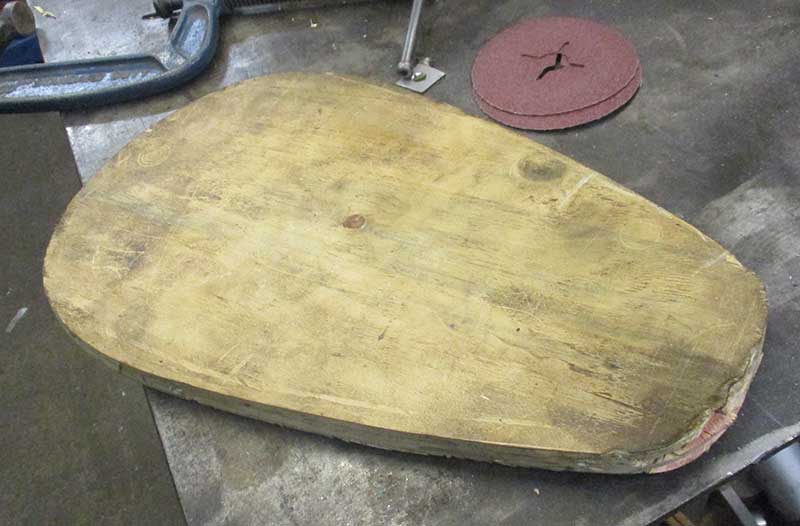
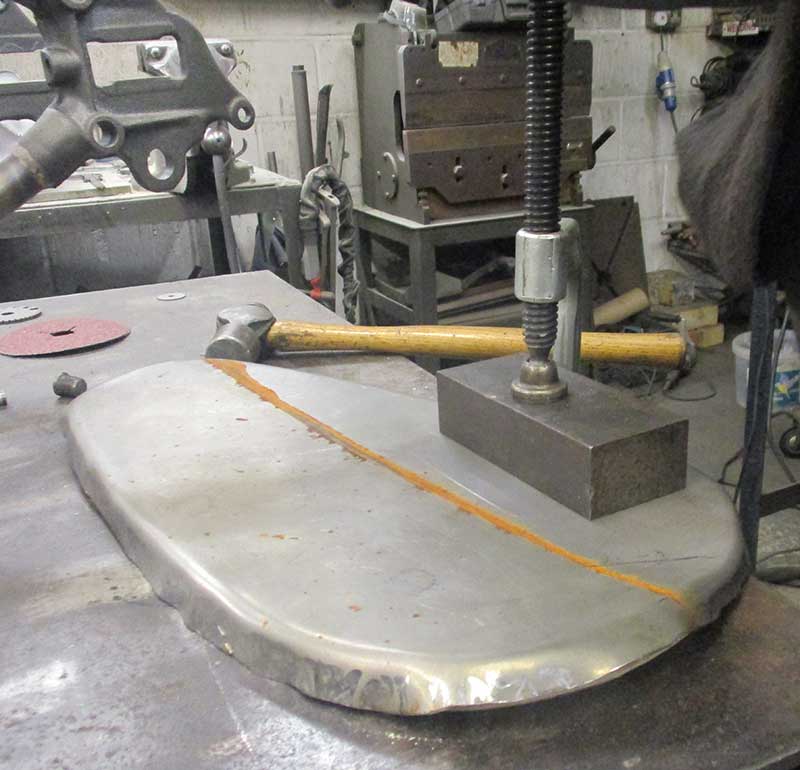
A wooden pattern has been made to the dimensions of the base of the petrol tank.

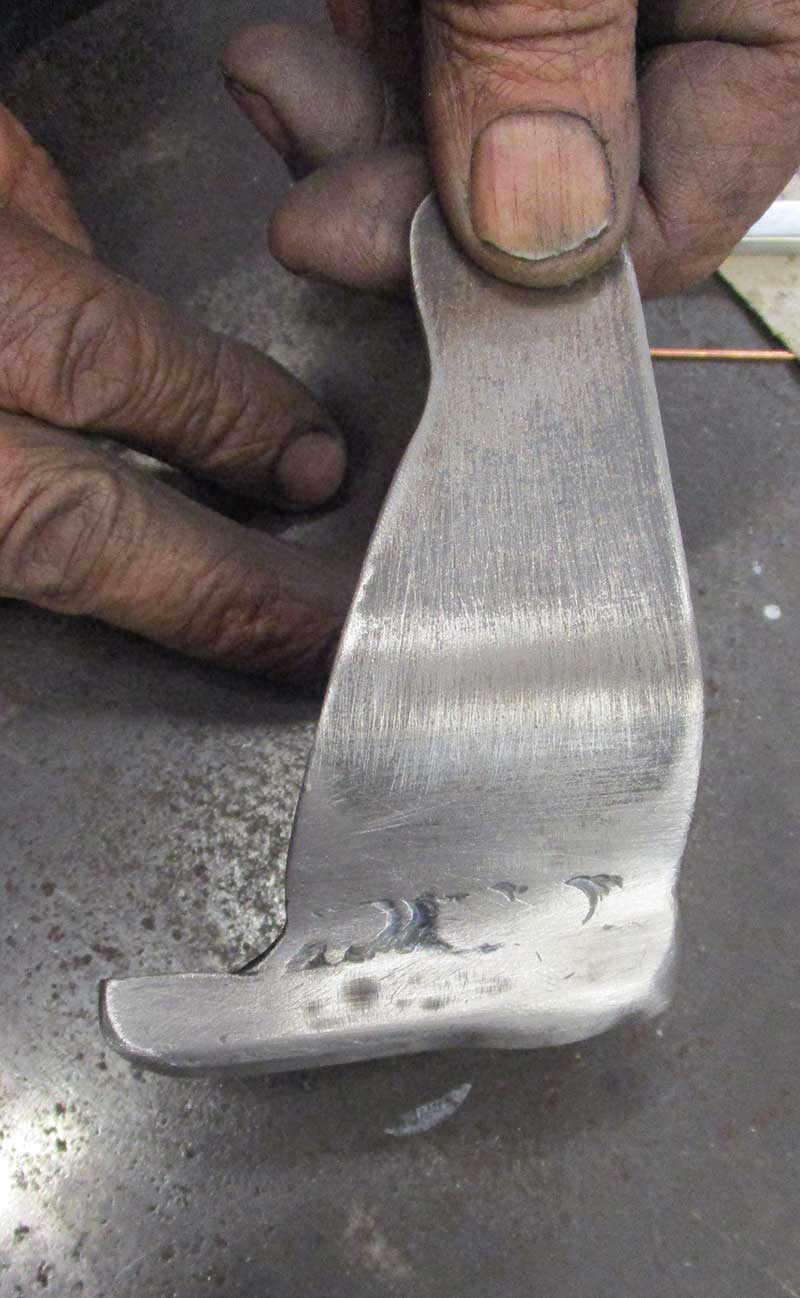
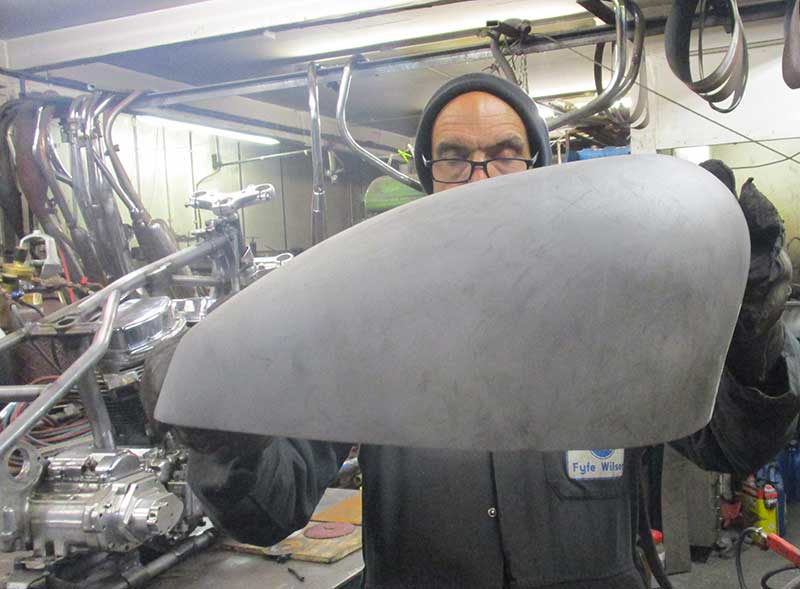
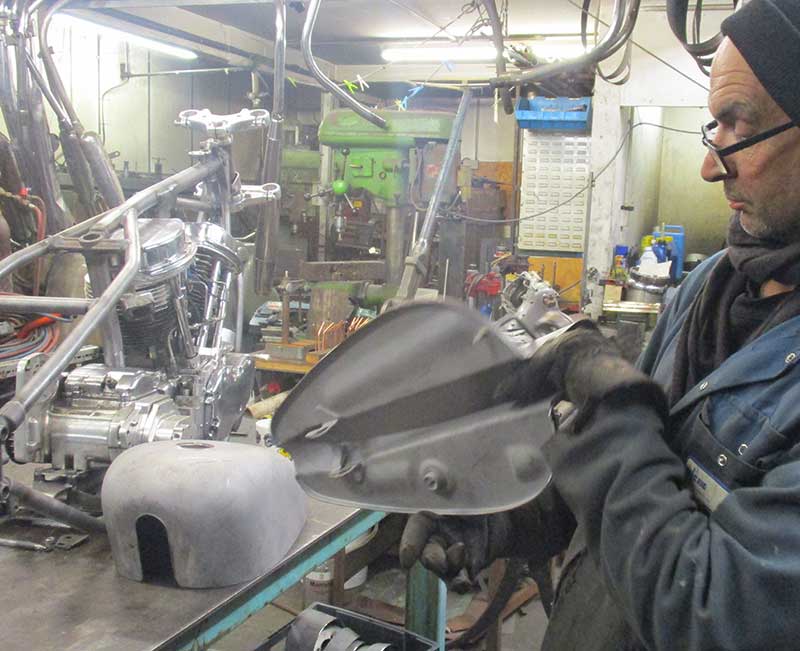
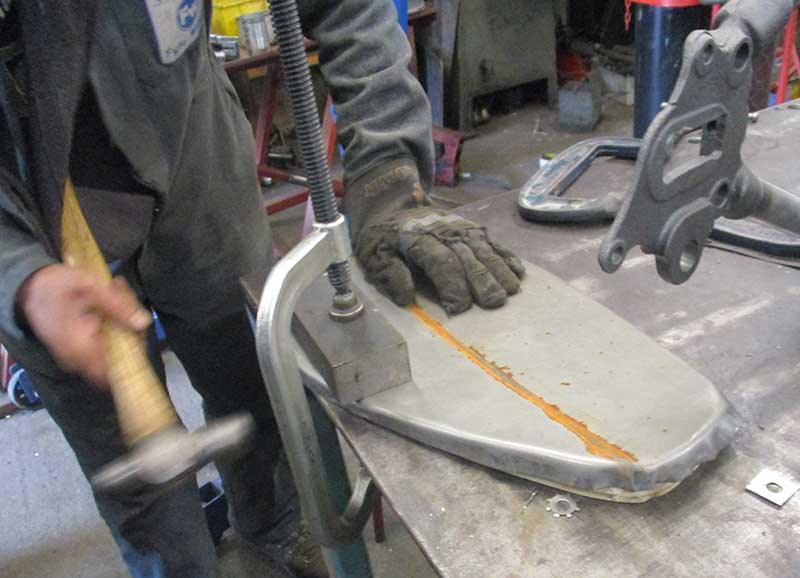
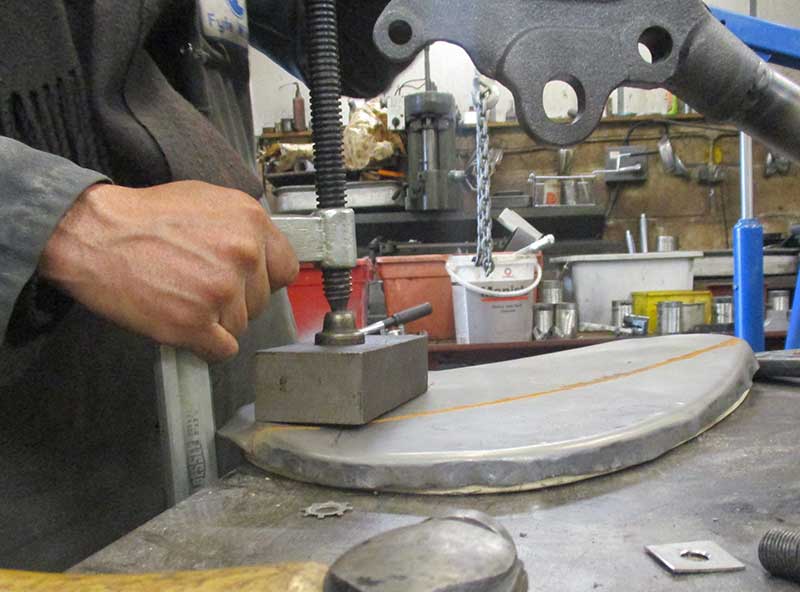
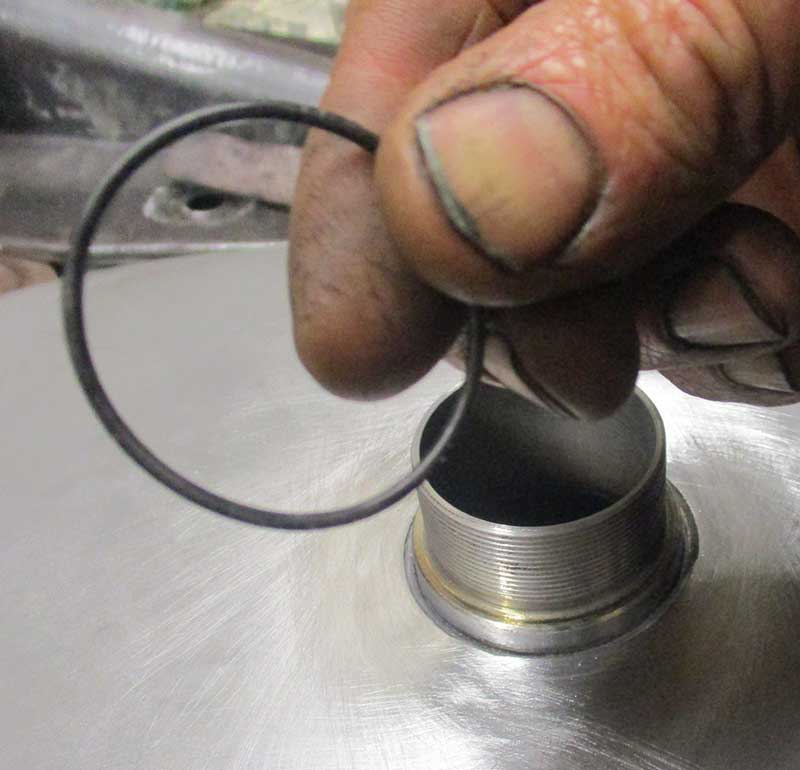
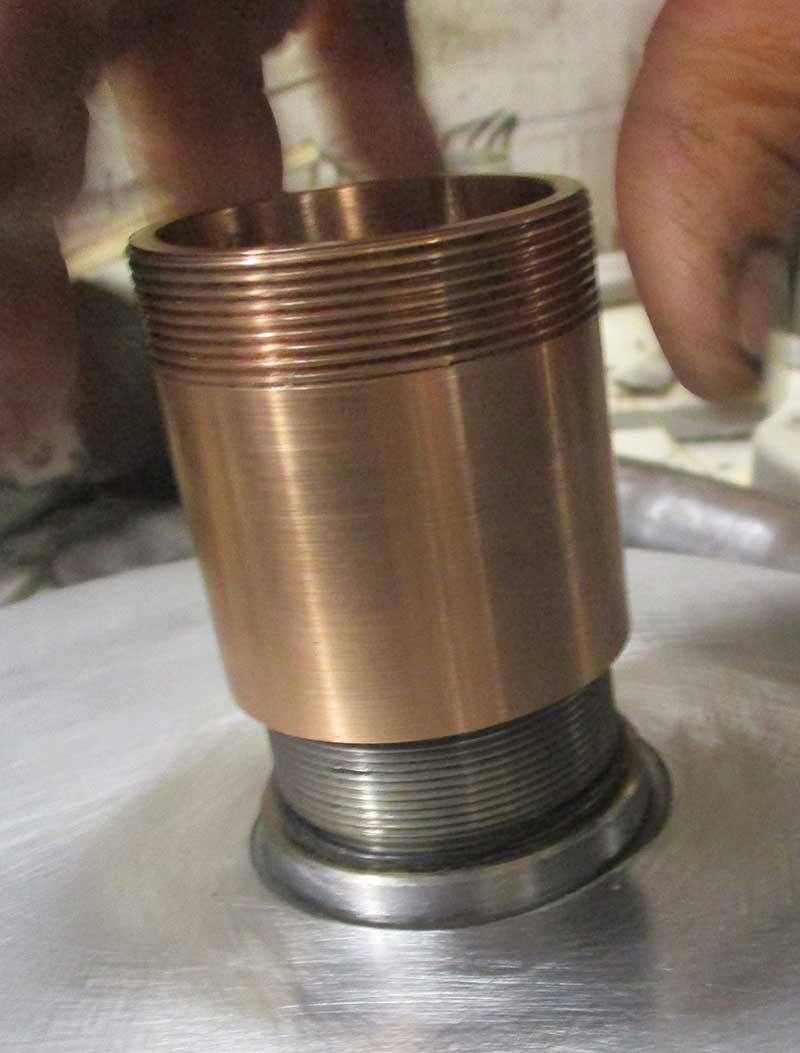
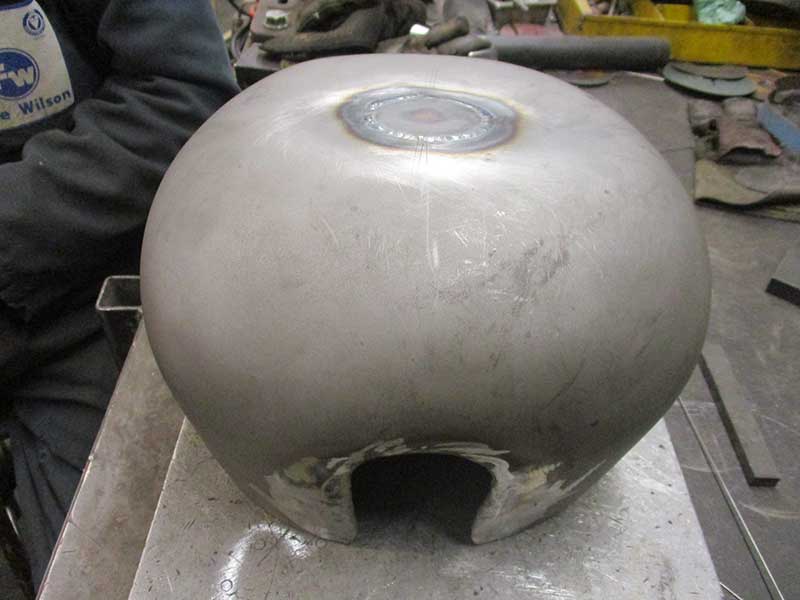
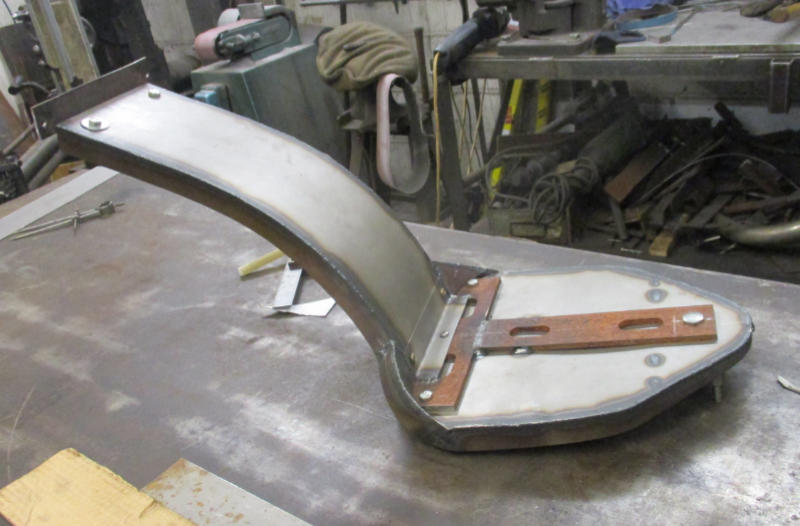
The base of the tank is being formed.
151
152
153
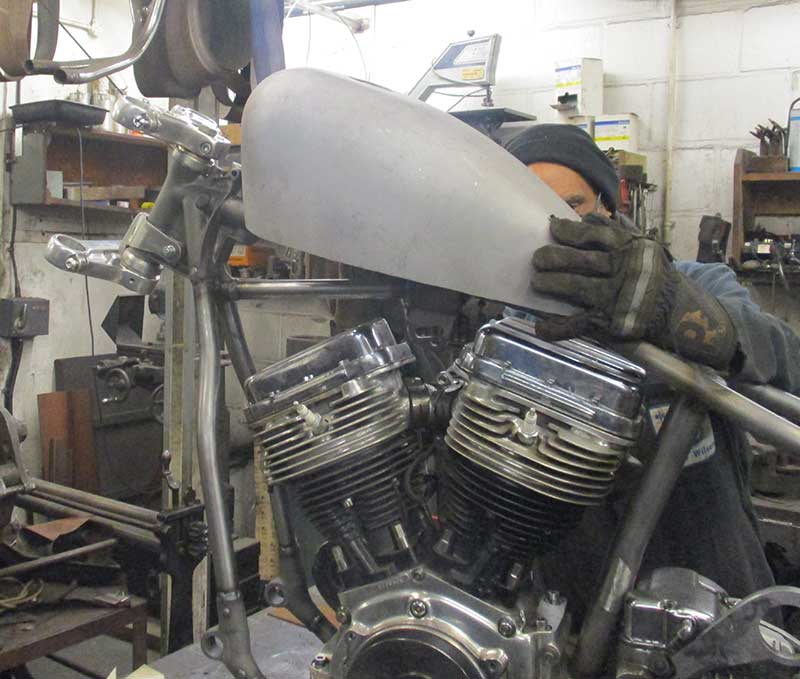
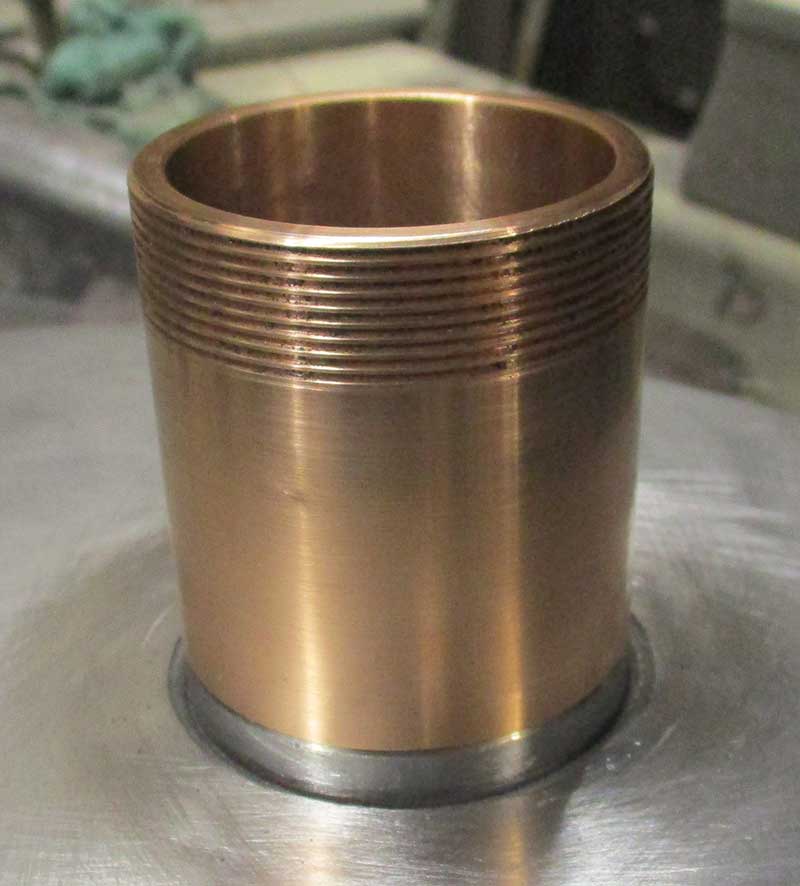
The base of the tank in position within the tank.
155
156
155
158
159
160
161
162
163

164
165
166
167
168
169
170
171
172

173
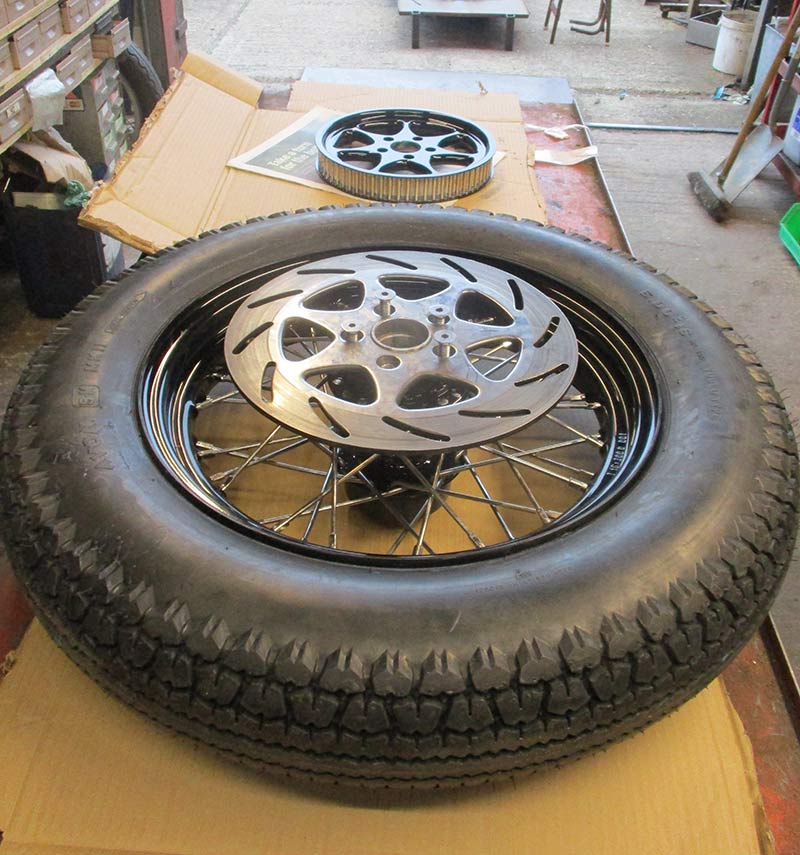
174. Front wheel has had chrome stripped and has been sprayed black. Spoking has been completed. Plenty of masking tape has been applied for protection of the paint.
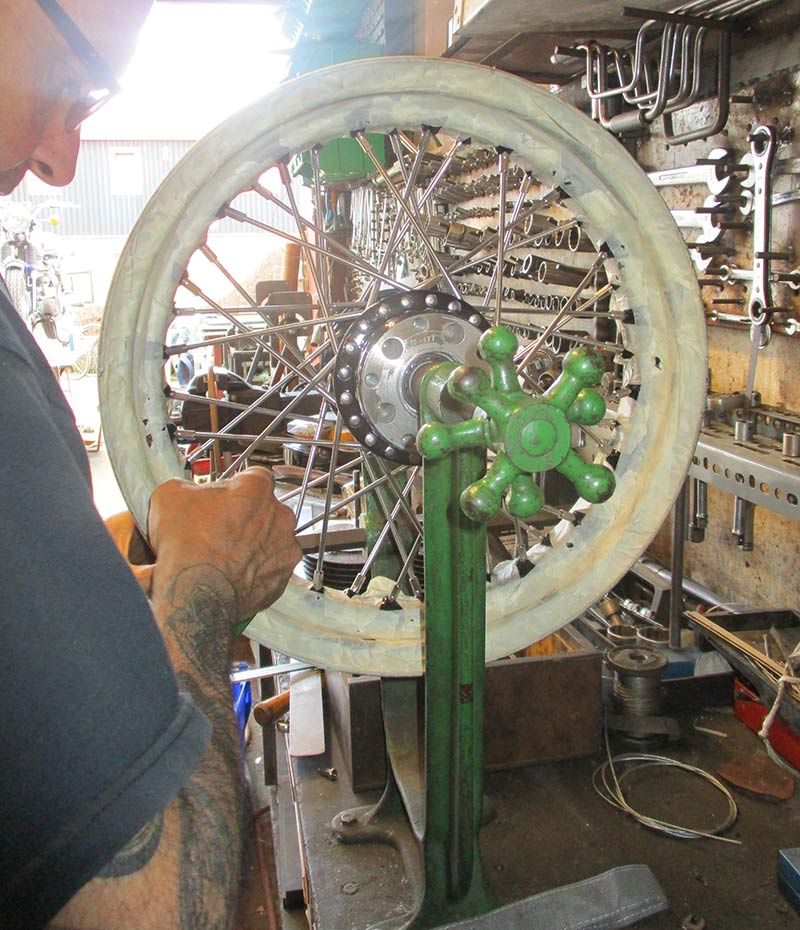
175. Front wheel.
176. Rear wheel has had chrome stripped and has been sprayed black. Spoking has been completed.
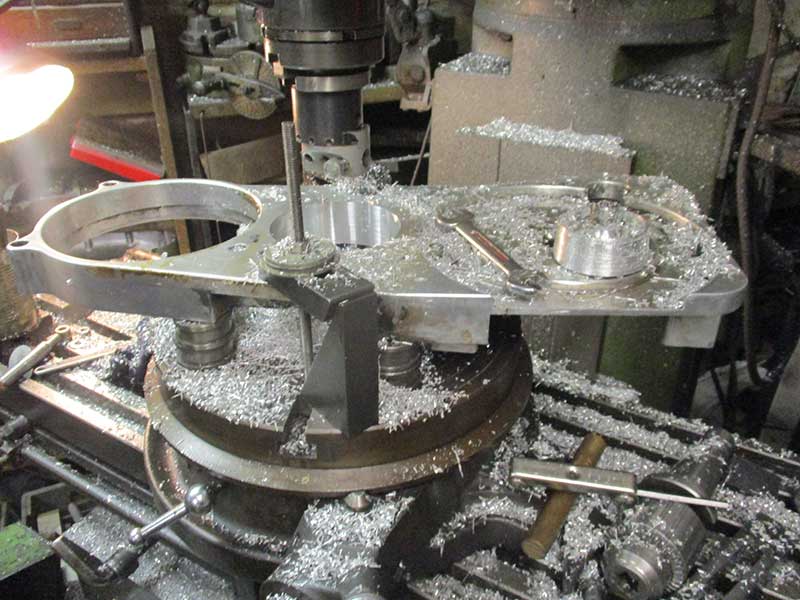
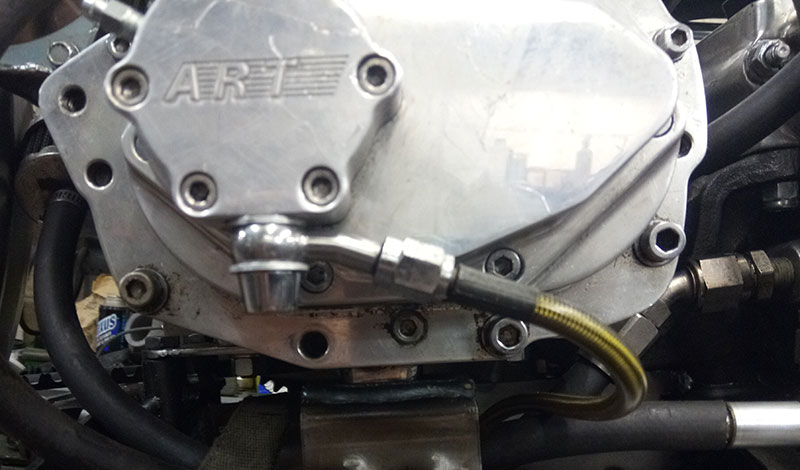
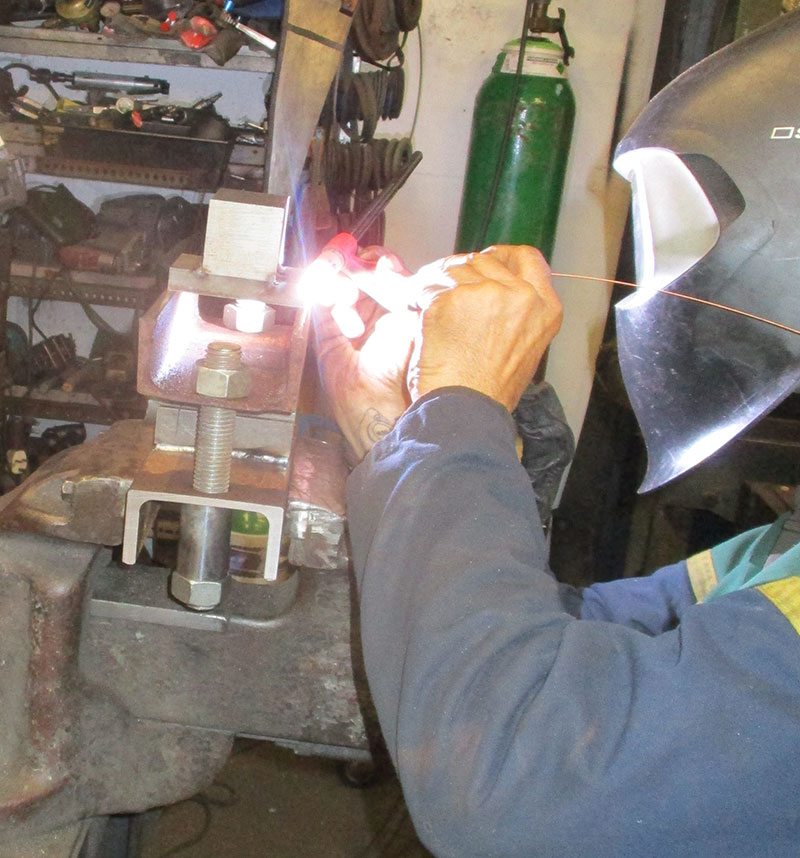
177. Machining one of the engine covers.
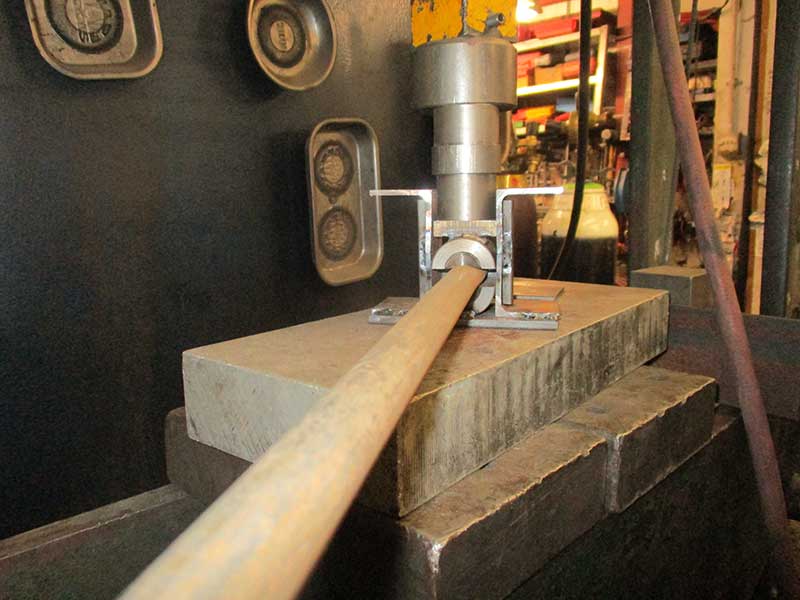
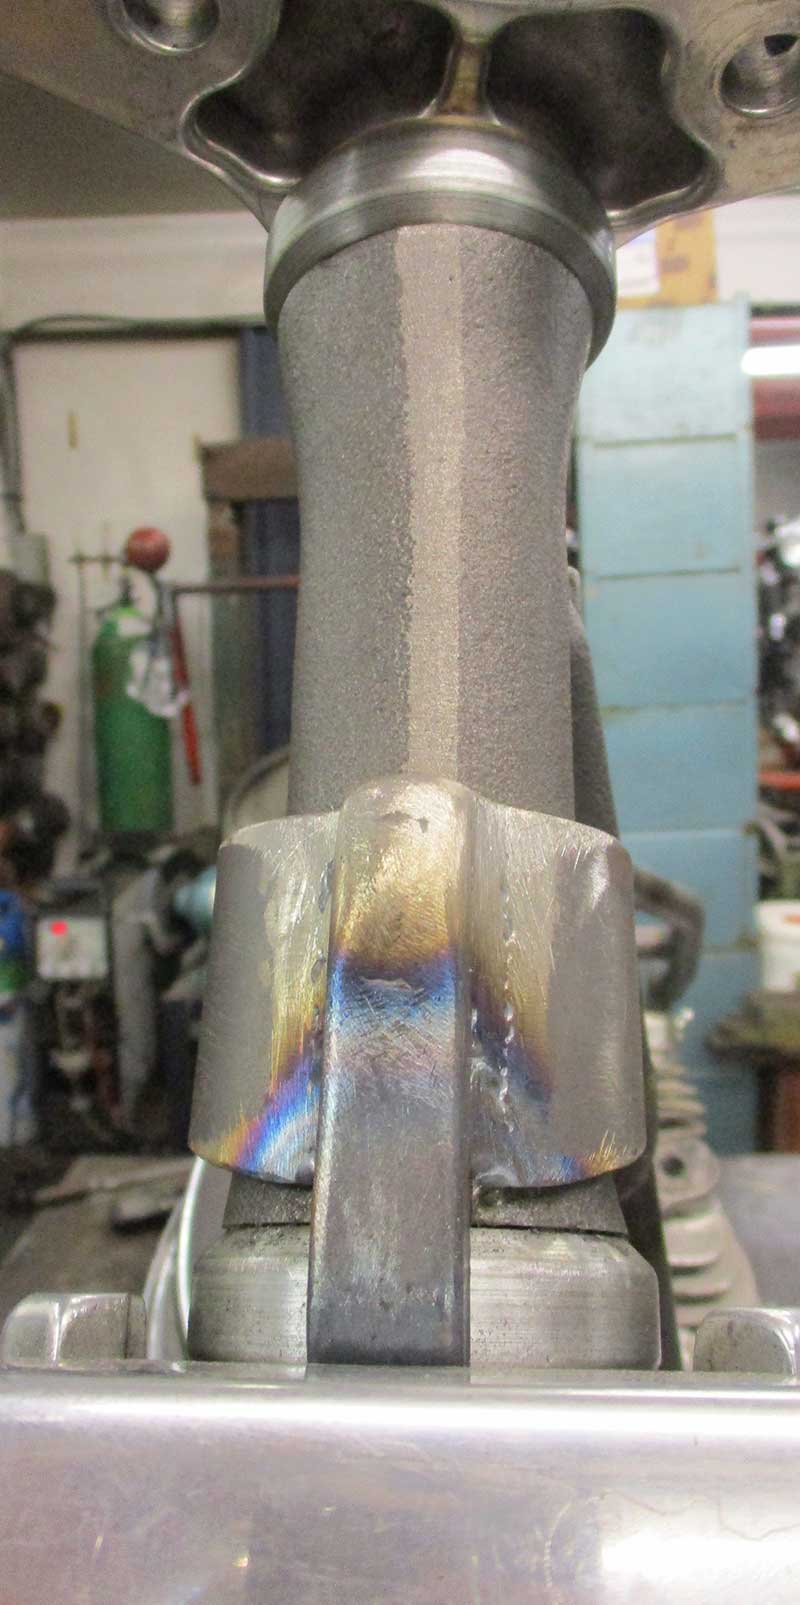
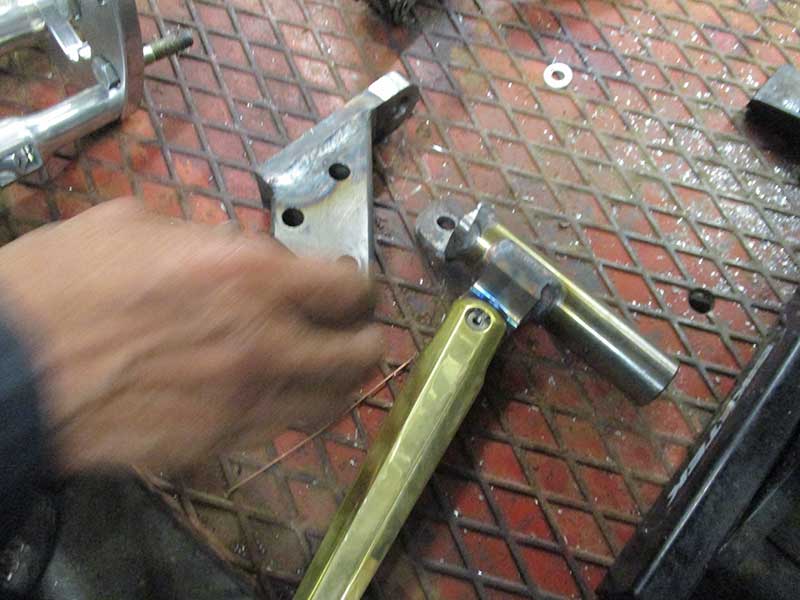
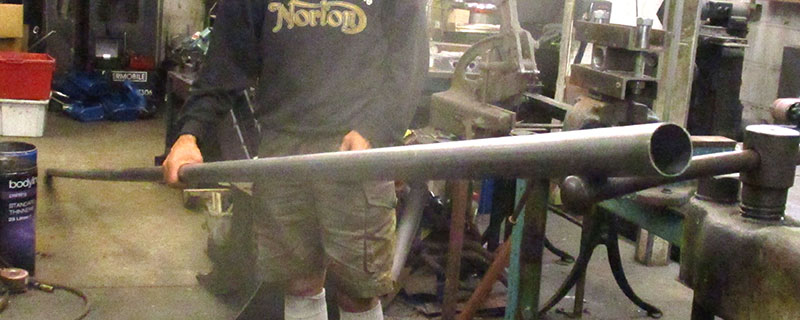
178. Parts being made for mounting of the sissy bar. The ends of this tube are being pressed flat. The shape pressing tool that can be seen within the press has been made to the correct dimensions for the job.
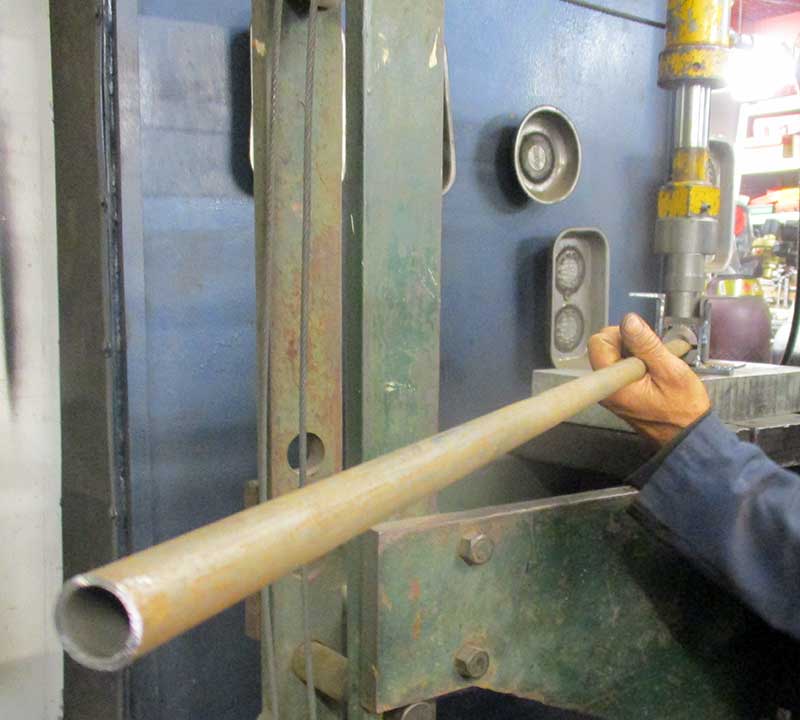
179.
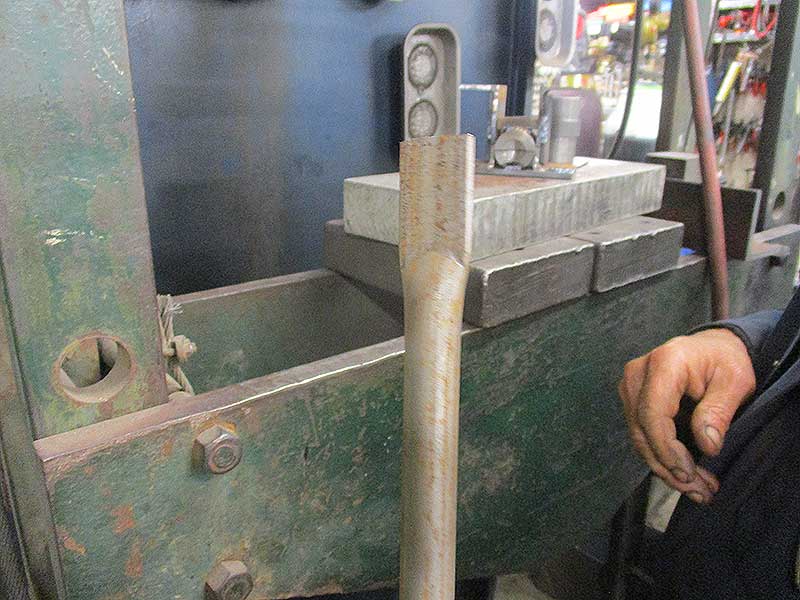
180. The tube end is pressed.
181. The end of the tube has been shaped, and the bolt hole drilled.
182.
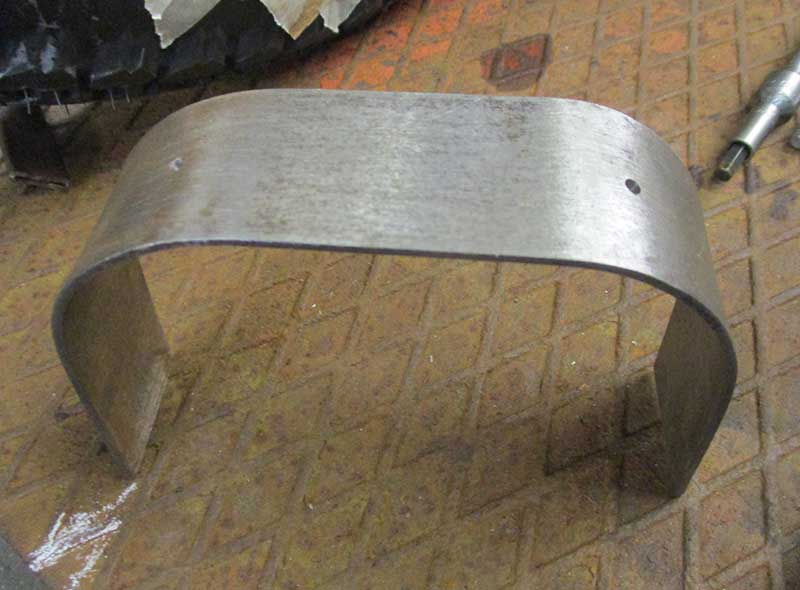
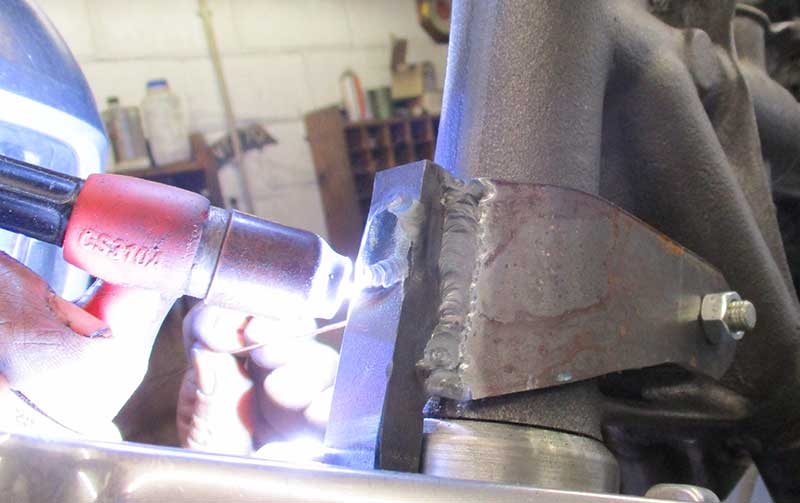
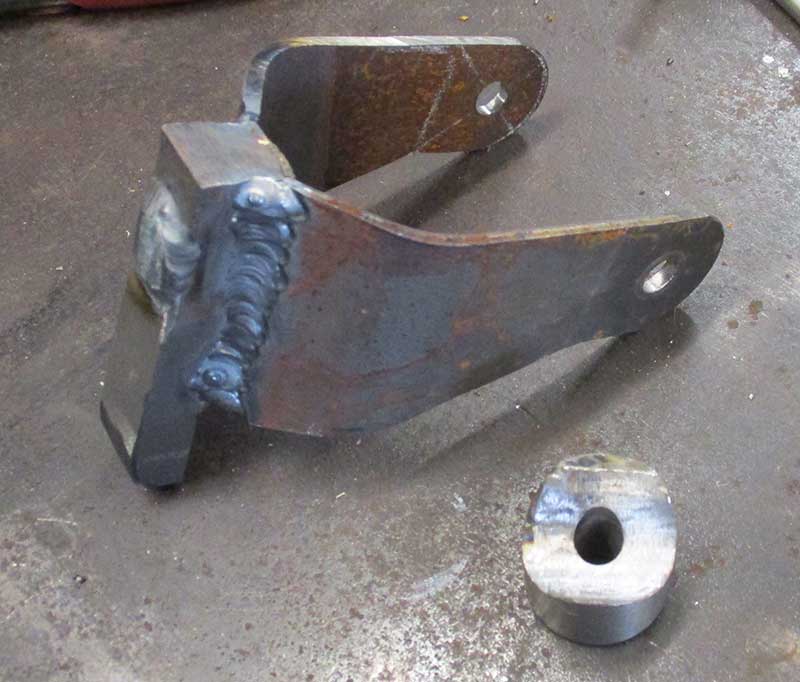
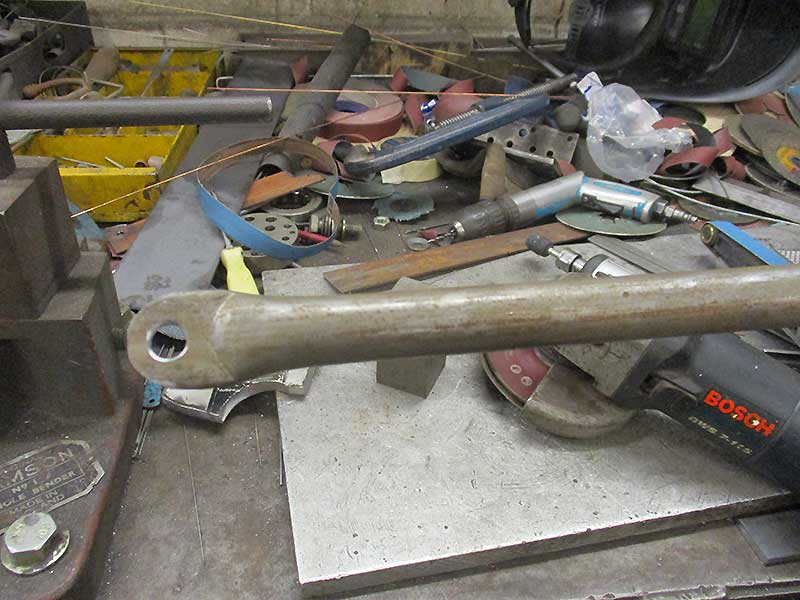
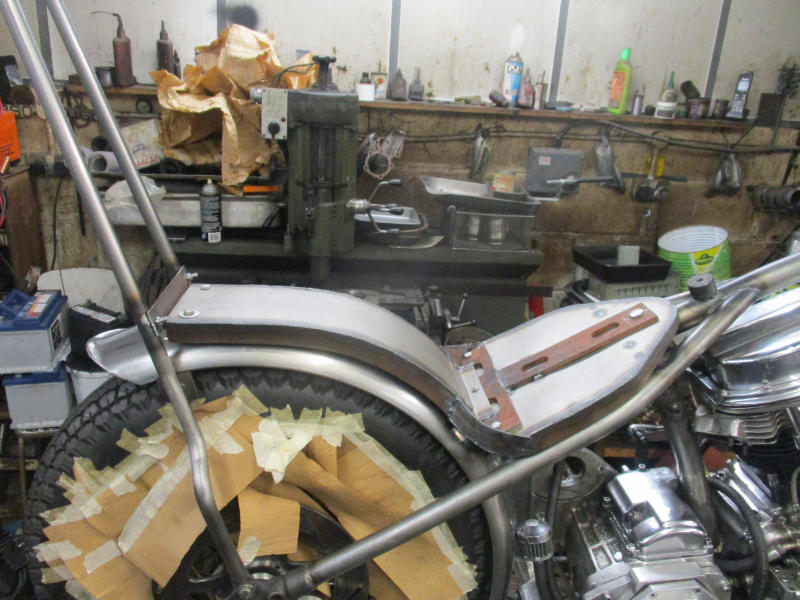
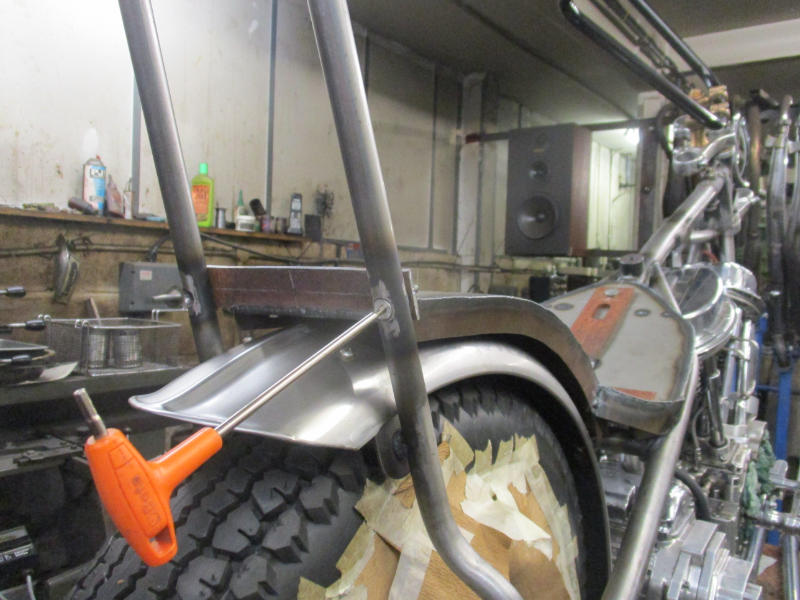
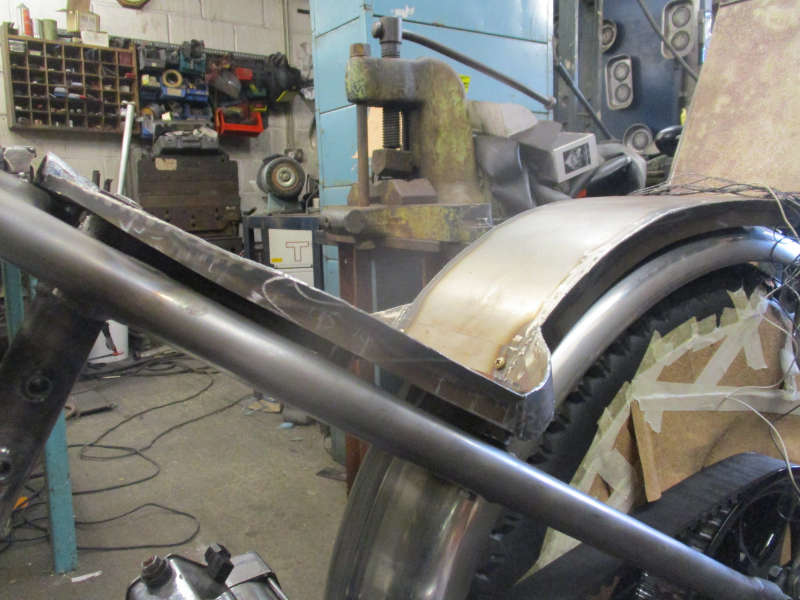
183. One of the brackets that has been made to support the rear mudguard.
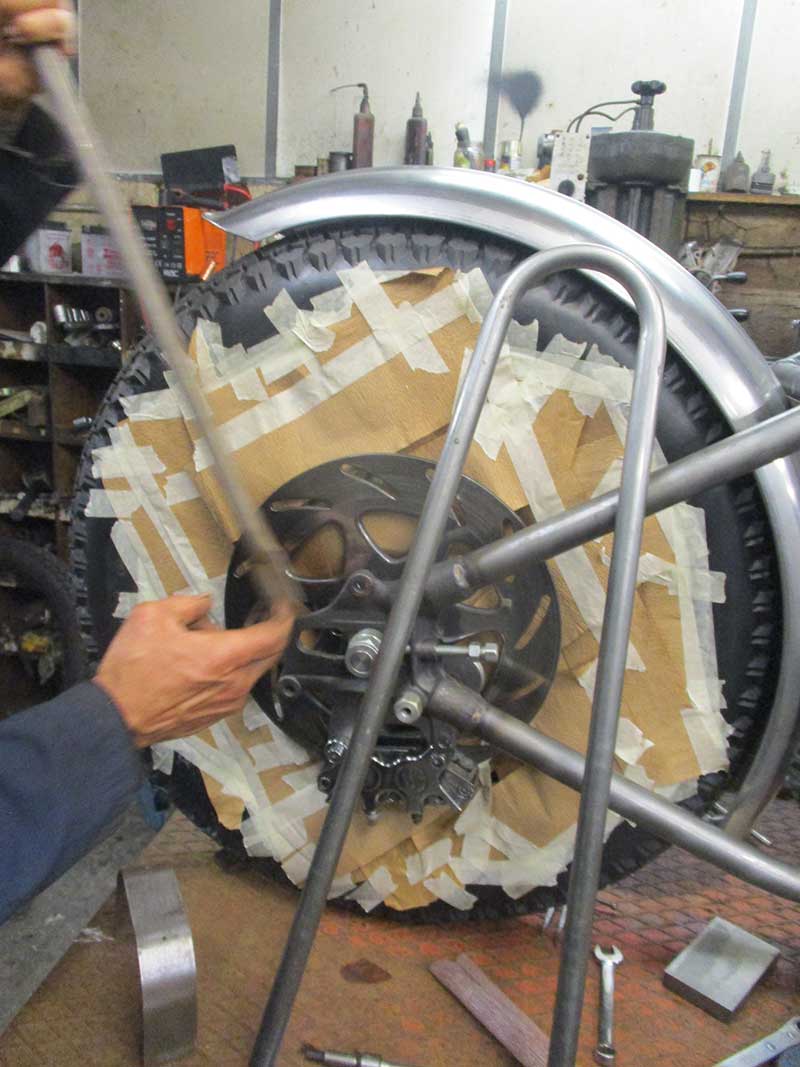
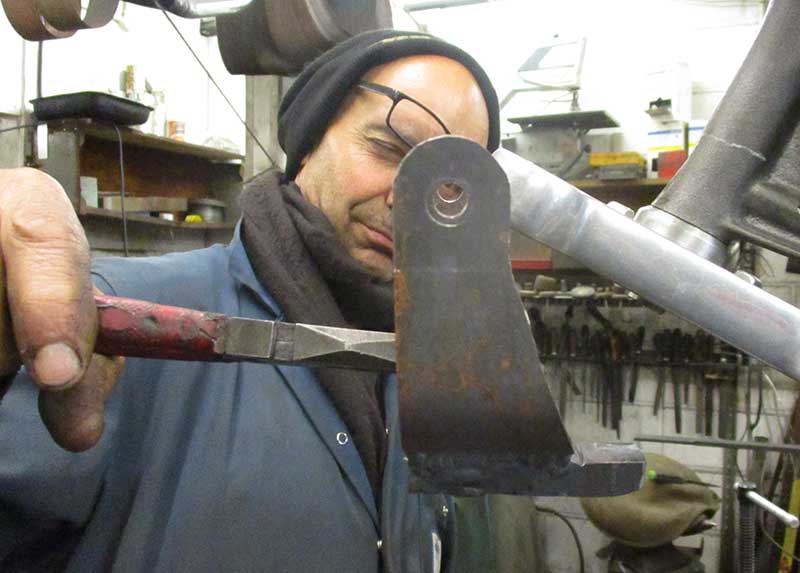
184. The sissy bar mounting is offered up.
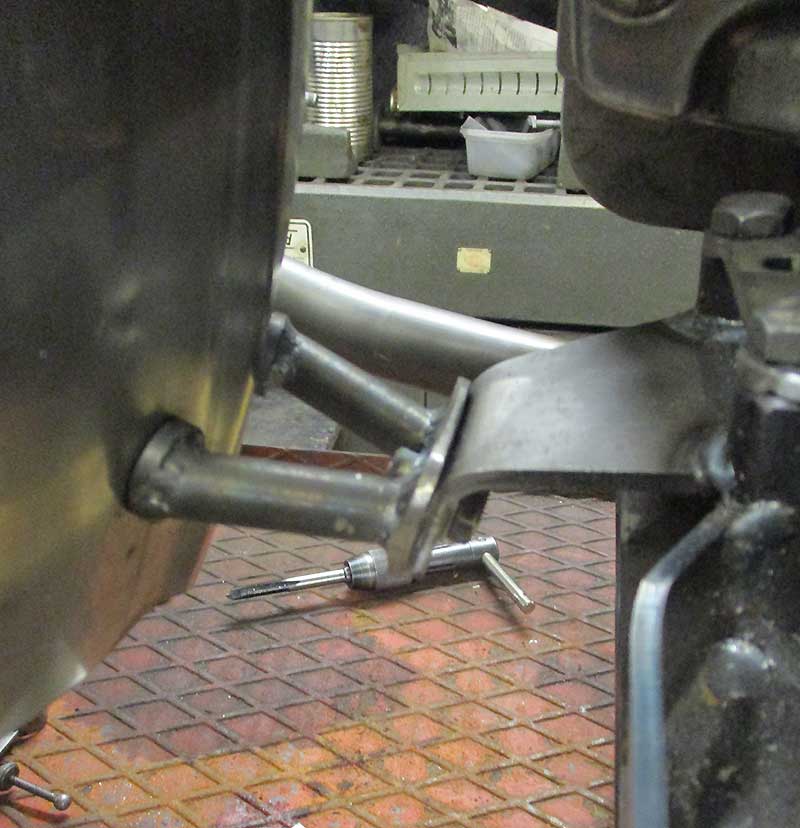
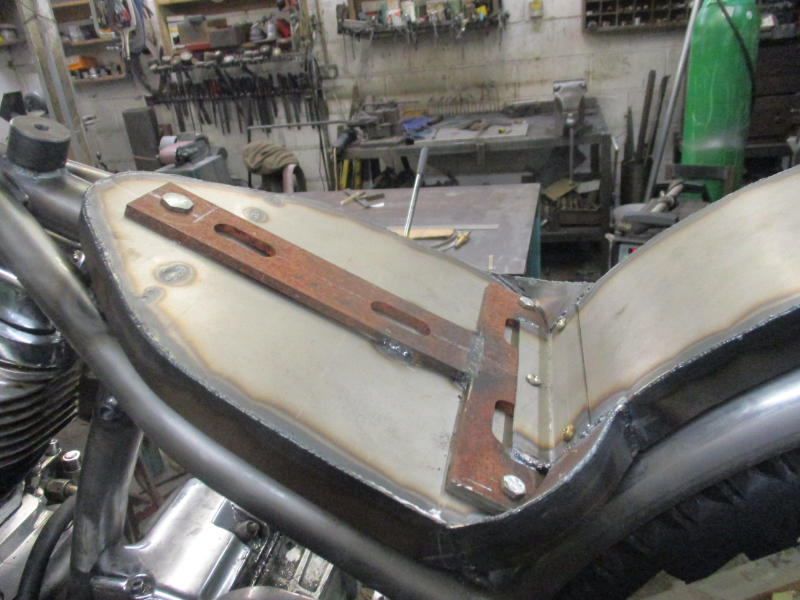
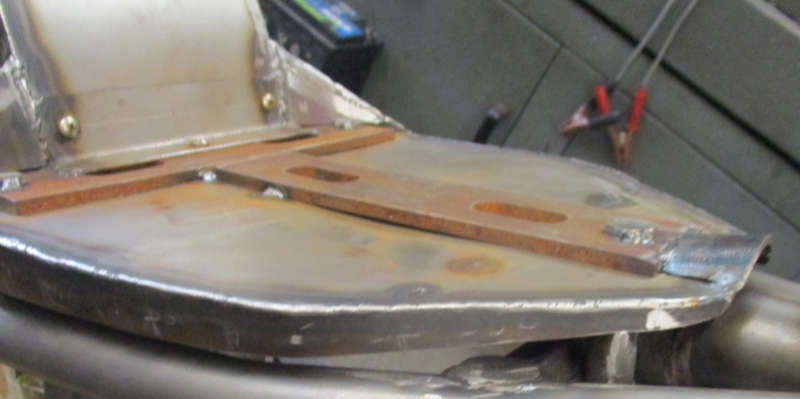
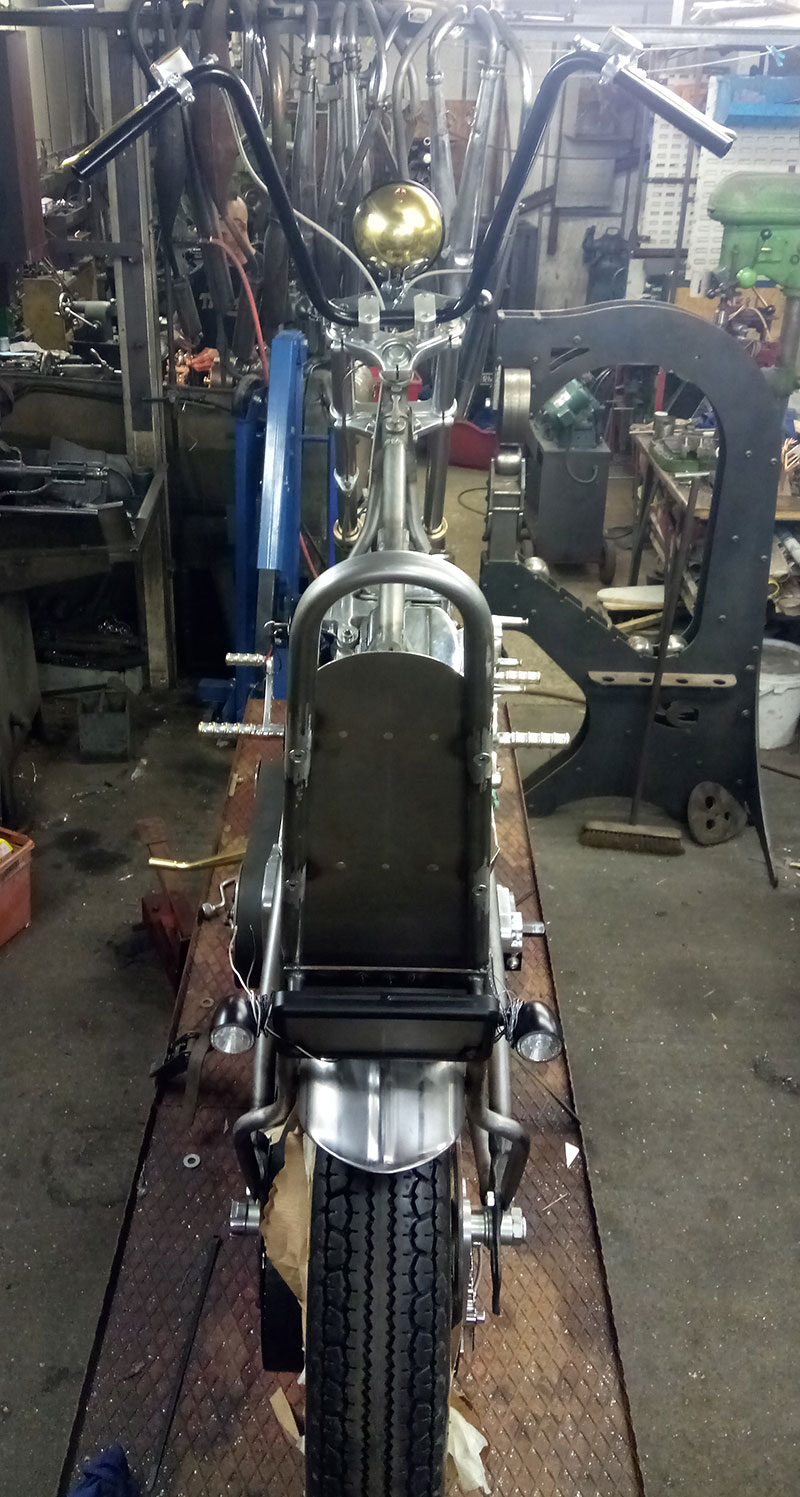
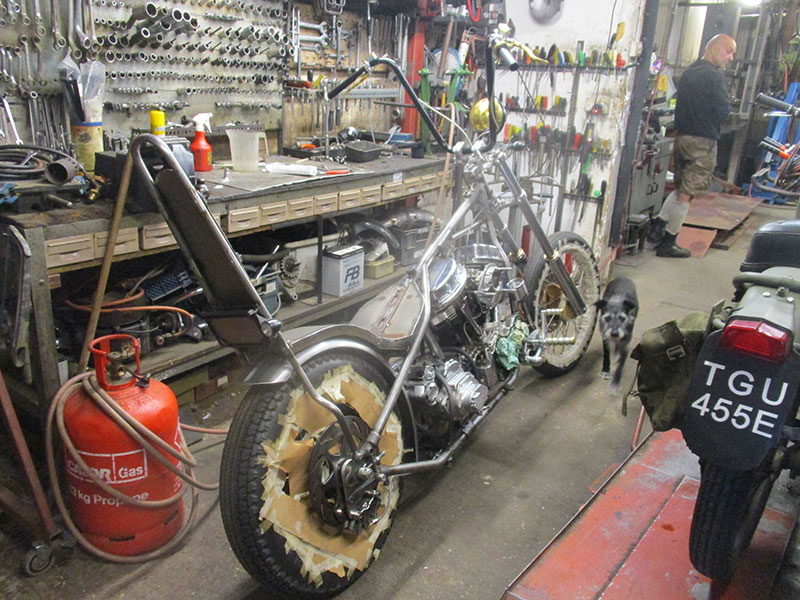
185. Elaborate double prong mounting has been made to support the bottom of the rear mudguard.
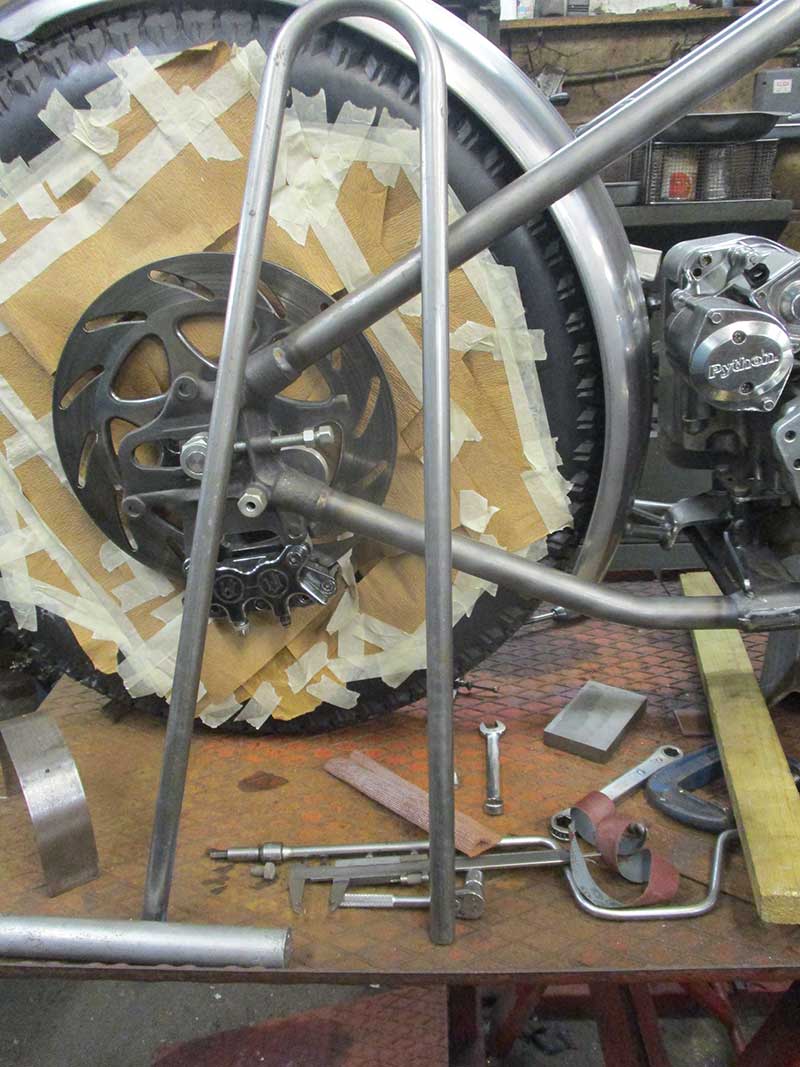
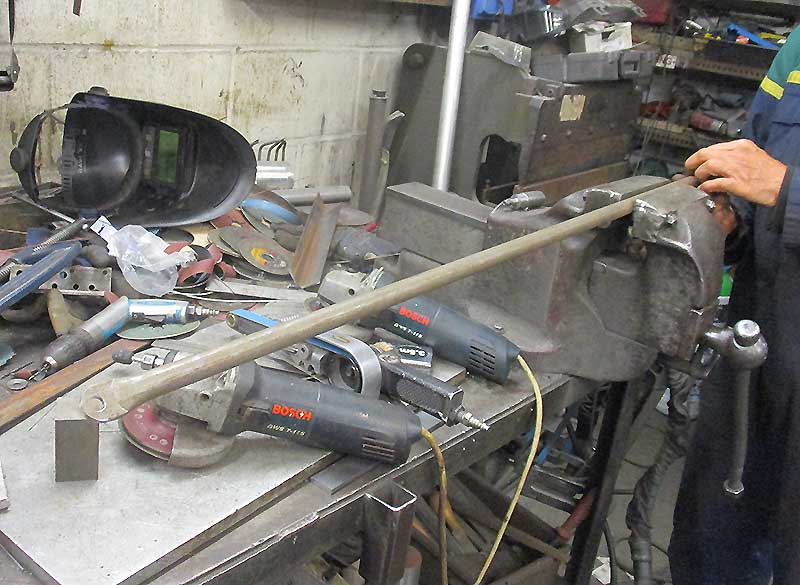
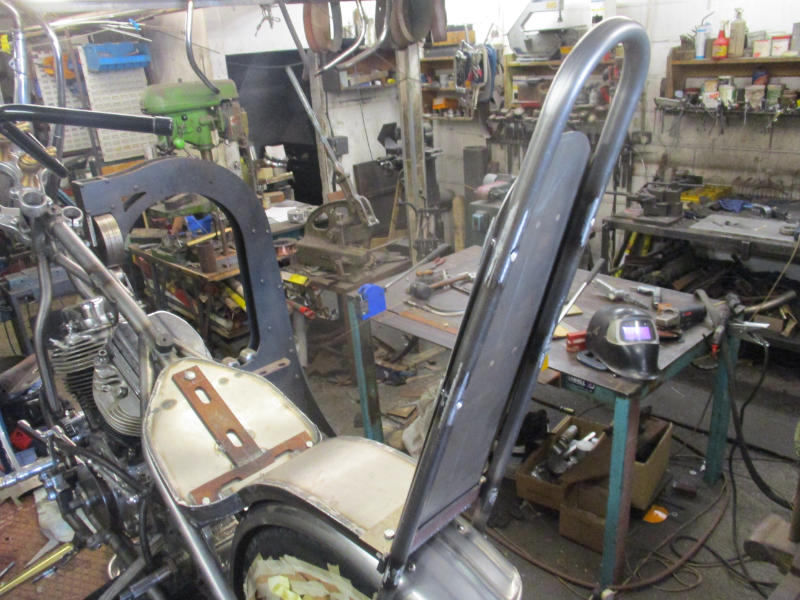
186. The sissy bar has been shaped.
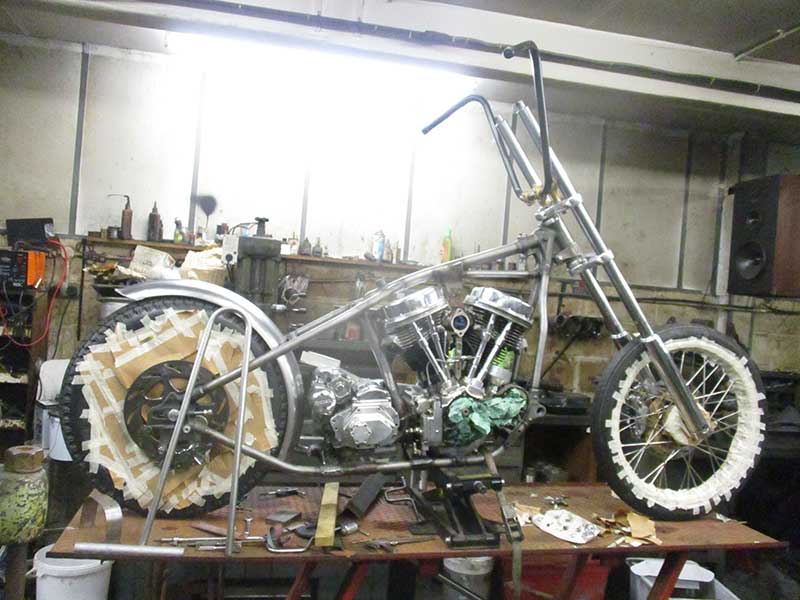
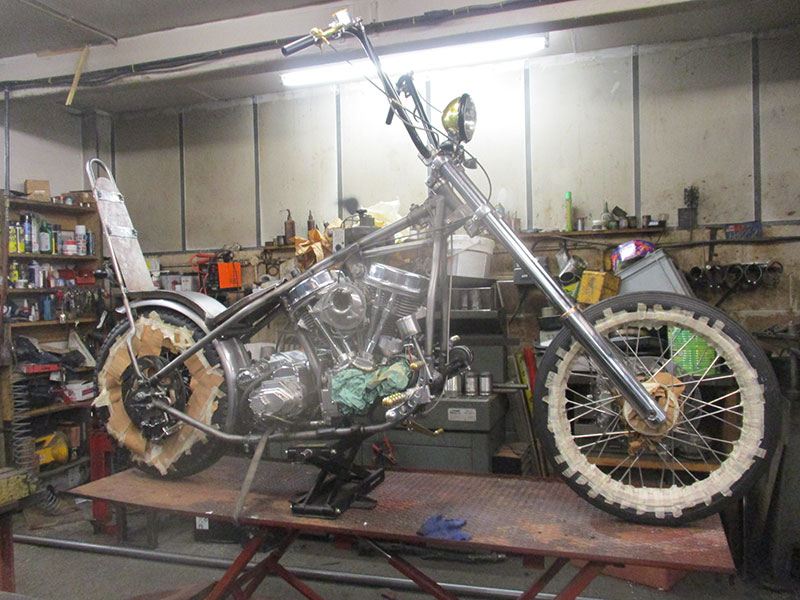
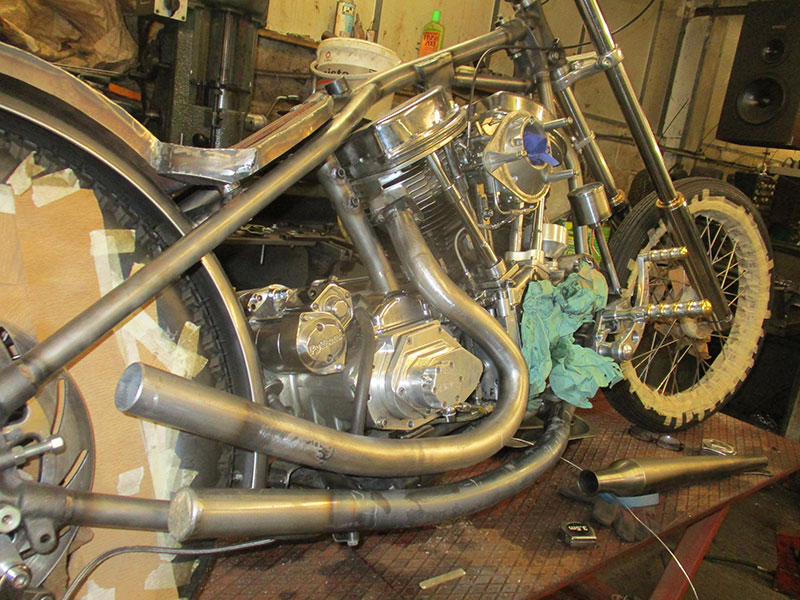
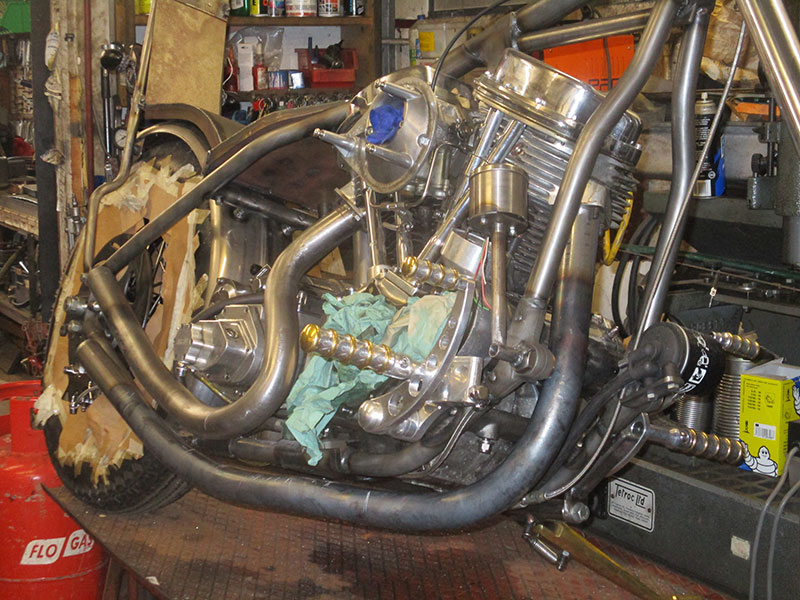
187. The bike is starting to take shape.
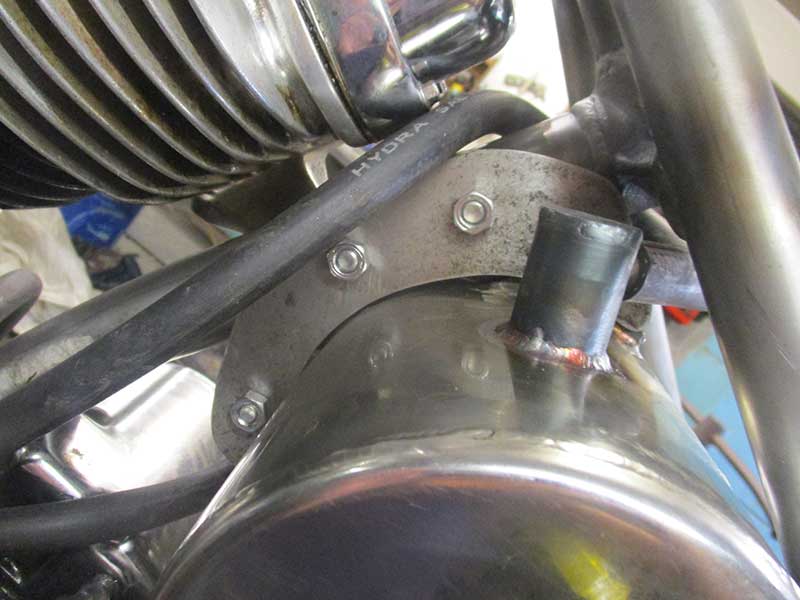
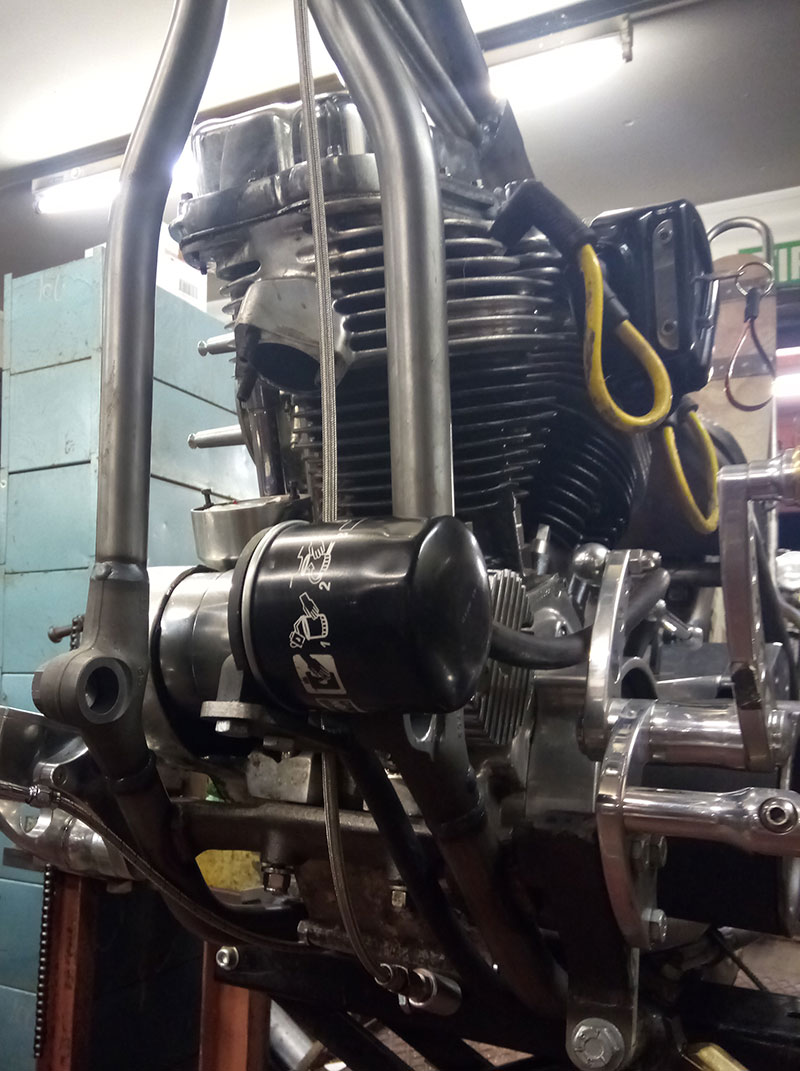
188. The oil tank mounting bracket has been made, oil tank now in position.
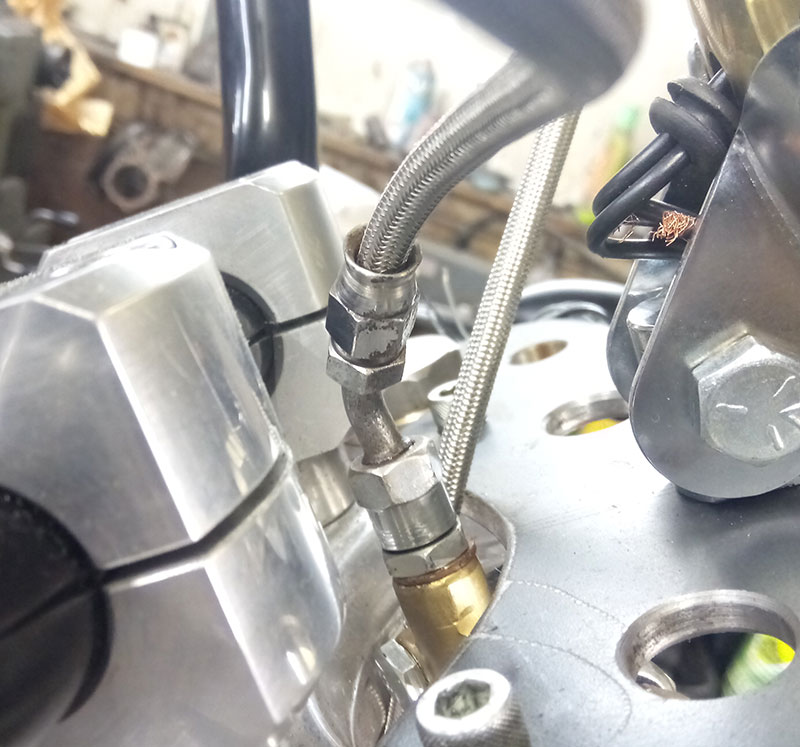
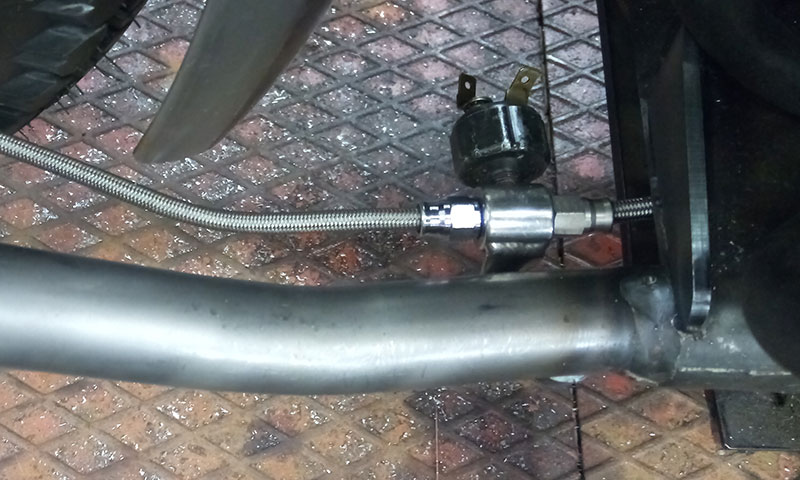
189. New oil pipes in position.
190. Sidestand mounting brackets are being made.
191. Sidestand is offered up.
192. All work on the sidestand is now complete.

193.
194.
195.
196.
197.
198.

199.
200.
202.
203.
204.
206.
207.
208.
209.
210.
211.
212.
213.
214.
215.
216.
217.
218.
219.
220.
221.
222.
223.
224.
225.
226.
227.
228.
229.
230.
231.
232.
233.
233.
234.
235.
236.
237.
238.
239.
240.
241.
242.
243.
244.

245.
246.
247.
248.
249.
250.
251.
252.
253.
254.
FD Motorcycles
Unit 8,
Hoblings Industrial Estate,
Chelmsford Road,Great Dunmow,
Essex CM6 1JA
![]() fdmc@btconnect.com
fdmc@btconnect.com
![]() 01371 876027
01371 876027
![]() follow us
follow us
Instagram
Opening Times
Monday - Thursday: 9am - 7pm